×
ToyotaParts- Hello
- Login or Register
- Quick Links
- Live Chat
- Track Order
- Parts Availability
- RMA
- Help Center
- Contact Us
- Shop for
- Toyota Parts
- Scion Parts
My Garage
My Account
Cart
OEM 2009 Toyota Sienna Crankshaft Seal
- Select Vehicle by Model
- Select Vehicle by VIN
Select Vehicle by Model
orMake
Model
Year
Select Vehicle by VIN
For the most accurate results, select vehicle by your VIN (Vehicle Identification Number).
2 Crankshaft Seals found

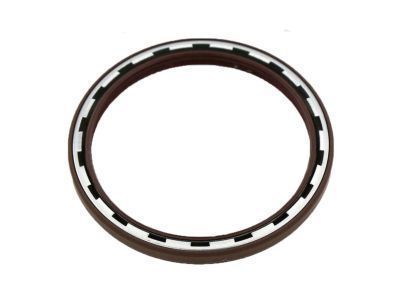
2009 Toyota Sienna Rear Main Seal
Part Number: 90311-A0027$44.08 MSRP: $61.37You Save: $17.29 (29%)Ships in 1-3 Business DaysProduct Specifications- Other Name: Seal, Type T Oil; Engine Crankshaft Seal, Rear; Oil Seal; Rear Seal; Front Seal; Seal, Engine Rear Oil; Engine Crankshaft Seal; Crankshaft Seal
- Position: Rear
- Replaces: 90080-31053, 90311-92003, 90311-92010, 90311-92004, 90311-92006, 90311-92009
- Part Name Code: 11381A
- Item Weight: 0.50 Pounds
- Item Dimensions: 5.1 x 5.2 x 0.4 inches
- Condition: New
- Fitment Type: Direct Replacement
- SKU: 90311-A0027
- Warranty: This genuine part is guaranteed by Toyota's factory warranty.

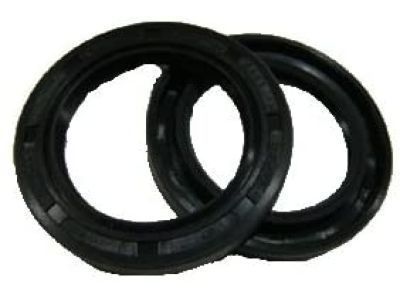
2009 Toyota Sienna Oil Seal, Front
Part Number: 90311-A0005$19.11 MSRP: $26.60You Save: $7.49 (29%)Ships in 1-3 Business DaysProduct Specifications- Other Name: Seal, Type T Oil; Engine Crankshaft Seal, Front; Timing Cover Gasket; Multi-Purpose Seal; Timing Cover Seal; Crankshaft Seal; Front Seal; Timing Cover Oil Seal; Engine Crankshaft Seal
- Position: Front
- Replaces: 90311-42019, 90311-42007, 90311-42037, 90311-42036
- Part Name Code: 11301C
- Item Weight: 0.50 Pounds
- Item Dimensions: 5.3 x 4.8 x 1.0 inches
- Condition: New
- Fitment Type: Direct Replacement
- SKU: 90311-A0005
- Warranty: This genuine part is guaranteed by Toyota's factory warranty.
2009 Toyota Sienna Crankshaft Seal
Looking for affordable OEM 2009 Toyota Sienna Crankshaft Seal? Explore our comprehensive catalogue of genuine 2009 Toyota Sienna Crankshaft Seal. All our parts are covered by the manufacturer's warranty. Plus, our straightforward return policy and speedy delivery service ensure an unparalleled shopping experience. We look forward to your visit!
2009 Toyota Sienna Crankshaft Seal Parts Q&A
- Q: How to remove the front crankshaft seal on 2009 Toyota Sienna?A: Starting the procedure of removing the front crankshaft seal from a 2GR-FE engine begins with removing the right-hand side front wheel along with the right-hand front fender apron seal. Removal of the V-ribbed belt comes after the initial steps. Special Service Tools 09213-70011 and 09213-70020 must be used to lose the crankshaft pulley bolt. Apply Special Service Tools: 09950-50013 alongside 09951-05010 to eliminate the crankshaft pulley bolt and then its accompanying pulley from the system. Use a screwdriver to extract the timing chain case oil seal while taping the screwdriver tip ahead of time. Examine the crankshaft for damage before proceeding with installation.oplayer bolt. Finally, install the crankshaft pulley and secure it with the crankshaft pulley bolt using Special Service Tool: 09950-50013 and 09951-05010. Following this, put on a new timing chain case oil seal by gently tapping it into place. For a proper installation, check all accessory belts, re-adjust the drive belt tensioner, and reset the inset dial on the belt tensioner. After removal, check the crankshaft for any damage; if damaged, smooth the surface with 400-grit sandpaper.


