×
ToyotaParts- Hello
- Login or Register
- Quick Links
- Live Chat
- Track Order
- Parts Availability
- RMA
- Help Center
- Contact Us
- Shop for
- Toyota Parts
- Scion Parts
My Garage
My Account
Cart
OEM 2009 Toyota Sienna Alternator
Generator- Select Vehicle by Model
- Select Vehicle by VIN
Select Vehicle by Model
orMake
Model
Year
Select Vehicle by VIN
For the most accurate results, select vehicle by your VIN (Vehicle Identification Number).
1 Alternator found

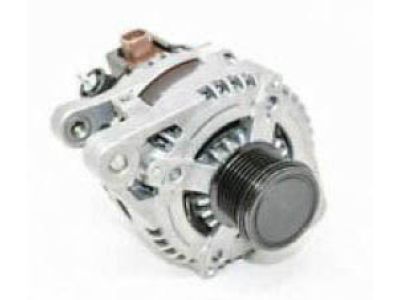
2009 Toyota Sienna Alternator
Part Number: 27060-0P241-84$290.48 MSRP: $387.48You Save: $97.00 (26%)Ships in 1-3 Business DaysProduct Specifications- Other Name: Reman Alternator; Pulley
- Replaces: 27060-0P240, 27060-0P241
- Item Weight: 3.00 Pounds
- Item Dimensions: 9.7 x 8.2 x 7.4 inches
- Condition: New
- SKU: 27060-0P241-84
- Warranty: This genuine part is guaranteed by Toyota's factory warranty.
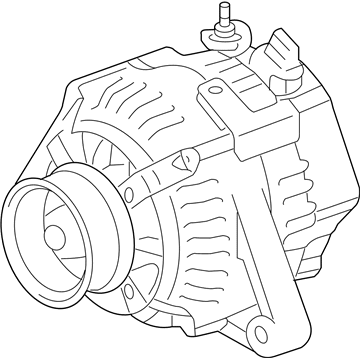
2009 Toyota Sienna Alternator
Looking for affordable OEM 2009 Toyota Sienna Alternator? Explore our comprehensive catalogue of genuine 2009 Toyota Sienna Alternator. All our parts are covered by the manufacturer's warranty. Plus, our straightforward return policy and speedy delivery service ensure an unparalleled shopping experience. We look forward to your visit!
2009 Toyota Sienna Alternator Parts Q&A
- Q: How to reassemble the alternator on 2009 Toyota Sienna?A: The alternator reassembly starts with installing the drive end frame onto the clutch pulley while you should mount the generator rotor assembly onto the drive end frame followed by attaching a new generator washer to the generator rotor. First insert the generator coil assembly into the drive end frame using a 21 mm deep socket wrench alongside a press then fasten it with 4 bolts at 5.8 Nm (59 kgf-cm, 51 in-lbf) torques. The generator brush holder assembly requires insertion of a dia1.0 mm (0.039 in.) pin through its hole before pushing two brush pins into the holder. Subsequently install the holder assembly onto the generator coil using 2 screws torqued to 1.8 Nm (18 kgf-cm, 16 in-lbf) then remove the pin from the holder. The terminal insulator must be positioned correctly on the generator coil before securing it with 3 nuts that receive a torque of 4.6 Nm (47 kgf-cm, 41 in-lbf). Secure the clutch pulley temporarily on the rotor shaft while positioning the Rotor Shaft Holding Tool (Special Service Tool: 09820-63020) along with Clutch Pulley Wrench in a vise around the shaft end entering the tool. Use the Clutch Pulley Wrench to fit the tool onto the clutch pulley before tightening the wrench clockwise with a torque of 110 Nm (1125 kgf-cm, 81 ft-lbf) free of the Special Service Tool or 84 Nm (857 kgf-cm, 62 ft-lbf) when using it. Utilize a torque wrench with a 318 mm (12.52 in.) fulcrum length and maintain the tool in perfect parallel alignment with the wrench. Remove the generator assembly from the Special Service Tool while keeping it tight then perform a smooth clutch pulley rotation check before putting a new clutch pulley cap on the component.


