×
ToyotaParts- Hello
- Login or Register
- Quick Links
- Live Chat
- Track Order
- Parts Availability
- RMA
- Help Center
- Contact Us
- Shop for
- Toyota Parts
- Scion Parts
My Garage
My Account
Cart
OEM 2009 Toyota Matrix Seat Belt
Seat Safety Belt- Select Vehicle by Model
- Select Vehicle by VIN
Select Vehicle by Model
orMake
Model
Year
Select Vehicle by VIN
For the most accurate results, select vehicle by your VIN (Vehicle Identification Number).
9 Seat Belts found

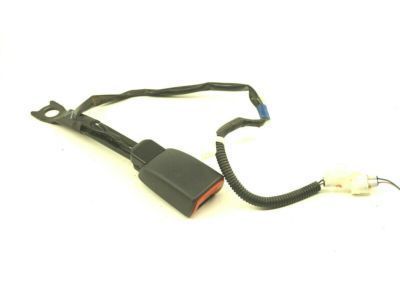
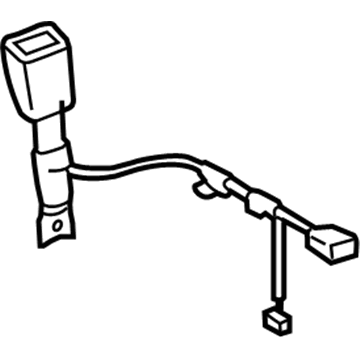
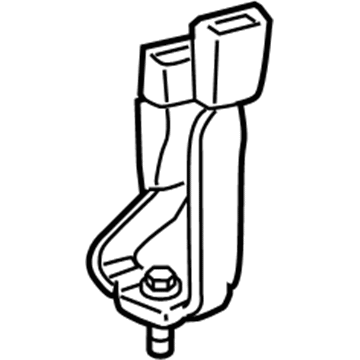
2009 Toyota Matrix Buckle, Passenger Side
Part Number: 73230-02330-B0$38.23 MSRP: $53.21You Save: $14.98 (29%)Ships in 1-3 Business DaysProduct Specifications- Other Name: Belt Assembly, Front Seat; Seat Belt Receptacle, Front Right; Latch; Belt Assembly, Front Seat Inner, Passenger Side
- Manufacturer Note: DK.GRAY,TRIM1#
- Position: Passenger Side
- Part Name Code: 73230
- Item Weight: 1.50 Pounds
- Item Dimensions: 13.5 x 11.1 x 2.3 inches
- Condition: New
- Fitment Type: Direct Replacement
- SKU: 73230-02330-B0
- Warranty: This genuine part is guaranteed by Toyota's factory warranty.
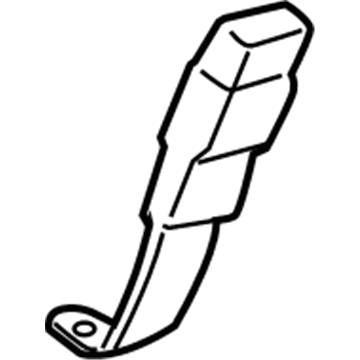
2009 Toyota Matrix Buckle, Driver Side
Part Number: 73240-02060-B0$38.71 MSRP: $53.88You Save: $15.17 (29%)Ships in 1-3 Business DaysProduct Specifications- Other Name: Belt Assembly, Front Seat; Seat Belt Receptacle, Front Left; Latch; Belt Assembly, Front Seat Inner, Driver Side
- Manufacturer Note: DK.GRAY,TRIM1#
- Position: Driver Side
- Replaces: 73240-02060-B1
- Part Name Code: 73240
- Item Weight: 1.20 Pounds
- Condition: New
- Fitment Type: Direct Replacement
- SKU: 73240-02060-B0
- Warranty: This genuine part is guaranteed by Toyota's factory warranty.
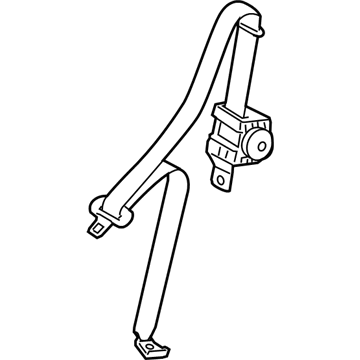
2009 Toyota Matrix Lap & Shoulder Belt, Outer Driver Side
Part Number: 73370-02140-B0$175.65 MSRP: $248.65You Save: $73.00 (30%)Ships in 1-3 Business DaysProduct Specifications- Other Name: Belt Assembly, Rear Seat; Seat Belt Lap and Shoulder Belt, Rear Left; Outer Belt Assembly; Belt Assembly, Rear Seat 3 Point Type, Outer Driver Side
- Manufacturer Note: DK.GRAY,TRIM1#
- Position: Outer Driver Side
- Part Name Code: 73370
- Item Weight: 1.40 Pounds
- Condition: New
- Fitment Type: Direct Replacement
- SKU: 73370-02140-B0
- Warranty: This genuine part is guaranteed by Toyota's factory warranty.
2009 Toyota Matrix Lap & Shoulder Belt, Outer Passenger Side
Part Number: 73360-02400-B0$178.00 MSRP: $254.15You Save: $76.15 (30%)Ships in 1-3 Business DaysProduct Specifications- Other Name: Belt Assembly, Rear Seat; Seat Belt Lap and Shoulder Belt, Rear Right; Outer Belt Assembly; Belt Assembly, Rear Seat 3 Point Type, Outer Passenger Side
- Manufacturer Note: DK.GRAY,TRIM1#
- Position: Outer Passenger Side
- Part Name Code: 73360
- Item Weight: 3.30 Pounds
- Item Dimensions: 12.3 x 10.8 x 8.2 inches
- Condition: New
- Fitment Type: Direct Replacement
- SKU: 73360-02400-B0
- Warranty: This genuine part is guaranteed by Toyota's factory warranty.
2009 Toyota Matrix Lap & Shoulder Belt, Center
Part Number: 73350-02090-B0$169.07 MSRP: $239.34You Save: $70.27 (30%)Ships in 1-3 Business DaysProduct Specifications- Other Name: Belt Assembly, Rear Seat L; Seat Belt Lap and Shoulder Belt, Rear Center; Center Belt Assembly; Belt Assembly, Rear Seat, Outer Center
- Manufacturer Note: DK.GRAY,TRIM1#
- Position: Center
- Part Name Code: 73350C
- Item Weight: 2.00 Pounds
- Condition: New
- Fitment Type: Direct Replacement
- SKU: 73350-02090-B0
- Warranty: This genuine part is guaranteed by Toyota's factory warranty.
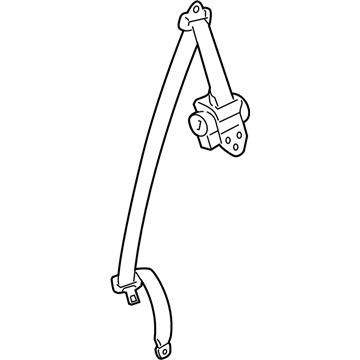
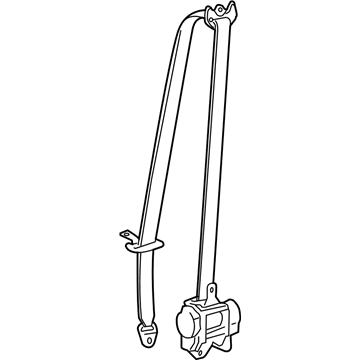
2009 Toyota Matrix Lap & Shoulder Belt, Driver Side
Part Number: 73220-02310-B0$268.05 MSRP: $382.72You Save: $114.67 (30%)Ships in 1-3 Business DaysProduct Specifications- Other Name: Belt Assembly, Front Seat; Seat Belt Lap and Shoulder Belt, Front Left; Belt & Retractor; Belt Assembly, Front Seat Outer, Driver Side
- Manufacturer Note: DK.GRAY,TRIM1#
- Position: Driver Side
- Part Name Code: 73220
- Item Weight: 2.50 Pounds
- Condition: New
- Fitment Type: Direct Replacement
- SKU: 73220-02310-B0
- Warranty: This genuine part is guaranteed by Toyota's factory warranty.
- Product Specifications
- Other Name: Belt Assembly, Rear Seat I; Seat Belt Receptacle, Rear Left; Latch; Belt Assembly, Rear Seat Inner W/Center, Driver Side
- Manufacturer Note: DK.GRAY,TRIM1#
- Position: Driver Side
- Part Name Code: 73480
- Item Weight: 1.40 Pounds
- Item Dimensions: 13.6 x 10.3 x 5.1 inches
- Condition: New
- Fitment Type: Direct Replacement
- SKU: 73480-02320-B0
- Warranty: This genuine part is guaranteed by Toyota's factory warranty.
- Product Specifications
- Other Name: Belt Assembly, Rear Seat; Seat Belt Receptacle, Rear Right; Latch; Belt Assembly, Rear Seat, Inner
- Manufacturer Note: DK.GRAY,TRIM1#
- Position: Inner
- Part Name Code: 73380A
- Item Weight: 1.30 Pounds
- Condition: New
- Fitment Type: Direct Replacement
- SKU: 73380-02060-B0
- Warranty: This genuine part is guaranteed by Toyota's factory warranty.
- Product Specifications
- Other Name: Belt Assembly, Front Seat; Seat Belt Lap and Shoulder Belt, Front Right; Belt & Retractor; Belt Assembly, Front Seat Outer, Passenger Side
- Manufacturer Note: DK.GRAY,TRIM1#
- Position: Passenger Side
- Part Name Code: 73210
- Item Weight: 3.90 Pounds
- Condition: New
- Fitment Type: Direct Replacement
- SKU: 73210-02340-B0
- Warranty: This genuine part is guaranteed by Toyota's factory warranty.
2009 Toyota Matrix Seat Belt
Looking for affordable OEM 2009 Toyota Matrix Seat Belt? Explore our comprehensive catalogue of genuine 2009 Toyota Matrix Seat Belt. All our parts are covered by the manufacturer's warranty. Plus, our straightforward return policy and speedy delivery service ensure an unparalleled shopping experience. We look forward to your visit!
2009 Toyota Matrix Seat Belt Parts Q&A
- Q: How to Remove a Seat Belt Assembly from the Front Seat on 2009 Toyota Matrix?A: The first step for front seat inner belt assembly removal requires disconnecting the negative battery cable terminal then waiting for at least 90 seconds for SRS system disablement. Start by taking out the front seat headrest assembly and proceed with removing the outer seat track cover and following it with the inner seat track cover. The inner seat track cover should be taken off from the 4WD RH side. Next proceed to take out the front seat assembly from the vehicle. Completion of the front seat inner belt assembly removal process requires disconnecting the connectors and release of clamps from the front seat inner belt while removing its securing nut.
