×
ToyotaParts- Hello
- Login or Register
- Quick Links
- Live Chat
- Track Order
- Parts Availability
- RMA
- Help Center
- Contact Us
- Shop for
- Toyota Parts
- Scion Parts
My Garage
My Account
Cart
OEM 2009 Toyota Matrix Ball Joint
Control Arm Joint- Select Vehicle by Model
- Select Vehicle by VIN
Select Vehicle by Model
orMake
Model
Year
Select Vehicle by VIN
For the most accurate results, select vehicle by your VIN (Vehicle Identification Number).
2 Ball Joints found

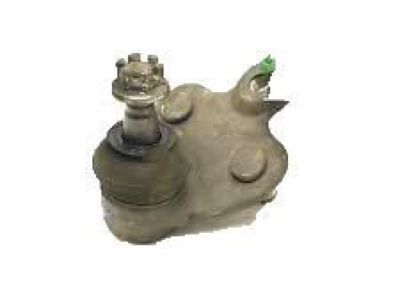
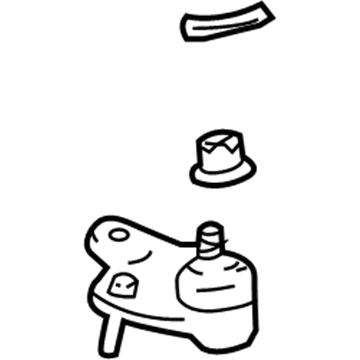
2009 Toyota Matrix Lower Ball Joint
Part Number: 43330-09670$57.23 MSRP: $79.65You Save: $22.42 (29%)Ships in 1-2 Business DaysProduct Specifications- Other Name: Joint Set, Lower Ball; Suspension Ball Joint, Front; Joint Assembly, Lower Ball, Front Passenger Side; Front Driver Side; Suspension Ball Joint.
- Position: Lower
- Replaces: 43330-29425, 43330-09190
- Item Weight: 1.50 Pounds
- Item Dimensions: 5.4 x 3.2 x 2.4 inches
- Condition: New
- Fitment Type: Direct Replacement
- SKU: 43330-09670
- Warranty: This genuine part is guaranteed by Toyota's factory warranty.

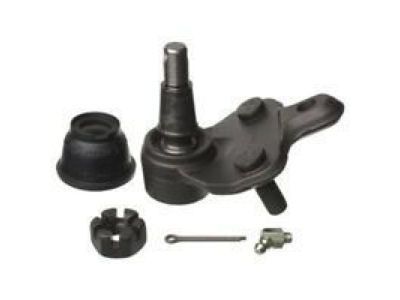
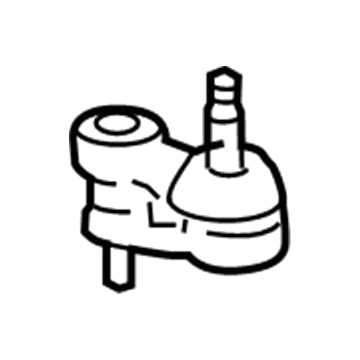
2009 Toyota Matrix Lower Ball Joint
Part Number: 43330-09660$62.44 MSRP: $87.64You Save: $25.20 (29%)Ships in 1-3 Business DaysProduct Specifications- Other Name: Joint Set, Lower Ball; Suspension Ball Joint, Front; Joint Assembly, Lower Ball, Front Passenger Side; Front Driver Side; Suspension Ball Joint.
- Position: Lower
- Item Weight: 1.50 Pounds
- Item Dimensions: 5.3 x 3.2 x 2.4 inches
- Condition: New
- Fitment Type: Direct Replacement
- SKU: 43330-09660
- Warranty: This genuine part is guaranteed by Toyota's factory warranty.
2009 Toyota Matrix Ball Joint
Looking for affordable OEM 2009 Toyota Matrix Ball Joint? Explore our comprehensive catalogue of genuine 2009 Toyota Matrix Ball Joint. All our parts are covered by the manufacturer's warranty. Plus, our straightforward return policy and speedy delivery service ensure an unparalleled shopping experience. We look forward to your visit!
2009 Toyota Matrix Ball Joint Parts Q&A
- Q: How to install the front lower ball joint and related components on 2009 Toyota Matrix?A: Start by placing the front axle assembly in a vise without excessive force, then connect the front lower ball joint to the assembly by tightening the nut to 103 Nm (1050 kgf-cm, 76 ft-lbf) for 2ZR-FE or 123 Nm (1254 kgf-cm, 91 ft-lbf) for 2AZ-FE. Finish by adding a new cotter pin and applying 60 degrees angle torque to the nut if the alignment requires adjustment. Finally, install the bolt and its corresponding nuts to connect the lower suspension arm to the ball joint with a specified torque of You should connect the front lower suspension arm to the lower ball joint using a bolt followed by two nuts and torque it to 89 Nm (908 kgf-cm, 66 ft-lbf). The tie rod end sub-assembly requires connection according to specified instructions for both 2WD and 4WD models. After the front disc and brake caliper assembly the technician should add the speed sensor while ensuring the flexible hose and speed sensor installation occurs without torsion and tightening the hose to 29 Nm (296 kgf-cm, 21 ft-lbf) and 8.5 Nm (87 kgf-cm, 75 in-lbf) torque on the steering knuckle and securing the sensor with a clamp to the shock absorber. The front axle shaft nut must be installed on both engine types according to specifications before tightening the front wheel to 103 Nm (1050 kgf-cm, 76 ft-lbf). The inspection involves front wheel alignment adjustment and speed sensor signal testing should be performed with VSC both enabled and disabled.


