×
ToyotaParts- Hello
- Login or Register
- Quick Links
- Live Chat
- Track Order
- Parts Availability
- RMA
- Help Center
- Contact Us
- Shop for
- Toyota Parts
- Scion Parts
My Garage
My Account
Cart
OEM 2009 Toyota Highlander Blower Motor
A/C Heater Blower Motor- Select Vehicle by Model
- Select Vehicle by VIN
Select Vehicle by Model
orMake
Model
Year
Select Vehicle by VIN
For the most accurate results, select vehicle by your VIN (Vehicle Identification Number).
2 Blower Motors found

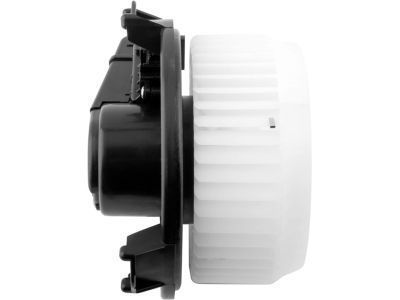
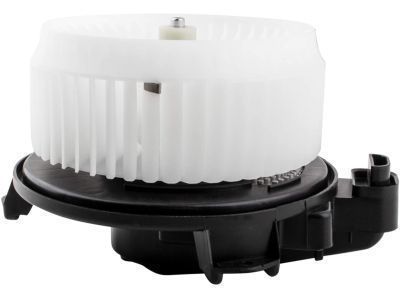
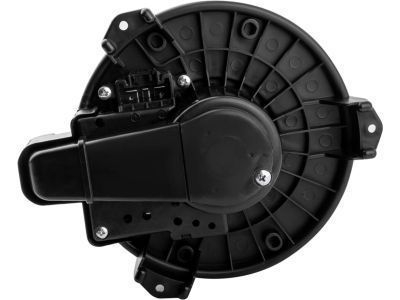
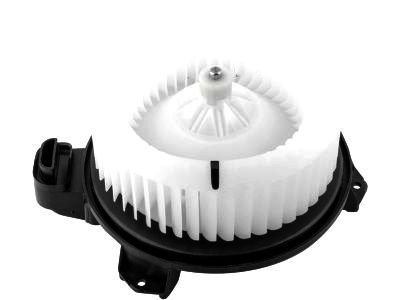
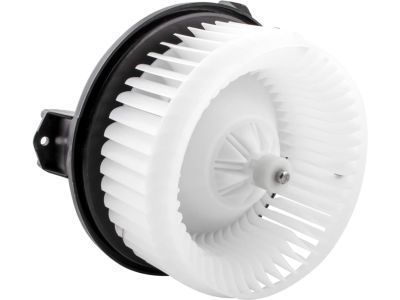
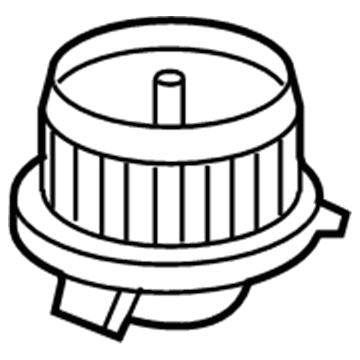
2009 Toyota Highlander Motor Sub-Assembly, Blower W/Fan, Front
Part Number: 87103-0E040$145.92 MSRP: $206.58You Save: $60.66 (30%)Ships in 1-3 Business DaysProduct Specifications- Other Name: Motor Sub-Assembly, Blower; HVAC Blower Motor; Blower Motor
- Position: Front
- Replaces: 87103-48080, 87103-07040
- Part Name Code: 87103B
- Item Weight: 4.20 Pounds
- Item Dimensions: 10.2 x 9.8 x 7.8 inches
- Condition: New
- Fitment Type: Direct Replacement
- SKU: 87103-0E040
- Warranty: This genuine part is guaranteed by Toyota's factory warranty.
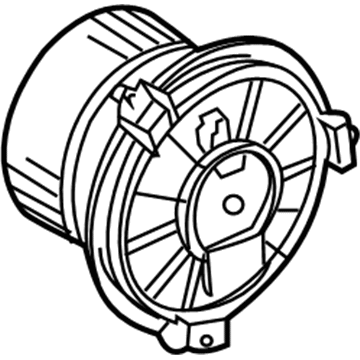
2009 Toyota Highlander Blower Motor, Rear
Part Number: 87103-28111$175.89 MSRP: $248.99You Save: $73.10 (30%)Ships in 1-3 Business DaysProduct Specifications- Other Name: Motor Sub-Assembly, Blower; HVAC Blower Motor Assembly, Rear; Blower Assembly; Fan & Motor; Motor Sub-Assembly, Blower W/Fan(For Rear); HVAC Blower Motor
- Position: Rear
- Replaces: 87103-28110
- Part Name Code: 87103D
- Item Weight: 3.10 Pounds
- Item Dimensions: 11.1 x 9.9 x 8.2 inches
- Condition: New
- Fitment Type: Direct Replacement
- SKU: 87103-28111
- Warranty: This genuine part is guaranteed by Toyota's factory warranty.
2009 Toyota Highlander Blower Motor
Looking for affordable OEM 2009 Toyota Highlander Blower Motor? Explore our comprehensive catalogue of genuine 2009 Toyota Highlander Blower Motor. All our parts are covered by the manufacturer's warranty. Plus, our straightforward return policy and speedy delivery service ensure an unparalleled shopping experience. We look forward to your visit!
2009 Toyota Highlander Blower Motor Parts Q&A
- Q: How to service and repair the blower motor on 2009 Toyota Highlander?A: You can begin service of the blower motor through duct religiously separating the 4 claws from the No. 1 air duct sub-assembly. First disengage the 2 claws to remove the air filter case followed by taking out the clean air filter according to the provided illustration. Unscrewing the three screws releases the front blower motor sub-assembly while the air inlet servo motor sub-assembly comes off after unscrewing its three screws and finally the 3 claw disengagement removes the No. 1 air duct sub-assembly.
