×
ToyotaParts- Hello
- Login or Register
- Quick Links
- Live Chat
- Track Order
- Parts Availability
- RMA
- Help Center
- Contact Us
- Shop for
- Toyota Parts
- Scion Parts
My Garage
My Account
Cart
OEM 2009 Toyota Avalon Seat Belt
Seat Safety Belt- Select Vehicle by Model
- Select Vehicle by VIN
Select Vehicle by Model
orMake
Model
Year
Select Vehicle by VIN
For the most accurate results, select vehicle by your VIN (Vehicle Identification Number).
32 Seat Belts found
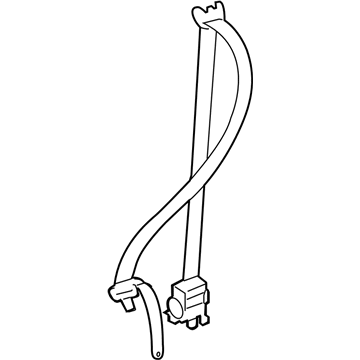
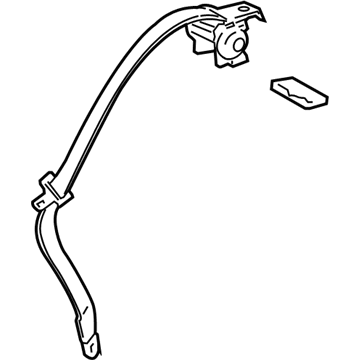
2009 Toyota Avalon Lap & Shoulder Belt, Passenger Side
Part Number: 73210-AC052-B4$251.72 MSRP: $359.40You Save: $107.68 (30%)Ships in 1-3 Business DaysProduct Specifications- Other Name: Belt Assembly, Front Seat; Seat Belt Lap and Shoulder Belt, Front Right; Belt & Retractor; Belt Assembly, Front Seat Outer, Passenger Side
- Position: Passenger Side
- Replaces: 73210-AC051-B4, 73210-AC050-B4
- Part Name Code: 73210
- Item Weight: 2.50 Pounds
- Condition: New
- Fitment Type: Direct Replacement
- SKU: 73210-AC052-B4
- Warranty: This genuine part is guaranteed by Toyota's factory warranty.
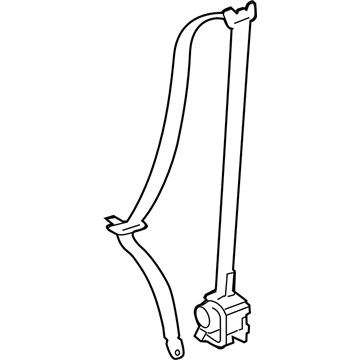
2009 Toyota Avalon Lap & Shoulder Belt, Gray, Driver Side
Part Number: 73220-AC032-B2$252.91 MSRP: $361.10You Save: $108.19 (30%)Ships in 1-3 Business DaysProduct Specifications- Other Name: Belt Assembly, Front Seat; Seat Belt Lap and Shoulder Belt, Front Left; Belt & Retractor; Belt Assembly, Front Seat Outer, Driver Side
- Manufacturer Note: GRAY,TRIM17
- Position: Driver Side
- Replaces: 73220-AC031-B2
- Part Name Code: 73220
- Item Weight: 2.40 Pounds
- Item Dimensions: 11.6 x 7.4 x 7.1 inches
- Condition: New
- Fitment Type: Direct Replacement
- SKU: 73220-AC032-B2
- Warranty: This genuine part is guaranteed by Toyota's factory warranty.
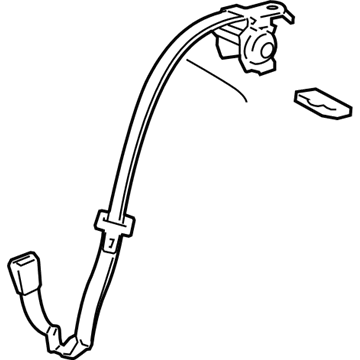
2009 Toyota Avalon Lap & Shoulder Belt, Driver Side
Part Number: 73220-AC032-B4$273.06 MSRP: $389.87You Save: $116.81 (30%)Ships in 1-3 Business DaysProduct Specifications- Other Name: Belt Assembly, Front Seat; Seat Belt Lap and Shoulder Belt, Front Left; Belt & Retractor; Belt Assembly, Front Seat Outer, Driver Side
- Position: Driver Side
- Replaces: 73220-AC030-B4, 73220-AC031-B4
- Part Name Code: 73220
- Item Weight: 2.40 Pounds
- Condition: New
- Fitment Type: Direct Replacement
- SKU: 73220-AC032-B4
- Warranty: This genuine part is guaranteed by Toyota's factory warranty.
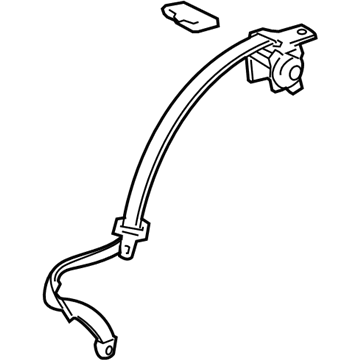
2009 Toyota Avalon Lap & Shoulder Belt, Gray, Passenger Side
Part Number: 73470-AC022-B2$155.32 MSRP: $219.88You Save: $64.56 (30%)Ships in 1-3 Business DaysProduct Specifications- Other Name: Belt Assembly, Rear Seat I; Seat Belt Lap and Shoulder Belt, Rear Center; Center Seat Belt; Belt Assembly, Rear Seat Inner W/Center, Passenger Side
- Position: Passenger Side
- Replaces: 73470-AC021-B2
- Part Name Code: 73470B
- Item Weight: 2.30 Pounds
- Condition: New
- Fitment Type: Direct Replacement
- SKU: 73470-AC022-B2
- Warranty: This genuine part is guaranteed by Toyota's factory warranty.
2009 Toyota Avalon Lap & Shoulder Belt, Gray, Outer
Part Number: 73360-AC022-B0$167.78 MSRP: $237.51You Save: $69.73 (30%)Ships in 1-3 Business DaysProduct Specifications- Other Name: Belt Assembly, Rear Seat; Seat Belt Lap and Shoulder Belt, Rear Left, Rear Right; Outer Belt Assembly; Belt Assembly, Rear Seat, Outer
- Manufacturer Note: GRAY,TRIM16
- Position: Outer
- Replaces: 73370-AC020-B0, 73360-AC021-B0, 73360-AC020-B0, 73360-AC020-B2, 73370-AC020-B2
- Item Weight: 2.40 Pounds
- Condition: New
- Fitment Type: Direct Replacement
- SKU: 73360-AC022-B0
- Warranty: This genuine part is guaranteed by Toyota's factory warranty.
2009 Toyota Avalon Lap & Shoulder Belt, Outer
Part Number: 73360-AC022-B3$159.32 MSRP: $225.54You Save: $66.22 (30%)Ships in 1-3 Business DaysProduct Specifications- Other Name: Belt Assembly, Rear Seat; Outer Belt Assembly; Belt Assembly, Rear Seat, Outer
- Manufacturer Note: DK. GRAY,TRIM18
- Position: Outer
- Replaces: 73360-AC021-B3, 73360-AC020-B3, 73370-AC020-B3
- Item Weight: 2.40 Pounds
- Condition: New
- Fitment Type: Direct Replacement
- SKU: 73360-AC022-B3
- Warranty: This genuine part is guaranteed by Toyota's factory warranty.
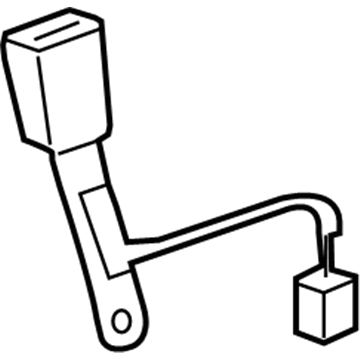
2009 Toyota Avalon Buckle, Passenger Side
Part Number: 73230-07020-B2$26.78 MSRP: $37.28You Save: $10.50 (29%)Ships in 1-3 Business DaysProduct Specifications- Other Name: Belt Assembly, Front Seat; Seat Belt Receptacle, Front Right; Latch; Belt Assembly, Front Seat Inner, Passenger Side
- Manufacturer Note: SEAT LUMBAR SUPPORT-W(DRIVER & PASSENGER SIDE),DK.GRAY,TRIM18
- Position: Passenger Side
- Part Name Code: 73230
- Item Weight: 1.50 Pounds
- Item Dimensions: 13.8 x 11.4 x 2.2 inches
- Condition: New
- Fitment Type: Direct Replacement
- SKU: 73230-07020-B2
- Warranty: This genuine part is guaranteed by Toyota's factory warranty.
2009 Toyota Avalon Buckle, Front Passenger Side
Part Number: 73230-AC110-A0$53.29 MSRP: $74.17You Save: $20.88 (29%)Ships in 1-3 Business DaysProduct Specifications- Other Name: Belt Assembly, Front Seat; Seat Belt Receptacle, Front Right; Latch
- Position: Front Passenger Side
- Replaces: 73230-AC090-A0
- Condition: New
- SKU: 73230-AC110-A0
- Warranty: This genuine part is guaranteed by Toyota's factory warranty.
2009 Toyota Avalon Buckle, Gray, Front Passenger Side
Part Number: 73230-AC110-B0$48.27 MSRP: $67.19You Save: $18.92 (29%)Ships in 1-3 Business DaysProduct Specifications- Other Name: Belt Assembly, Front Seat; Seat Belt Receptacle, Front Right; Latch
- Position: Front Passenger Side
- Replaces: 73230-AC090-B0
- Condition: New
- SKU: 73230-AC110-B0
- Warranty: This genuine part is guaranteed by Toyota's factory warranty.
2009 Toyota Avalon Buckle, Gray, Front Passenger Side
Part Number: 73230-AC110-B1$54.48 MSRP: $75.83You Save: $21.35 (29%)Ships in 1-3 Business DaysProduct Specifications- Other Name: Belt Assembly, Front Seat; Seat Belt Receptacle, Front Right; Latch
- Position: Front Passenger Side
- Replaces: 73230-AC090-B1
- Condition: New
- SKU: 73230-AC110-B1
- Warranty: This genuine part is guaranteed by Toyota's factory warranty.
2009 Toyota Avalon Lap & Shoulder Belt, Gray, Passenger Side
Part Number: 73470-AC022-B0$176.46 MSRP: $251.95You Save: $75.49 (30%)Ships in 1-3 Business DaysProduct Specifications- Other Name: Belt Assembly, Rear Seat I; Seat Belt Lap and Shoulder Belt, Rear Center; Center Seat Belt; Belt Assembly, Rear Seat Inner W/Center, Passenger Side
- Manufacturer Note: GRAY,TRIM16
- Position: Passenger Side
- Replaces: 73470-AC020-B0, 73470-AC021-B0
- Part Name Code: 73470B
- Item Weight: 1.80 Pounds
- Condition: New
- Fitment Type: Direct Replacement
- SKU: 73470-AC022-B0
- Warranty: This genuine part is guaranteed by Toyota's factory warranty.
2009 Toyota Avalon Lap & Shoulder Belt, Gray, Passenger Side
Part Number: 73210-AC052-B2$254.73 MSRP: $363.70You Save: $108.97 (30%)Ships in 1-3 Business DaysProduct Specifications- Other Name: Belt Assembly, Front Seat; Seat Belt Lap and Shoulder Belt, Front Right; Belt & Retractor; Belt Assembly, Front Seat Outer, Passenger Side
- Manufacturer Note: GRAY,TRIM17
- Position: Passenger Side
- Replaces: 73210-AC051-B2
- Part Name Code: 73210
- Item Weight: 2.50 Pounds
- Condition: New
- Fitment Type: Direct Replacement
- SKU: 73210-AC052-B2
- Warranty: This genuine part is guaranteed by Toyota's factory warranty.
2009 Toyota Avalon Lap & Shoulder Belt, Gray, Passenger Side
Part Number: 73210-AC052-B0$273.06 MSRP: $389.87You Save: $116.81 (30%)Ships in 1-3 Business DaysProduct Specifications- Other Name: Belt Assembly, Front Seat; Seat Belt Lap and Shoulder Belt, Front Right; Belt & Retractor; Belt Assembly, Front Seat Outer, Passenger Side
- Position: Passenger Side
- Replaces: 73210-AC051-B0, 73210-AC050-B0
- Part Name Code: 73210
- Item Weight: 1.40 Pounds
- Condition: New
- Fitment Type: Direct Replacement
- SKU: 73210-AC052-B0
- Warranty: This genuine part is guaranteed by Toyota's factory warranty.
2009 Toyota Avalon Buckle, Front Passenger Side
Part Number: 73230-07050-A0$32.61 MSRP: $45.40You Save: $12.79 (29%)Product Specifications- Other Name: Belt Assembly, Front Seat; Seat Belt Receptacle, Front Right; Latch
- Position: Front Passenger Side
- Replaces: 73230-07020-A0
- Condition: New
- SKU: 73230-07050-A0
- Warranty: This genuine part is guaranteed by Toyota's factory warranty.
2009 Toyota Avalon Buckle, Gray, Front Passenger Side
Part Number: 73230-07050-B0$29.39 MSRP: $40.90You Save: $11.51 (29%)Product Specifications- Other Name: Belt Assembly, Front Seat; Seat Belt Receptacle, Front Right; Latch
- Position: Front Passenger Side
- Replaces: 73230-07020-B0
- Condition: New
- SKU: 73230-07050-B0
- Warranty: This genuine part is guaranteed by Toyota's factory warranty.
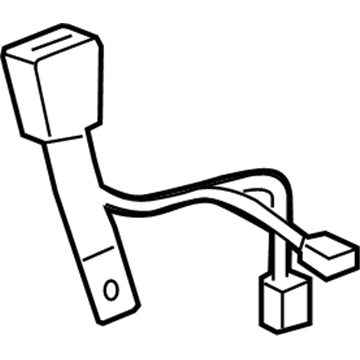
2009 Toyota Avalon Buckle, Front Driver Side
Part Number: 73240-AC070-A0$52.21 MSRP: $72.67You Save: $20.46 (29%)Product Specifications- Other Name: Belt Assembly, Front Seat; Seat Belt Receptacle, Front Left; Latch
- Position: Front Driver Side
- Replaces: 73240-AC060-A0
- Condition: New
- SKU: 73240-AC070-A0
- Warranty: This genuine part is guaranteed by Toyota's factory warranty.
2009 Toyota Avalon Buckle, Gray, Front Driver Side
Part Number: 73240-AC070-B0$52.21 MSRP: $72.67You Save: $20.46 (29%)Product Specifications- Other Name: Belt Assembly, Front Seat; Seat Belt Receptacle, Front Left; Latch
- Position: Front Driver Side
- Replaces: 73240-AC060-B0
- Condition: New
- SKU: 73240-AC070-B0
- Warranty: This genuine part is guaranteed by Toyota's factory warranty.
2009 Toyota Avalon Buckle, Gray, Front Driver Side
Part Number: 73240-AC070-B1$55.20 MSRP: $76.84You Save: $21.64 (29%)Product Specifications- Other Name: Belt Assembly, Front Seat; Seat Belt Receptacle, Front Left; Latch
- Position: Front Driver Side
- Replaces: 73240-AC060-B1
- Condition: New
- SKU: 73240-AC070-B1
- Warranty: This genuine part is guaranteed by Toyota's factory warranty.
2009 Toyota Avalon Buckle, Gray, Front Driver Side
Part Number: 73240-AC070-B2$55.20 MSRP: $76.84You Save: $21.64 (29%)Product Specifications- Other Name: Belt Assembly, Front Seat; Seat Belt Receptacle, Front Left; Latch
- Position: Front Driver Side
- Replaces: 73240-AC060-B2
- Condition: New
- SKU: 73240-AC070-B2
- Warranty: This genuine part is guaranteed by Toyota's factory warranty.
2009 Toyota Avalon Lap & Shoulder Belt, Passenger Side
Part Number: 73210-AC052-A0$273.06 MSRP: $389.87You Save: $116.81 (30%)Product Specifications- Other Name: Belt Assembly, Front Seat; Seat Belt Lap and Shoulder Belt, Front Right; Belt & Retractor; Belt Assembly, Front Seat Outer, Passenger Side
- Manufacturer Note: IVORY,TRIM0#
- Position: Passenger Side
- Replaces: 73210-AC051-A0, 73210-AC050-A0
- Part Name Code: 73210
- Item Weight: 4.20 Pounds
- Condition: New
- Fitment Type: Direct Replacement
- SKU: 73210-AC052-A0
- Warranty: This genuine part is guaranteed by Toyota's factory warranty.
| Page 1 of 2 |Next >
1-20 of 32 Results
2009 Toyota Avalon Seat Belt
Looking for affordable OEM 2009 Toyota Avalon Seat Belt? Explore our comprehensive catalogue of genuine 2009 Toyota Avalon Seat Belt. All our parts are covered by the manufacturer's warranty. Plus, our straightforward return policy and speedy delivery service ensure an unparalleled shopping experience. We look forward to your visit!
2009 Toyota Avalon Seat Belt Parts Q&A
- Q: How to Properly Remove a Seat Belt Assembly on 2009 Toyota Avalon?A: The procedure for removing the front seat outer belt assembly starts with disconnecting the cable from the negative battery terminal while ensuring the pretensioner removal process begins at least 90 seconds after turning off the ignition switch and disconnecting the negative terminal cable from the battery. Follow all notices which pertain to the pretensioner located inside the SRS Air Bag system carefully. Start by removing the front door scuff plate LH together with the rear door scuff plate LH before moving onto the front door opening trim Weather Strip LH, rear door opening trim Weather Strip LH and center pillar garnish lower LH. To access the lap belt outer anchor cover it is necessary to detach its 2 claws. To disconnect the front seat outer belt assembly LH you need to remove its bolt and separate the center pillar garnish LH. The removal of the front seat outer belt assembly LH can start by removing the nut before disconnecting the pretensioner connector and taking out the 2 bolts.
