×
ToyotaParts- Hello
- Login or Register
- Quick Links
- Live Chat
- Track Order
- Parts Availability
- RMA
- Help Center
- Contact Us
- Shop for
- Toyota Parts
- Scion Parts
My Garage
My Account
Cart
OEM 2008 Toyota Sequoia Car Speakers
Audio Speakers- Select Vehicle by Model
- Select Vehicle by VIN
Select Vehicle by Model
orMake
Model
Year
Select Vehicle by VIN
For the most accurate results, select vehicle by your VIN (Vehicle Identification Number).
13 Car Speakers found

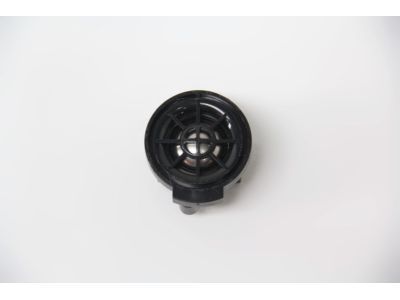
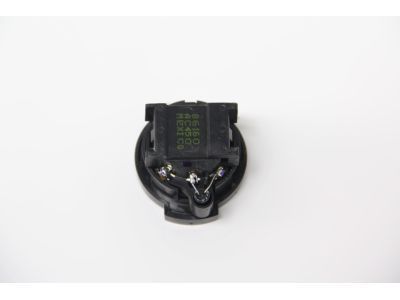
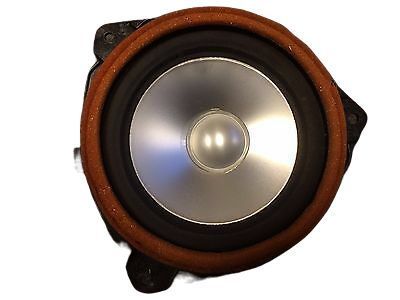
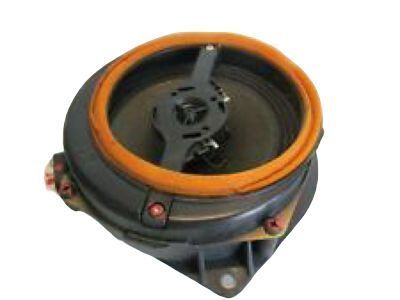
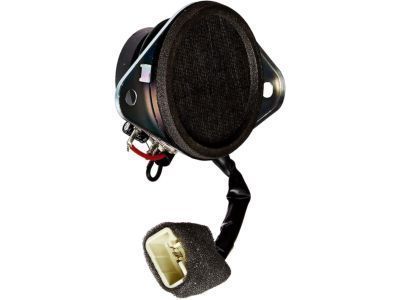
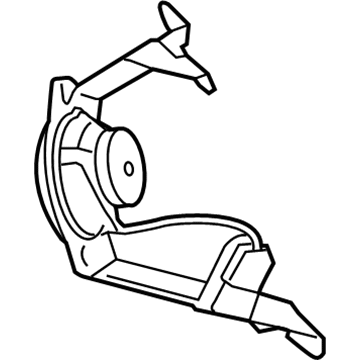
2008 Toyota Sequoia Front Driver Speaker
Part Number: 86160-AC450$88.98 MSRP: $121.06You Save: $32.08 (27%)Ships in 1-2 Business DaysProduct Specifications- Other Name: Speaker Assembly, Radio; Speaker, Front, Front Rearward, Front Upper, Front Upper Outer, Rear Upper; Rear Driver Speaker; Speaker; Tweeter; Speaker Assembly, Front; Speaker Assembly, Rear
- Item Weight: 1.40 Pounds
- Item Dimensions: 10.1 x 7.1 x 7.3 inches
- Condition: New
- Fitment Type: Direct Replacement
- Require Quantity: 2
- SKU: 86160-AC450
- Warranty: This genuine part is guaranteed by Toyota's factory warranty.

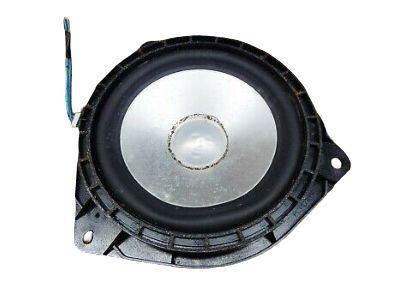
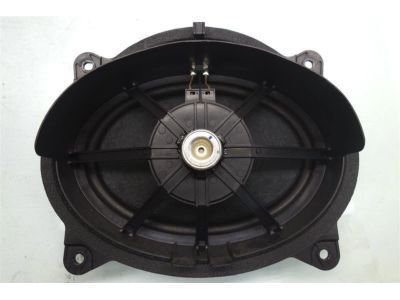
2008 Toyota Sequoia Front Driver Speaker, Rear
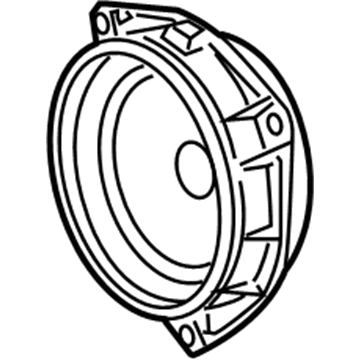
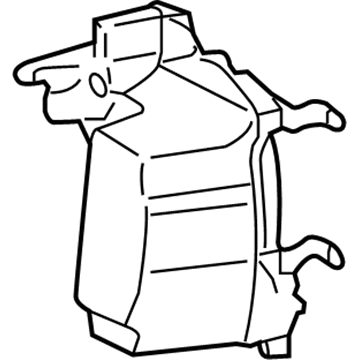
Part Number: 86160-AC280$171.30 MSRP: $235.03You Save: $63.73 (28%)Ships in 1-3 Business DaysProduct Specifications- Other Name: Speaker Assembly, Radio; Speaker, Center, Center Rear, Front Lower, Rear Lower, Rear Lower Outer; Rear Driver Speaker; Speaker; Speaker Assembly, Front; Speaker Assembly, Rear; Speaker Set, Rear
- Position: Rear
- Item Weight: 4.20 Pounds
- Item Dimensions: 15.1 x 13.1 x 6.7 inches
- Condition: New
- Fitment Type: Direct Replacement
- Require Quantity: 2
- SKU: 86160-AC280
- Warranty: This genuine part is guaranteed by Toyota's factory warranty.

2008 Toyota Sequoia Instrument Panel Speaker, Front
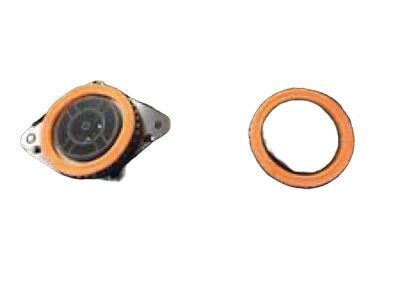
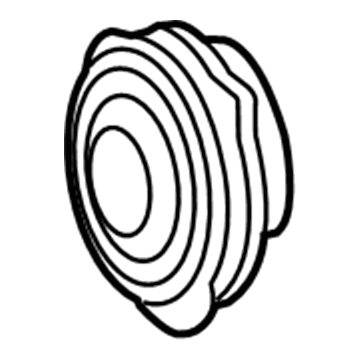
Part Number: 86160-0C070$154.27 MSRP: $211.66You Save: $57.39 (28%)Ships in 1-3 Business DaysProduct Specifications- Other Name: Speaker Assembly, Radio; Speaker, Inner, Outer; Speaker; Tweeter; Speaker Assembly, Front; Speaker Set, Front
- Position: Front
- Item Weight: 0.90 Pounds
- Condition: New
- Fitment Type: Direct Replacement
- SKU: 86160-0C070
- Warranty: This genuine part is guaranteed by Toyota's factory warranty.

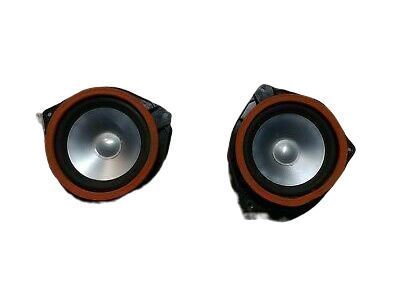
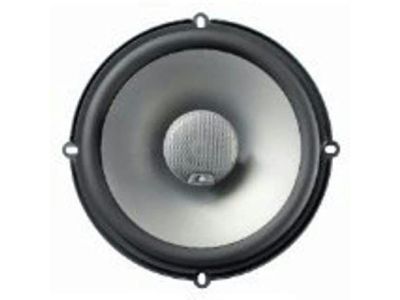
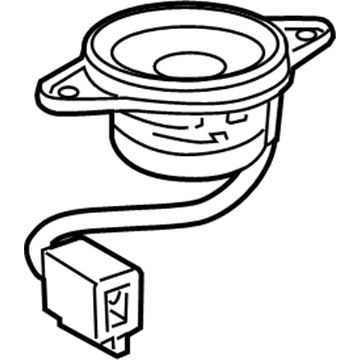
2008 Toyota Sequoia Front Driver Speaker
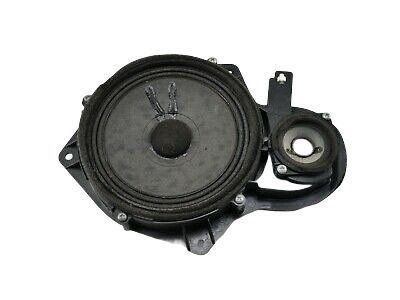
Part Number: 86160-0C150$125.48 MSRP: $172.16You Save: $46.68 (28%)Ships in 1-2 Business DaysProduct Specifications- Other Name: Speaker Assembly, Radio; Speaker, Center Front, Front Lower; Speaker; Speaker Assembly, Front
- Part Name Code: 86160
- Item Weight: 4.30 Pounds
- Item Dimensions: 15.1 x 13.7 x 6.5 inches
- Condition: New
- Fitment Type: Direct Replacement
- Require Quantity: 2
- SKU: 86160-0C150
- Warranty: This genuine part is guaranteed by Toyota's factory warranty.

2008 Toyota Sequoia Instrument Panel Speaker, Front
Part Number: 86160-AE010$120.91 MSRP: $171.16You Save: $50.25 (30%)Ships in 1-3 Business DaysProduct Specifications- Other Name: Speaker Assembly, Radio; Speaker, Front, Outer; Speaker; Tweeter; Speaker Assembly, Front; Speaker Set, Front
- Position: Front
- Item Weight: 0.90 Pounds
- Condition: New
- Fitment Type: Direct Replacement
- Require Quantity: 2
- SKU: 86160-AE010
- Warranty: This genuine part is guaranteed by Toyota's factory warranty.

2008 Toyota Sequoia Instrument Panel Speaker
Part Number: 86160-AA440$188.36 MSRP: $268.93You Save: $80.57 (30%)Ships in 1-3 Business DaysProduct Specifications- Other Name: Speaker Assembly, Radio; Speaker, Center, Center Front, Front, Front Lower; Front Driver Speaker; Speaker; Speaker Assembly, Front
- Part Name Code: 86160
- Item Weight: 2.40 Pounds
- Item Dimensions: 12.4 x 9.5 x 7.3 inches
- Condition: New
- Fitment Type: Direct Replacement
- Require Quantity: 2
- SKU: 86160-AA440
- Warranty: This genuine part is guaranteed by Toyota's factory warranty.
2008 Toyota Sequoia Quarter Panel Speaker, Passenger Side
Part Number: 86160-0C100$90.78 MSRP: $107.00You Save: $16.22 (16%)Ships in 1-3 Business DaysProduct Specifications- Other Name: Speaker Assembly, Radio; Speaker, Rear Right; Speaker; Speaker Assembly, Quarter Side
- Manufacturer Note: RH
- Position: Passenger Side
- Part Name Code: 86160U
- Item Weight: 2.10 Pounds
- Condition: New
- Fitment Type: Direct Replacement
- SKU: 86160-0C100
- Warranty: This genuine part is guaranteed by Toyota's factory warranty.
2008 Toyota Sequoia Quarter Panel Speaker, Driver Side
Part Number: 86160-0C090$86.49 MSRP: $101.95You Save: $15.46 (16%)Ships in 1-3 Business DaysProduct Specifications- Other Name: Speaker Assembly, Radio; Speaker, Rear Left; Speaker; Speaker Assembly, Quarter Side
- Manufacturer Note: LH
- Position: Driver Side
- Part Name Code: 86160U
- Item Weight: 2.10 Pounds
- Condition: New
- Fitment Type: Direct Replacement
- SKU: 86160-0C090
- Warranty: This genuine part is guaranteed by Toyota's factory warranty.
2008 Toyota Sequoia Woofer
Part Number: 86150-0C030$555.68 MSRP: $789.29You Save: $233.61 (30%)Ships in 1-3 Business DaysProduct Specifications- Other Name: Speaker Assembly, With Box; Speaker; Speaker Assembly, W/Box
- Part Name Code: 86150
- Condition: New
- Fitment Type: Direct Replacement
- SKU: 86150-0C030
- Warranty: This genuine part is guaranteed by Toyota's factory warranty.
2008 Toyota Sequoia Door Speaker, Rear
Part Number: 86160-AC290$139.13 MSRP: $196.96You Save: $57.83 (30%)Ships in 1-3 Business DaysProduct Specifications- Other Name: Speaker Assembly, Radio; Speaker, Center, Center Rear, Front, Front Lower, Rear, Rear Lower, Rear Lower Outer; Front Driver Speaker; Rear Driver Speaker; Speaker; Speaker Assembly, Front; Speaker Assembly, Rear; Speaker Set, Rear
- Position: Rear
- Item Weight: 4.20 Pounds
- Item Dimensions: 15.6 x 13.3 x 6.5 inches
- Condition: New
- Fitment Type: Direct Replacement
- Require Quantity: 2
- SKU: 86160-AC290
- Warranty: This genuine part is guaranteed by Toyota's factory warranty.
2008 Toyota Sequoia Quarter Panel Speaker, Passenger Side
Part Number: 86160-0C120$131.47 MSRP: $186.11You Save: $54.64 (30%)Ships in 1-3 Business DaysProduct Specifications- Other Name: Speaker Assembly, Radio; Speaker, Rear Left, Rear Right; Speaker; Speaker Assembly, Quarter Side
- Position: Passenger Side
- Part Name Code: 86160U
- Item Weight: 1.30 Pounds
- Condition: New
- Fitment Type: Direct Replacement
- SKU: 86160-0C120
- Warranty: This genuine part is guaranteed by Toyota's factory warranty.
2008 Toyota Sequoia Quarter Panel Speaker, Driver Side
Part Number: 86160-0C110$131.47 MSRP: $186.11You Save: $54.64 (30%)Ships in 1-3 Business DaysProduct Specifications- Other Name: Speaker Assembly, Radio; Speaker, Rear Left, Rear Right; Speaker; Speaker Assembly, Quarter Side
- Position: Driver Side
- Part Name Code: 86160U
- Condition: New
- Fitment Type: Direct Replacement
- SKU: 86160-0C110
- Warranty: This genuine part is guaranteed by Toyota's factory warranty.
2008 Toyota Sequoia Instrument Panel Speaker, Center
Part Number: 86160-AC260$217.84 MSRP: $311.03You Save: $93.19 (30%)Ships in 1-3 Business DaysProduct Specifications- Other Name: Speaker Assembly, Radio; Speaker, Center, Front Inner; Speaker; Speaker Assembly, Stereo Component; Speaker Assembly, Front
- Position: Center
- Item Weight: 0.60 Pounds
- Condition: New
- Fitment Type: Direct Replacement
- SKU: 86160-AC260
- Warranty: This genuine part is guaranteed by Toyota's factory warranty.
2008 Toyota Sequoia Car Speakers
Looking for affordable OEM 2008 Toyota Sequoia Car Speakers? Explore our comprehensive catalogue of genuine 2008 Toyota Sequoia Car Speakers. All our parts are covered by the manufacturer's warranty. Plus, our straightforward return policy and speedy delivery service ensure an unparalleled shopping experience. We look forward to your visit!
2008 Toyota Sequoia Car Speakers Parts Q&A
- Q: How to install the front door Car Speakers on the RH side on 2008 Toyota Sequoia?A: The front door speaker installation will follow the same approach for both RH and LH sides but the specific procedure applies to the RH side. Begin with front NO. 3 speaker assembly (for 14 speakers) by attaching its 3 claws to the lower frame bracket garnish while carefully avoiding the cone part of the speaker. The front NO. 1 speaker assembly should be installed through 3 claws followed by screwing it with 4 screws and connector installation while maintaining clearance from the cone part. The following installation steps include front door trim board sub-assembly RH, front upper armrest base panel RH, front door inside handle bezel plug RH, and front lower door frame bracket garnish RH which need proper reassembly.
