×
ToyotaParts- Hello
- Login or Register
- Quick Links
- Live Chat
- Track Order
- Parts Availability
- RMA
- Help Center
- Contact Us
- Shop for
- Toyota Parts
- Scion Parts
My Garage
My Account
Cart
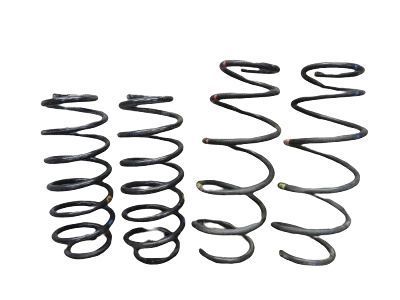
OEM 2007 Toyota Yaris Coil Springs
Strut Spring- Select Vehicle by Model
- Select Vehicle by VIN
Select Vehicle by Model
orMake
Model
Year
Select Vehicle by VIN
For the most accurate results, select vehicle by your VIN (Vehicle Identification Number).
4 Coil Springs found

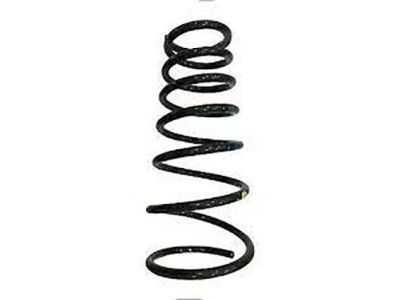
2007 Toyota Yaris Coil Spring, Rear
Part Number: 48231-52A51$121.25 MSRP: $171.64You Save: $50.39 (30%)Ships in 1-3 Business DaysProduct Specifications- Other Name: Spring, Coil, Rear; Coil Spring, Rear, Rear Left, Rear Right; Coil Springs; Spring; Spring, Coil, Rear Passenger Side; Spring, Coil, Rear Driver Side
- Position: Rear
- Replaces: 48231-52A50
- Item Weight: 6.20 Pounds
- Item Dimensions: 16.8 x 10.7 x 5.6 inches
- Condition: New
- Fitment Type: Direct Replacement
- SKU: 48231-52A51
- Warranty: This genuine part is guaranteed by Toyota's factory warranty.

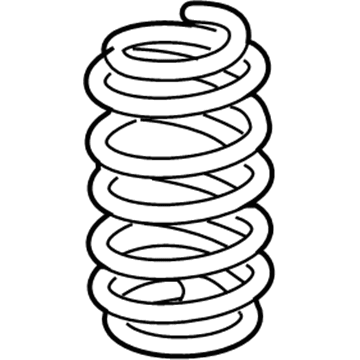
2007 Toyota Yaris Coil Spring, Rear
Part Number: 48231-52C01$95.62 MSRP: $134.22You Save: $38.60 (29%)Ships in 1-2 Business DaysProduct Specifications- Other Name: Spring, Coil, Rear; Coil Spring, Rear, Rear Left, Rear Right; Coil Springs; Spring; Spring, Coil, Rear Passenger Side; Spring, Coil, Rear Driver Side
- Position: Rear
- Replaces: 48231-52C00
- Item Weight: 5.40 Pounds
- Item Dimensions: 16.7 x 10.8 x 5.7 inches
- Condition: New
- Fitment Type: Direct Replacement
- SKU: 48231-52C01
- Warranty: This genuine part is guaranteed by Toyota's factory warranty.
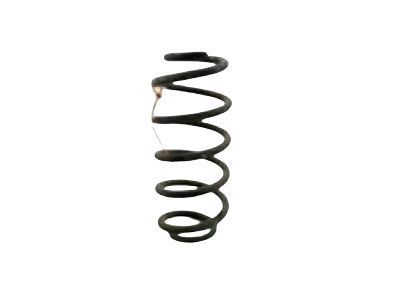
2007 Toyota Yaris Coil Spring, Front
Part Number: 48131-52A52$72.15 MSRP: $101.28You Save: $29.13 (29%)Ships in 1-3 Business DaysProduct Specifications- Other Name: Spring, Coil, Front; Coil Spring, Front; Coil Springs; Spring
- Position: Front
- Replaces: 48131-52A50, 48131-52A51
- Item Weight: 3.90 Pounds
- Item Dimensions: 16.2 x 7.0 x 5.7 inches
- Condition: New
- SKU: 48131-52A52
- Warranty: This genuine part is guaranteed by Toyota's factory warranty.

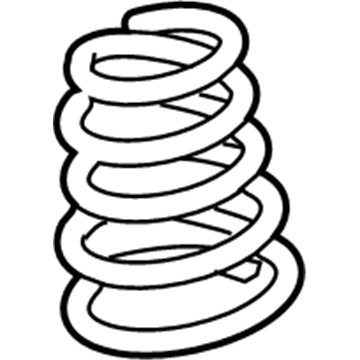
2007 Toyota Yaris Coil Spring, Front
Part Number: 48131-52A40$79.26 MSRP: $111.27You Save: $32.01 (29%)Product Specifications- Other Name: Spring, Coil, Front; Coil Spring, Front; Coil Springs; Spring; Spring, Front Coil, Passenger Side; Spring, Front Coil, Driver Side
- Position: Front
- Item Weight: 6.20 Pounds
- Item Dimensions: 15.9 x 6.8 x 5.9 inches
- Condition: New
- Fitment Type: Direct Replacement
- SKU: 48131-52A40
- Warranty: This genuine part is guaranteed by Toyota's factory warranty.
2007 Toyota Yaris Coil Springs
Looking for affordable OEM 2007 Toyota Yaris Coil Springs? Explore our comprehensive catalogue of genuine 2007 Toyota Yaris Coil Springs. All our parts are covered by the manufacturer's warranty. Plus, our straightforward return policy and speedy delivery service ensure an unparalleled shopping experience. We look forward to your visit!
2007 Toyota Yaris Coil Springs Parts Q&A
- Q: How to service and repair the rear coil springs on 2007 Toyota Yaris?A: Begin rear coil spring service by disconnecting the negative cable and followed by removal of both the Sedan Fixed Seat Type rear seat components including rear seat cushion cover pad sub-assembly and seatback assembly. Start with removing both brake fluid and then remove the rear wheel from the vehicle. Before resuming work wash down all contact with fluid from painted components. The skid control sensor wire gets separated by pulling the plug connector lock claws before disconnecting the connector and removing the connecting wire nut. Use Special Service Tool: 09023-00101 to detach the brake tube from the flexible hose through the rear LH flexible hose disconnection. Afterward, remove the wire connector from the axle beam with the hose clip. The same process should be applied to remove the rear right-hand flexible hose. You need to loosen the two bolts of the rear axle beam without taking them off yet remove the rear absorber cap of the Hatchback followed by all rear shock absorber caps and shock absorbers for both LH and RH sides. The rear coil spring LH installation requires positioning the insulators starting with the lower one on the axle beam while aligning the coil spring paint mark to face downwards and to the rear of the vehicle. Rephrase the installation steps for the rear coil spring on the right-hand side (RH). The shock absorbers must first be tightened briefly then shock absorber caps together with the rear LH flexible hose must be installed using tool 09023-00101 and applying required torque values to hook up the brake tube. The skid control sensor wire gets its installation through the nut followed by connection of the wire connector. Since installation begin with the rear wheel reinstall while using correct torque values followed by suspension stabilization from lowering the vehicle for bouncing and full tightening of both rear axle beam components alongside shock absorbers. Reinstall the rear seatback assembly followed by the rear seat cushion cover pad sub-assembly while reconnecting the negative battery terminal with the specified torque value and filling the brake fluid reservoir together with bleeding the master cylinder and brake line. Before finishing the work check the brake fluid level, inspect for leakage then verify the rear wheel alignment and confirm proper ABS sensor signals.
