×
ToyotaParts- Hello
- Login or Register
- Quick Links
- Live Chat
- Track Order
- Parts Availability
- RMA
- Help Center
- Contact Us
- Shop for
- Toyota Parts
- Scion Parts
My Garage
My Account
Cart
OEM 2006 Toyota Tundra Axle Shaft
Car Axle Shaft- Select Vehicle by Model
- Select Vehicle by VIN
Select Vehicle by Model
orMake
Model
Year
Select Vehicle by VIN
For the most accurate results, select vehicle by your VIN (Vehicle Identification Number).
3 Axle Shafts found

2006 Toyota Tundra Axle Shaft, Rear
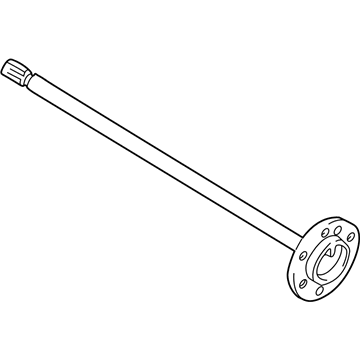
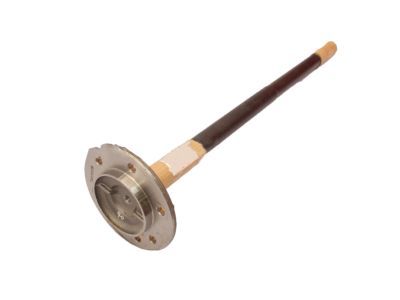
Part Number: 42311-34060$487.70 MSRP: $714.73You Save: $227.03 (32%)Ships in 1-3 Business DaysProduct Specifications- Other Name: Shaft, Rear Axle; Drive Axle Shaft, Rear; Axle Shafts; Shaft, Rear Axle, Passenger Side; Shaft, Rear Axle, Driver Side
- Position: Rear
- Item Weight: 18.20 Pounds
- Item Dimensions: 34.5 x 8.7 x 7.4 inches
- Condition: New
- Fitment Type: Direct Replacement
- SKU: 42311-34060
- Warranty: This genuine part is guaranteed by Toyota's factory warranty.

2006 Toyota Tundra Axle Shaft, Rear
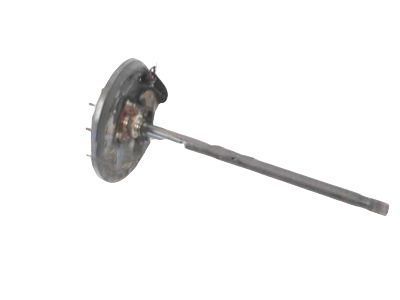
Part Number: 42311-34040$411.88 MSRP: $603.62You Save: $191.74 (32%)Ships in 1-3 Business DaysProduct Specifications- Other Name: Shaft, Rear Axle; Drive Axle Shaft, Rear; Axle Shafts; Shaft, Rear Axle, Passenger Side; Shaft, Rear Axle, Driver Side
- Manufacturer Note: W(ABS)
- Position: Rear
- Item Weight: 22.90 Pounds
- Item Dimensions: 51.5 x 8.5 x 8.1 inches
- Condition: New
- Fitment Type: Direct Replacement
- SKU: 42311-34040
- Warranty: This genuine part is guaranteed by Toyota's factory warranty.

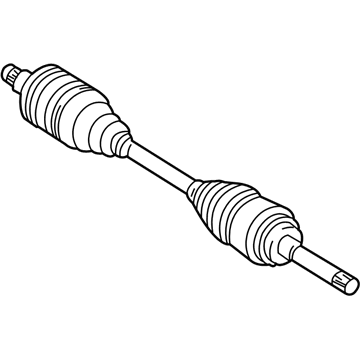
2006 Toyota Tundra Axle Assembly, Front
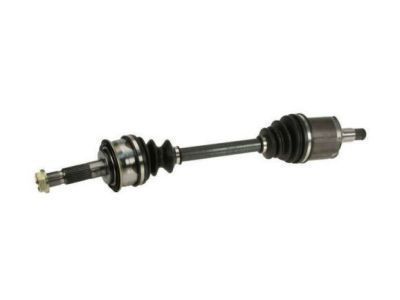
Part Number: 43430-0C010$372.28 MSRP: $572.11You Save: $199.83 (35%)Product Specifications- Other Name: Shaft Assembly, Front Drive; CV Axle Assembly, Front Left, Front Right; GSP Cv Axle; Axle Shaft; Shaft Assembly, Front Drive, Passenger Side; Shaft Assembly, Front Drive, Driver Side; CV Axle Assembly
- Position: Front
- Item Weight: 23.70 Pounds
- Item Dimensions: 30.7 x 6.2 x 6.2 inches
- Condition: New
- Fitment Type: Direct Replacement
- SKU: 43430-0C010
- Warranty: This genuine part is guaranteed by Toyota's factory warranty.
2006 Toyota Tundra Axle Shaft
Looking for affordable OEM 2006 Toyota Tundra Axle Shaft? Explore our comprehensive catalogue of genuine 2006 Toyota Tundra Axle Shaft. All our parts are covered by the manufacturer's warranty. Plus, our straightforward return policy and speedy delivery service ensure an unparalleled shopping experience. We look forward to your visit!
2006 Toyota Tundra Axle Shaft Parts Q&A
- Q: How to install the rear axle shaft and associated components on 2006 Toyota Tundra?A: The first step before installing the rear axle shaft is to put in a new O-ring onto the rear axle housing. Specifically install the rear axle shaft assembly while tightening it to 69 Nm (700 kgf-cm, 51 ft. lbs.). Connect the brake line and parking brake cable through the installation of the parking brake cable pin and clip followed by using Special Service Tool: 09023-00101 to torque the brake line to the wheel cylinder at 15 Nm (155 kgf-cm, 11 ft. lbs.). Follow with the installation of the rear brake assembly before placing the ABS speed sensor when equipped with ABS security features using 8.0 Nm (82 kgf-cm, 71 ft. lbs.) torque. After verifying bearing backlash and axle shaft deviation you should apply a new gasket and brake drum. The rear wheel installation requires a torque setting of 110 Nm (1,150 kgf-cm, 83 ft. lbs.) then the brake system requires bleeding before checking the ABS speed sensor signal for vehicles equipped with ABS.
