×
ToyotaParts- Hello
- Login or Register
- Quick Links
- Live Chat
- Track Order
- Parts Availability
- RMA
- Help Center
- Contact Us
- Shop for
- Toyota Parts
- Scion Parts
My Garage
My Account
Cart
OEM 2006 Toyota Solara Parking Brake Shoe
Emergency Parking Brake Shoe- Select Vehicle by Model
- Select Vehicle by VIN
Select Vehicle by Model
orMake
Model
Year
Select Vehicle by VIN
For the most accurate results, select vehicle by your VIN (Vehicle Identification Number).
3 Parking Brake Shoes found

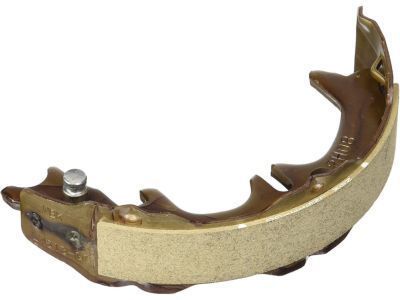
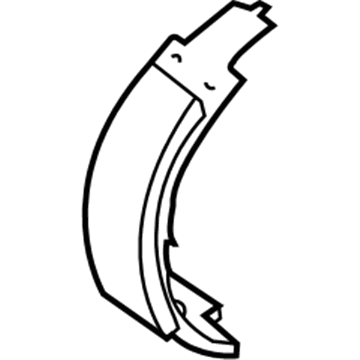
2006 Toyota Solara Parking Brake Shoes, Driver Side
Part Number: 46590-06020$39.30 MSRP: $54.71You Save: $15.41 (29%)Ships in 1-3 Business DaysProduct Specifications- Other Name: Shoe Assembly, Parking Brake; Parking Brake Shoe, Rear Left; Shoes; Shoe Assembly, Parking Brake, Driver Side; Parking Brake Shoe
- Position: Driver Side
- Part Name Code: 46590
- Item Weight: 0.80 Pounds
- Item Dimensions: 13.0 x 4.8 x 2.5 inches
- Condition: New
- Fitment Type: Direct Replacement
- SKU: 46590-06020
- Warranty: This genuine part is guaranteed by Toyota's factory warranty.

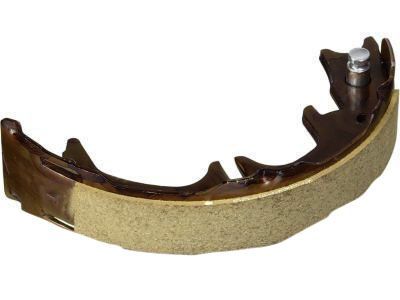
2006 Toyota Solara Parking Brake Shoes, Passenger Side Or Center
Part Number: 46550-06020$39.30 MSRP: $54.71You Save: $15.41 (29%)Ships in 1-3 Business DaysProduct Specifications- Other Name: Shoe Assembly, Parking Brake; Parking Brake Shoe, Rear Right; Shoes; Shoe Assembly, Parking Brake, Passenger Side Or Center; Parking Brake Shoe
- Position: Passenger Side Or Center
- Part Name Code: 46550
- Item Weight: 1.10 Pounds
- Item Dimensions: 13.0 x 5.0 x 2.6 inches
- Condition: New
- Fitment Type: Direct Replacement
- SKU: 46550-06020
- Warranty: This genuine part is guaranteed by Toyota's factory warranty.

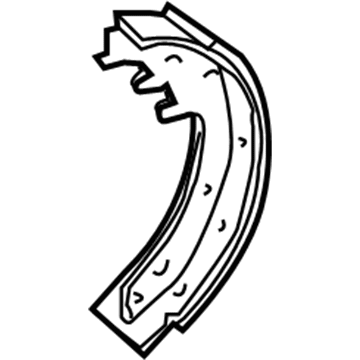
2006 Toyota Solara Shoe Assembly, Parking Brake, Passenger Side Or Center
Part Number: 46540-20070$34.64 MSRP: $48.22You Save: $13.58 (29%)Ships in 1-2 Business DaysProduct Specifications- Other Name: Shoe Assembly, Parking Brake; Shoe Assembly, Parking Brake, Driver Side; Parking Brake Shoe
- Replaces: 46540-20060, 46540-07010
- Item Weight: 1.10 Pounds
- Item Dimensions: 13.0 x 5.3 x 2.7 inches
- Condition: New
- Fitment Type: Direct Replacement
- SKU: 46540-20070
- Warranty: This genuine part is guaranteed by Toyota's factory warranty.
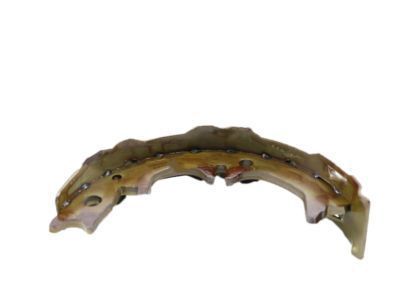
2006 Toyota Solara Parking Brake Shoe
Looking for affordable OEM 2006 Toyota Solara Parking Brake Shoe? Explore our comprehensive catalogue of genuine 2006 Toyota Solara Parking Brake Shoe. All our parts are covered by the manufacturer's warranty. Plus, our straightforward return policy and speedy delivery service ensure an unparalleled shopping experience. We look forward to your visit!
2006 Toyota Solara Parking Brake Shoe Parts Q&A
- Q: What is the procedure to service and repair the Parking Brake Shoe on the LH side with a maximum disc diameter of 171 mm on 2006 Toyota Solara?A: The first step when repairing the parking brake requires removing the wheel along with the LH rear disc brake caliper assembly through the elimination of the 2 bolts which require keeping the flexible hose intact. The technician removes the rear disc after releasing the parking brake and marks both the rear disc and axle hub for later installation. The shoe needs adjustment to ease disc removal if the wheel participates in excessive resistance. The next task involves using needle-nose pliers to remove the 2 parking brake shoe return tension springs number 1 then proceeding to eliminate the parking brake shoe strut LH together with its compression spring. You must use a cup claw to remove parking brake shoe assembly LH No. 2 together with No. 1 followed by separating the parking brake cable No. 3 from the shoe lever while extracting the tension spring and shoe adjuster screw set from all shoe assemblies. First remove the three components: 2 shoe hold-down springs and 4 cups and 2 pins. After that disconnect the C-washer using a screwdriver followed by the shim and shoe lever from parking brake shoe assembly LH No. 2. Use a brake drum gauge to check the brake disc inside diameter which should be less than 171 mm (6.73 inch) and measure the parking brake shoe lining thickness where replacement is needed if it reaches or drops under 1.0 mm (0.039 inch) or shows severe wear conditions. The brake disc and shoe lining contact needs to be checked by using chalk before performing any required lining grinding. The backing plate needs high temperature grease before installing the shoe lever together with the new C-washer and shim but you must replace the shim if the feeler gauge shows a clearance larger than 0.35 mm (0.0138 inch). Install the parking brake cable Number 3 before placing the shoe hold-down springs and cups alongside the 2 pins and tension spring and shoe adjusting screw set. Then connect the cable to the shoe lever followed by inserting the adjusting bolt and high temperature grease. First secure the parking brake shoe strut LH while attaching its compression spring and then place the 2 return tension springs No. 1 installation starting with the forward side. The installation process should include complete attachment of parts while keeping oil and grease away from both shoe surfaces. Temporarily fasten the rear disc using the matchmarks followed by securing hub nuts while adjusting the parking brake shoe clearance by rotating the adjuster until disc lock and then retracting by eight notches until smooth rotation occurs. The procedure ends by placing the hole plug then uniting the assembly with two bolts torqued to 62 Nm (630 kgf-cm, 46 ft. lbs.) of force. The last step includes wheel torquing at 103 Nm (1,050 kgf-cm, 76 ft. lbs.) before adjusting the parking brake lever travel.
