×
ToyotaParts- Hello
- Login or Register
- Quick Links
- Live Chat
- Track Order
- Parts Availability
- RMA
- Help Center
- Contact Us
- Shop for
- Toyota Parts
- Scion Parts
My Garage
My Account
Cart
OEM 2005 Toyota Avalon Exhaust Pipe
Exhaust Tail Pipe- Select Vehicle by Model
- Select Vehicle by VIN
Select Vehicle by Model
orMake
Model
Year
Select Vehicle by VIN
For the most accurate results, select vehicle by your VIN (Vehicle Identification Number).
4 Exhaust Pipes found
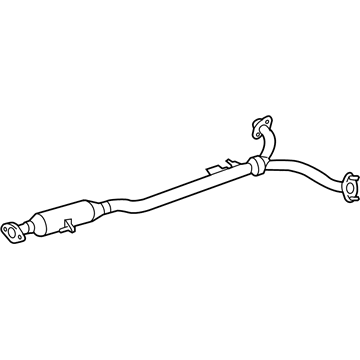
2005 Toyota Avalon Center Pipe
Part Number: 17420-0P011$357.85 MSRP: $480.35You Save: $122.50 (26%)Ships in 1-3 Business DaysProduct Specifications- Other Name: Pipe Assembly, Exhaust; Exhaust Intermediate Pipe, Center; Exhaust Pipe; Pipe Assembly, Exhaust, Center
- Position: Center
- Replaces: 17420-0P010
- Part Name Code: 17420
- Item Weight: 16.10 Pounds
- Item Dimensions: 52.9 x 19.6 x 9.4 inches
- Condition: New
- Fitment Type: Direct Replacement
- SKU: 17420-0P011
- Warranty: This genuine part is guaranteed by Toyota's factory warranty.
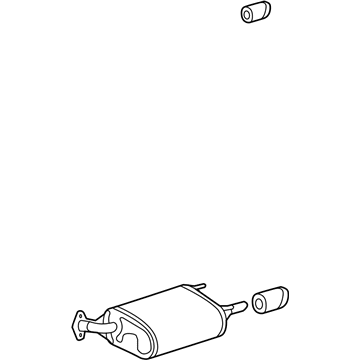
2005 Toyota Avalon Muffler W/Tpipe, Driver Side
Part Number: 17440-0P010$395.42 MSRP: $530.77You Save: $135.35 (26%)Ships in 1-3 Business DaysProduct Specifications- Other Name: Pipe Assembly, Exhaust Tail; Exhaust Muffler, Left; Exhaust Muffler Assembly; Exhaust Pipe; Tail Pipe; Muffler; Pipe Assembly, Exhaust, Tail
- Manufacturer Note: LH
- Position: Driver Side
- Part Name Code: 17430
- Item Weight: 10.60 Pounds
- Item Dimensions: 44.9 x 12.5 x 9.2 inches
- Condition: New
- Fitment Type: Direct Replacement
- SKU: 17440-0P010
- Warranty: This genuine part is guaranteed by Toyota's factory warranty.
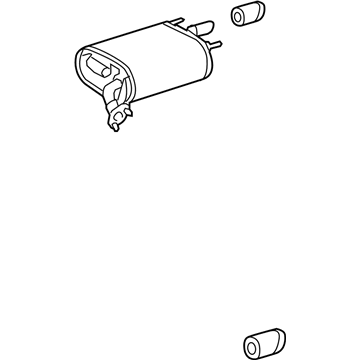
2005 Toyota Avalon Muffler W/Tpipe, Passenger Side
Part Number: 17430-0P040$395.42 MSRP: $530.77You Save: $135.35 (26%)Ships in 1-3 Business DaysProduct Specifications- Other Name: Pipe Assembly, Exhaust Tail; Exhaust Muffler, Right; Exhaust Pipe; Tail Pipe; Muffler; Pipe Assembly, Exhaust, Tail
- Manufacturer Note: RH
- Position: Passenger Side
- Part Name Code: 17430
- Item Weight: 11.00 Pounds
- Item Dimensions: 44.9 x 12.2 x 8.9 inches
- Condition: New
- Fitment Type: Direct Replacement
- SKU: 17430-0P040
- Warranty: This genuine part is guaranteed by Toyota's factory warranty.
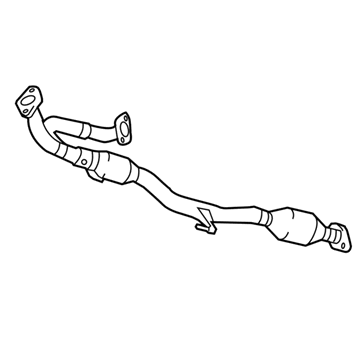
2005 Toyota Avalon Front Pipe
Part Number: 17410-0P051$1477.42 MSRP: $1983.12You Save: $505.70 (26%)Ships in 1-3 Business DaysProduct Specifications- Other Name: Pipe Assembly, Exhaust; Exhaust Crossover Pipe; Exhaust Pipe; Pipe Assembly, Exhaust, Front
- Position: Front
- Part Name Code: 17410
- Item Weight: 21.80 Pounds
- Item Dimensions: 49.9 x 10.4 x 10.5 inches
- Condition: New
- Fitment Type: Direct Replacement
- SKU: 17410-0P051
- Warranty: This genuine part is guaranteed by Toyota's factory warranty.
2005 Toyota Avalon Exhaust Pipe
Looking for affordable OEM 2005 Toyota Avalon Exhaust Pipe? Explore our comprehensive catalogue of genuine 2005 Toyota Avalon Exhaust Pipe. All our parts are covered by the manufacturer's warranty. Plus, our straightforward return policy and speedy delivery service ensure an unparalleled shopping experience. We look forward to your visit!
2005 Toyota Avalon Exhaust Pipe Parts Q&A
- Q: How to service the exhaust pipe assembly on 2005 Toyota Avalon?A: When changing the exhaust pipe assembly (2GR-FE), de-mount old gaskets, rusty bolts and disconnect the heated oxygen sensors. Disassemble the parts of the exhaust pipe assembly, and re-assemble using new gaskets and the correct amount of torque. Lastly, re-attach the sensors and test against exhaust gas leakage and tighten or replace parts where necessary.


