My Garage
Cart

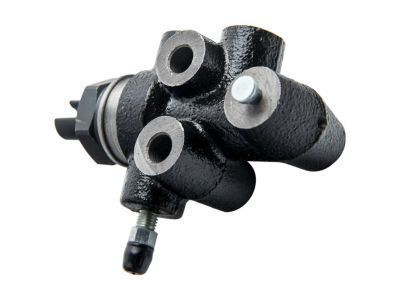
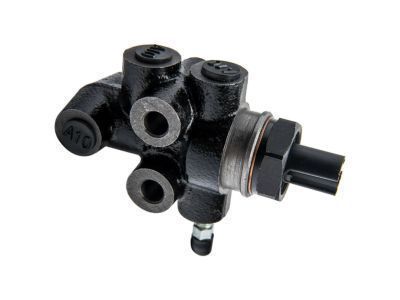
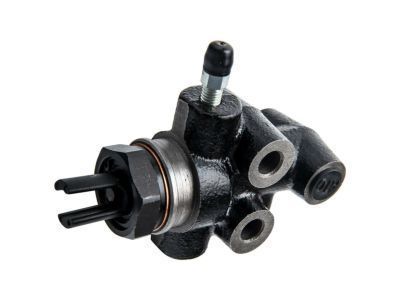
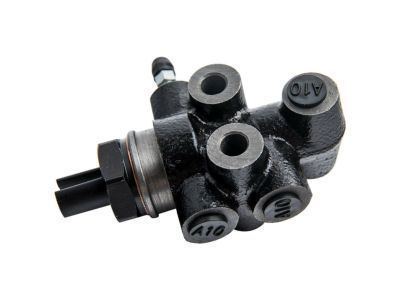
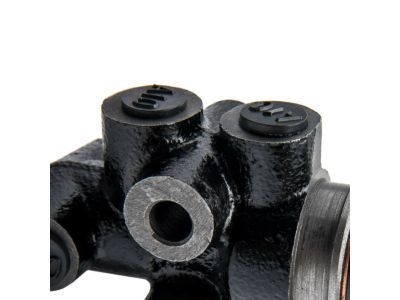
OEM 2004 Toyota Tundra Brake Proportioning Valve

Proportioning Valve
  • Select Vehicle by Model
  • Select Vehicle by VIN
Select Vehicle by Model
Make
Model
Year
or
Select Vehicle by VIN
For the most accurate results, select vehicle by your VIN (Vehicle Identification Number).

1 Brake Proportioning Valve found

  • 2004 Toyota Tundra Brake Proportioning Valve - 47910-34070
    2004 Toyota Tundra Brake Proportioning Valve Diagram - 47910-34070
    View related parts

    2004 Toyota Tundra Load Proportioning Valve

    Part Number: 47910-34070
    $244.99 MSRP: $349.79
    You Save: $104.80 (30%)
    Ships in 1-2 Business Days
    ADD TO CART
    Product Specifications
    • Other Name: Valve Assembly, Load Sensing With Spring; Brake Proportioning Valve; Valve Assembly, Load Sensing Proportioning
    • Manufacturer Note: W(ABS)
    • Part Name Code: 47910
    • Item Weight: 1.60 Pounds
    • Item Dimensions: 4.1 x 3.4 x 2.2 inches
    • Condition: New
    • Fitment Type: Direct Replacement
    • SKU: 47910-34070
    • Warranty: This genuine part is guaranteed by Toyota's factory warranty.
    More Info
    Fits the following 2004 Toyota Tundra Submodels:
    • Base, Limited, SR5 | 6 Cyl 3.4 L GAS, 6 Cyl 4.0 L GAS, 8 Cyl 4.7 L GAS

2004 Toyota Tundra Brake Proportioning Valve

Looking for affordable OEM 2004 Toyota Tundra Brake Proportioning Valve? Explore our comprehensive catalogue of genuine 2004 Toyota Tundra Brake Proportioning Valve. All our parts are covered by the manufacturer's warranty. Plus, our straightforward return policy and speedy delivery service ensure an unparalleled shopping experience. We look forward to your visit!

2004 Toyota Tundra Brake Proportioning Valve Parts Questions & Experts Answers

  • Q: How to service and repair a Brake Proportioning Valve on 2004 Toyota Tundra?
    A: Humvee vehicle operators can start LSP & BV repair by disassembling shackle No. 2 from the bracket by first unfastening the nut and cushion retainer followed by 2 bushings and a collar and finally unthreading the 2 bolts and shackle bracket. Start by disconnecting the 3 brake lines from the valve body through the utilization of Special Service Tool: 09751-36011 before removing the 2 valve bracket mounting bolts. To remove the blend proportioning valve disconnect all four brake lines and take out three bolts which should be torqued at 29 Nm (296 kgf-cm, 21 ft. lbs.). Disassembly begins with removing the valve bracket by first unfastening the nut with washer and bolt and plate washers while secondly removing the 2 nuts as well as 2 washers and set plate and valve bracket from the valve body. The spring clips can be extracted using pliers from the valve and next the bolt nut and washer followed by shackle No. 1 and No. 2 removal while taking away the load sensing spring and 2 plate washers. Detach shackle No. 1 from shackle No. 2 by first loosening the 2 nuts and both plate washers and then removing the load sensing spring using the 4 bushings and 2 collars and taking off the load sensing valve boot and load sensing spring boot. The inspection of both the valve piston pin and the load sensing contact surface needs to check for wear that cannot exceed 0.7 mm (0.028 inch). Reassemble the system by first installing the boots for the load sensing valve and load sensing spring and after that position the 2 collars and 4 bushings while applying lithium soap-base glycol grease to all contact areas. Install the shackle pair by fastening the lock nut to the plate washer followed by shackle No. 1 joined to shackle No. 2. Secure the upper nut with a torque of 13 Nm (130 kgf-cm, 9 ft. lbs.). Fasten two plate washers onto shackle No. 1 before securing it with bolt, washer and nut at 18 Nm (185 kgf-cm, 13 ft. lbs.) torque and connecting the load sensing spring to the load sensing valve by using a clip. The valve bracket installation begins by setting the load sensing valve into position through the bracket and temporarily tightening both washers and nuts before adding the load sensing spring assembly and fixing it with 2 plate washers, a bolt, washer and nut at 18 Nm (185 kgf-cm, 13 ft. lbs.). The Frame should receive the LSP & BV assembly through 2 valve bracket mounting bolts set to 29 Nm (300 kgf-cm, 22 ft. lbs.) torque before using Special Service Tool: 09751-36011 to connect the 3 brake lines with 15 Nm (155 kgf-cm, 11 ft. lbs.) torque. Set dimension A to 120 mm (4.72 inch) before torquing the lock nut to a starting value of 13 Nm (130 kgf-cm, 9 ft. lbs.). After that install the shackle bracket and two bolts by torquing them at 29 Nm (300 kgf-cm, 22 ft. lbs.). Finish by connecting the two bushings and the collar with shackle No. 2 to the shackle bracket with a torque of 13 Nm (130 kgf-cm, 9 ft. lbs.) and installing both the cushion retainer and the nut Set the rear axle load then position the valve body to touch the load sensing spring lightly before secure the 2 valve body mounting nuts with 13 Nm torque (130 kgf-cm, 9 ft. lbs.). The process completion requires brake line bleeding followed by LSP and BV fluid pressure checking and adjustment.

Related 2004 Toyota Tundra Parts