×
ToyotaParts- Hello
- Login or Register
- Quick Links
- Live Chat
- Track Order
- Parts Availability
- RMA
- Help Center
- Contact Us
- Shop for
- Toyota Parts
- Scion Parts
My Garage
My Account
Cart
OEM 2003 Toyota Highlander Antenna Cable
Radio Antenna Cable- Select Vehicle by Model
- Select Vehicle by VIN
Select Vehicle by Model
orMake
Model
Year
Select Vehicle by VIN
For the most accurate results, select vehicle by your VIN (Vehicle Identification Number).
4 Antenna Cables found
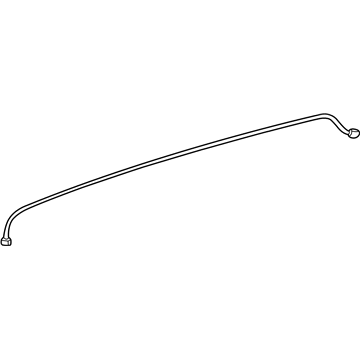
2003 Toyota Highlander Antenna Cable, Rear
Part Number: 86101-48270$152.33 MSRP: $215.64You Save: $63.31 (30%)Ships in 1-3 Business DaysProduct Specifications- Other Name: Cord Sub-Assembly, Antenna; Antenna Cable, Rear; Cable
- Manufacturer Note: W(MOON ROOF)
- Position: Rear
- Part Name Code: 86101D
- Item Weight: 0.80 Pounds
- Item Dimensions: 11.5 x 7.6 x 1.9 inches
- Condition: New
- Fitment Type: Direct Replacement
- SKU: 86101-48270
- Warranty: This genuine part is guaranteed by Toyota's factory warranty.
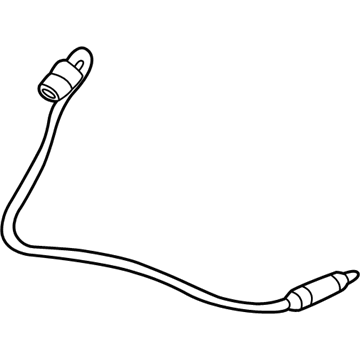
2003 Toyota Highlander Antenna Cable, Front
Part Number: 86101-48250$156.83 MSRP: $222.01You Save: $65.18 (30%)Ships in 1-3 Business DaysProduct Specifications- Other Name: Cord Sub-Assembly, Antenna; Antenna Cable, Front; Cable
- Manufacturer Note: W(DIVERSITY ANTENNA)
- Position: Front
- Part Name Code: 86101J
- Item Weight: 0.80 Pounds
- Item Dimensions: 11.9 x 7.6 x 1.9 inches
- Condition: New
- Fitment Type: Direct Replacement
- SKU: 86101-48250
- Warranty: This genuine part is guaranteed by Toyota's factory warranty.
2003 Toyota Highlander Antenna Cable, Front
Part Number: 86101-48230$116.84 MSRP: $164.00You Save: $47.16 (29%)Ships in 1-3 Business DaysProduct Specifications- Other Name: Cord Sub-Assembly, Antenna; Antenna Cable, Front; Cable
- Position: Front
- Part Name Code: 86101J
- Item Weight: 0.80 Pounds
- Item Dimensions: 12.0 x 7.5 x 1.9 inches
- Condition: New
- Fitment Type: Direct Replacement
- SKU: 86101-48230
- Warranty: This genuine part is guaranteed by Toyota's factory warranty.
- Product Specifications
- Other Name: Cord Sub-Assembly, Antenna; Antenna Cable, Rear; Cable
- Position: Rear
- Part Name Code: 86101D
- Item Weight: 0.80 Pounds
- Item Dimensions: 11.9 x 7.5 x 1.8 inches
- Condition: New
- Fitment Type: Direct Replacement
- SKU: 86101-48260
- Warranty: This genuine part is guaranteed by Toyota's factory warranty.
2003 Toyota Highlander Antenna Cable
Looking for affordable OEM 2003 Toyota Highlander Antenna Cable? Explore our comprehensive catalogue of genuine 2003 Toyota Highlander Antenna Cable. All our parts are covered by the manufacturer's warranty. Plus, our straightforward return policy and speedy delivery service ensure an unparalleled shopping experience. We look forward to your visit!
2003 Toyota Highlander Antenna Cable Parts Q&A
- Q: How to replace the Antenna Cable Sub-ASSY on 2003 Toyota Highlander?A: Before starting the Antenna Cord Sub-ASSY replacement process you must disconnect the battery negative terminal while implementing safety precautions. First position the front wheels in a straight direction and remove the horn button assembly and steering wheel assembly by using Special Service Tool: 09950-50013 (09951-05010, 09952-05010, 09953-05020, 09954-05021). Next, remove the lower and upper steering column covers, headlamp dimmer switch assembly, windshield wiper switch assembly, instrument cluster finish panel sub-assembly center, control & panel assembly integration, instrument panel finish panel lower, instrument cluster finish panel assembly, instrument cluster finish panel garnish, combination meter assembly, instrument panel finish panel sub-assembly lower, instrument panel insert sub-assembly lower LH, instrument cluster finish panel assembly center, floor carpet cover center RH, floor carpet cover center LH, instrument panel finish panel lower center, glove compartment door assembly, and instrument panel finish panel lower No.2. The removal sequence requires disconnecting the passenger Air Bag connector followed by removing front pillar garnishes RH and LH, front door scuff plates RH and LH, cowl side trim sub-assemblies RH and LH, instrument panel safety pad sub-assembly, instrument cluster finish panel garnish No.2, automatic light control sensor, cooler (solar sensor) thermistor, defroster nozzle assembly, side defroster nozzle ducts No.1 and No.2, heater to register ducts No.1 and No.4, and heater to register center sub duct. Finishing the installation requires the removal of antenna cord sub-assembly clamps followed by installation of an instrument panel safety pad sub-assembly and spiral cable centering before adding the steering wheel assembly while checking for wheel centering and examining the horn button assembly before final installation of the SRS warning light.


