×
ToyotaParts- Hello
- Login or Register
- Quick Links
- Live Chat
- Track Order
- Parts Availability
- RMA
- Help Center
- Contact Us
- Shop for
- Toyota Parts
- Scion Parts
My Garage
My Account
Cart
OEM 2002 Toyota Sequoia Wheel Bearing
Hub Bearing- Select Vehicle by Model
- Select Vehicle by VIN
Select Vehicle by Model
orMake
Model
Year
Select Vehicle by VIN
For the most accurate results, select vehicle by your VIN (Vehicle Identification Number).
4 Wheel Bearings found

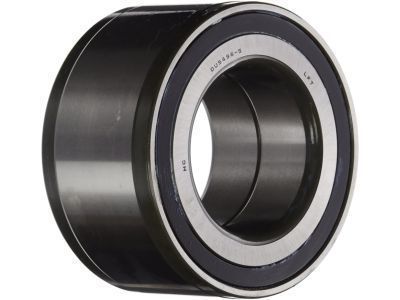
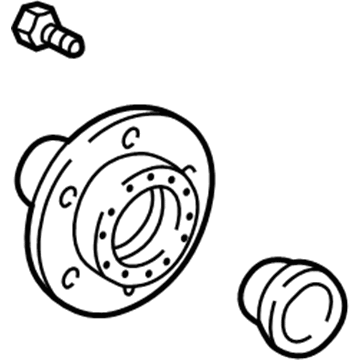
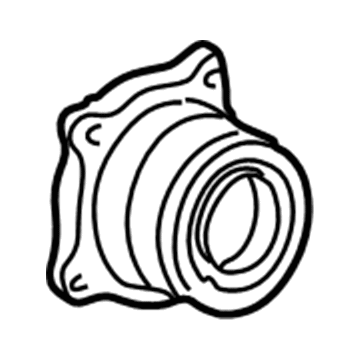
2002 Toyota Sequoia Wheel Bearing
Part Number: 90369-54002$114.58 MSRP: $160.83You Save: $46.25 (29%)Ships in 1-3 Business DaysProduct Specifications- Other Name: Bearing; Wheel Bearing, Front; Axle Bearing; Front Wheel Bearing; Bearing (For Front Axle Hub Inner Passenger Side); Bearing (For Front Axle Hub Inner Driver Side)
- Replaces: 90080-36071, 90369-54001
- Item Weight: 3.70 Pounds
- Item Dimensions: 5.8 x 6.0 x 2.6 inches
- Condition: New
- Fitment Type: Direct Replacement
- SKU: 90369-54002
- Warranty: This genuine part is guaranteed by Toyota's factory warranty.

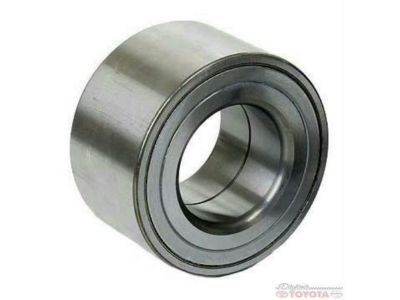
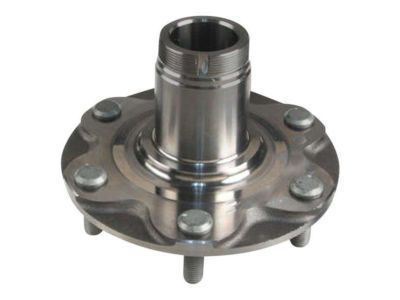
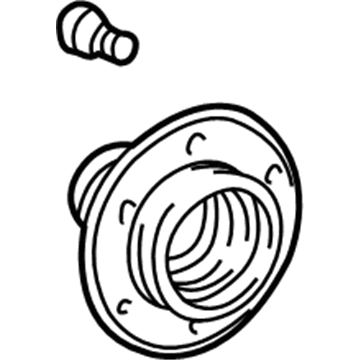
2002 Toyota Sequoia Hub Assembly, Front
Part Number: 43502-35110$242.31 MSRP: $345.96You Save: $103.65 (30%)Ships in 1 Business DayProduct Specifications- Other Name: Hub Sub-Assembly, Front Axle; Wheel Hub, Front; Wheel Hub Repair Kit; Front Hub; Hub; Hub Sub-Assembly, Front Axle, Passenger Side; Hub Sub-Assembly, Front Axle, Driver Side; Wheel Hub
- Position: Front
- Replaces: 43502-04050, 43502-0C010
- Item Weight: 9.70 Pounds
- Item Dimensions: 8.1 x 8.3 x 8.2 inches
- Condition: New
- Fitment Type: Direct Replacement
- SKU: 43502-35110
- Warranty: This genuine part is guaranteed by Toyota's factory warranty.

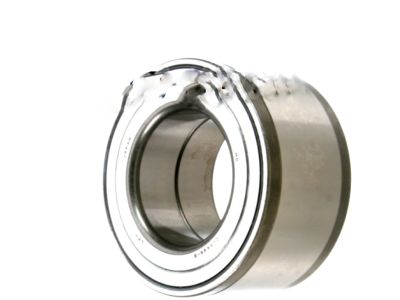
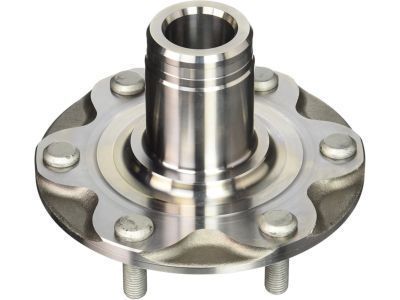
2002 Toyota Sequoia Hub Assembly, Front
Part Number: 43502-35170$224.37 MSRP: $320.34You Save: $95.97 (30%)Ships in 1-2 Business DaysProduct Specifications- Other Name: Hub Sub-Assembly, Front Axle; Wheel Hub, Front; Wheel Hub Repair Kit; Front Hub; Hub Sub-Assembly, Front Axle, Passenger Side; Hub Sub-Assembly, Front Axle, Driver Side; Wheel Hub
- Position: Front
- Replaces: 43502-04040
- Item Weight: 8.20 Pounds
- Item Dimensions: 6.9 x 6.5 x 4.8 inches
- Condition: New
- Fitment Type: Direct Replacement
- SKU: 43502-35170
- Warranty: This genuine part is guaranteed by Toyota's factory warranty.

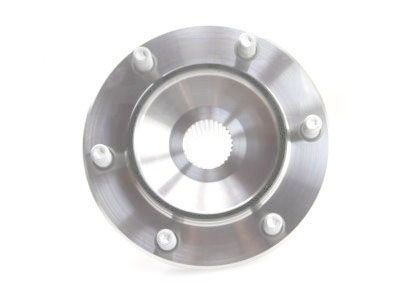
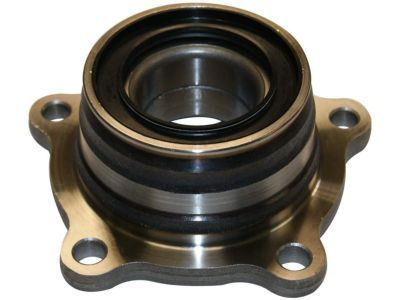
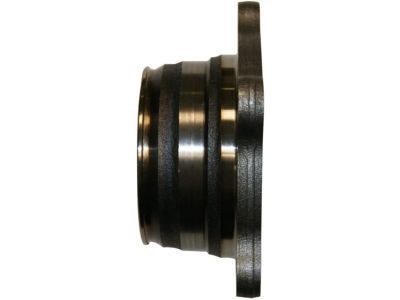
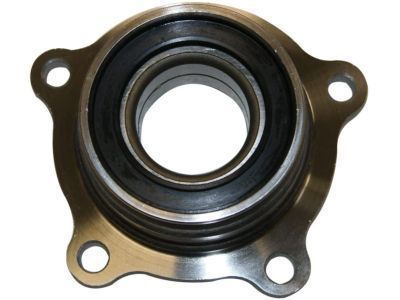
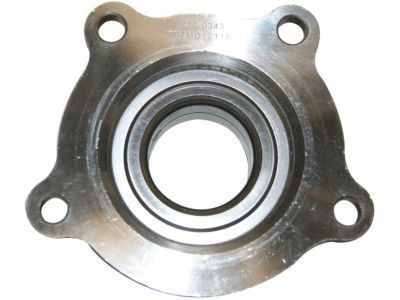
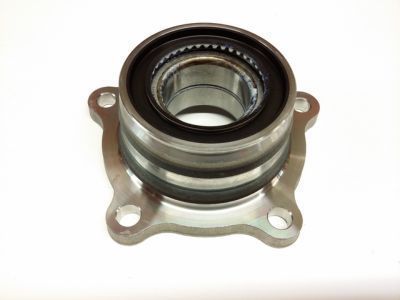
2002 Toyota Sequoia Bearing Housing, Rear
Part Number: 42409-34010$320.36 MSRP: $457.41You Save: $137.05 (30%)Ships in 1-3 Business DaysProduct Specifications- Other Name: Bearing Sub-Assembly, Rear; Wheel Bear & Hub Assembly; Wheel Hub Module; Axle Bearing; Shaft Bearings; Bearing Sub-Assembly, Rear Axle, Passenger Side; Bearing Sub-Assembly, Rear Axle, Driver Side
- Position: Rear
- Item Weight: 6.10 Pounds
- Item Dimensions: 6.8 x 6.7 x 4.7 inches
- Condition: New
- Fitment Type: Direct Replacement
- SKU: 42409-34010
- Warranty: This genuine part is guaranteed by Toyota's factory warranty.
2002 Toyota Sequoia Wheel Bearing
Looking for affordable OEM 2002 Toyota Sequoia Wheel Bearing? Explore our comprehensive catalogue of genuine 2002 Toyota Sequoia Wheel Bearing. All our parts are covered by the manufacturer's warranty. Plus, our straightforward return policy and speedy delivery service ensure an unparalleled shopping experience. We look forward to your visit!
2002 Toyota Sequoia Wheel Bearing Parts Q&A
- Q: How to service and repair the wheel bearing on 2002 Toyota Sequoia?A: The first step to perform wheel bearing maintenance starts with separating its components. Begin 2WD bearing service by removing the grease cap when you mount the axle hub in a soft jaw vise and use a screwdriver. The 4WD requires removal of its internal oil seal that follows the same procedure. To start the 2WD procedure first apply Special Service Tool: 09318-12010 to remove the lock nut while gently striking the staked portion with a chisel and hammer before carefully extracting the speed sensor rotor without harming its serration pattern. The process to remove the axle hub from the steering knuckle requires removing its 4 bolts and dust cover then employing Special Service Tool: 09710-30021 (09710-03051), 09950-40011 (09951-04020, 09952-04010, 09953-04020, 09954-04010, 09955-04031, 09957-04010, 09958-04011) to detach the hub completely. The first step is to remove both the dust cover and the 4WD-specific bearing spacer together with speed sensor rotor. Take out the oil seal (outside) with a screwdriver before pulling out the bearing from the steering knuckle by using snap ring pliers and Special Service Tool: 09950-60020 (09951-00810), 09950-70010 (09951-07150) with a press. When reinstalling the bearing use Special Service Tool: 09527-17011 and a press followed by installing a new snap ring by using snap ring pliers. The new oil seal (outside) installation procedure requires Special Service Tools: 09223-15030 along with 09527-17011 and a plastic hammer to apply MP grease on the seal's lip. 4 bolts secure the dust cover onto the steering knuckle at 18 Nm torque (185 kgf-cm, 13 ft. lbs.). The installation of the axle hub requires Special Service Tool: 09649-17010 with a press. The procedure for 2WD requires new lock nuts installed with Special Service Tool: 09318-12010 then torqued to 274 Nm (2,800 kgf-cm, 203 ft. lbs.) followed by chiseling and hammering the stake. Before moving to installing the oil seal (inside), experts must use Special Service Tool: 09527-17011 with a plastic hammer and apply MP grease to the seal's lip.
