My Garage
Cart

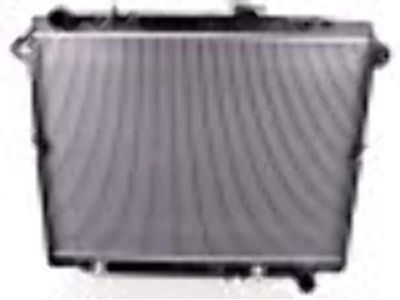
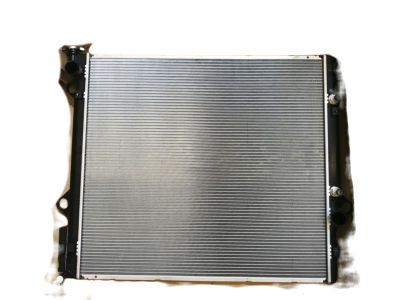
OEM 2001 Toyota Land Cruiser Radiator

Cooling Radiator
  • Select Vehicle by Model
  • Select Vehicle by VIN
Select Vehicle by Model
Make
Model
Year
or
Select Vehicle by VIN
For the most accurate results, select vehicle by your VIN (Vehicle Identification Number).

1 Radiator found

  • 2001 Toyota Land Cruiser Radiator - 16400-50360
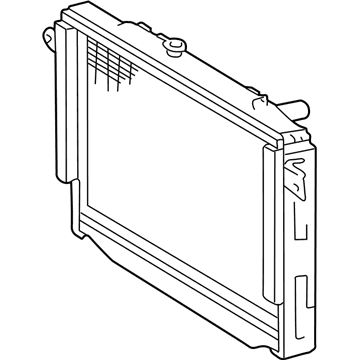
    2001 Toyota Land Cruiser Radiator Diagram - 16400-50360
    View related parts

    2001 Toyota Land Cruiser Radiator Assembly

    Part Number: 16400-50360
    $372.53 MSRP: $545.95
    You Save: $173.42 (32%)
    Ships in 1 Business Day
    ADD TO CART
    Product Specifications
    • Other Name: Radiator
    • Replaces: 16400-50210, 16400-50212, 16400-50211
    • Item Weight: 28.80 Pounds
    • Item Dimensions: 42.0 x 6.9 x 33.6 inches
    • Condition: New
    • SKU: 16400-50360
    • Warranty: This genuine part is guaranteed by Toyota's factory warranty.
    More Info
    Fits the following 2001 Toyota Land Cruiser Submodels:
    • Base | 8 Cyl 4.7 L GAS

2001 Toyota Land Cruiser Radiator

Looking for affordable OEM 2001 Toyota Land Cruiser Radiator? Explore our comprehensive catalogue of genuine 2001 Toyota Land Cruiser Radiator. All our parts are covered by the manufacturer's warranty. Plus, our straightforward return policy and speedy delivery service ensure an unparalleled shopping experience. We look forward to your visit!

2001 Toyota Land Cruiser Parts Questions & Experts Answers

  • Q: How to remove and install the radiator on 2001 Toyota Land Cruiser?
    A: The first step to remove the radiator includes taking out ENGINE UNDER COVER NO.1 followed by draining engine coolant. The radiator requires removal of its three component parts which are upper hose, lower hose and A/T oil cooler hoses. Detach the radiator reservoir through a clamp removal of the wire and reservoir hose combined with disassembly of the two bolts that secure the grommet and reservoir. Start radiator assembly removal by detaching 2 clamps on the A/C discharge tube and 2 brackets on the wire and the A/T oil cooler hoses from their clamp on the fan shroud. First step is to loosen the fan pulley mounting nuts before removing the generator drive belt. After that, the fan shroud can be detached by taking out the 3 bolts that hold it to the radiator. The radiator installation begins by removing 4 fan pulley mounting nuts and the fan with fluid coupling, fan pulley, and fan shroud until removal of the 2 nuts and 2 bolts to lift out the radiator assembly. The procedure begins by uninstalling the radiator side supports through removal of 4 nuts and 2 brackets and then 8 nuts and 2 side supports. Installation begins by attaching the 2 side supports using 8 nuts tightened to 12.7 Nm (130 kgf-cm, 9 ft. lbs.) then using 4 nuts to tighten the 2 brackets to 20 Nm (200 kgf-cm, 13 ft. lbs.). Put the radiator assembly in its position then install the 2 nuts and 2 bolts while tightening them to 20 Nm (200 kgf-cm, 15 ft. lbs.) and 18 Nm (185 kgf-cm, 13 ft. lbs.) respectively. Place the fan assembly including its components in position before installing the fan pulley mounting nuts and securing the fan shroud with 3 bolts which need torquing to 5.0 Nm (50 kgf-cm, 43 inch lbs.). After installation of the A/T oil cooler hoses the technician will mount the generator drive belt before torquing the 4 fan pulley mounting nuts to their proper specifications. Screw two bolts into the brackets which anchor to the radiator wire followed by hooking up the two clamps on the A/C discharge tube to the brackets through two nuts. The radiator reservoir installation requires placing the grommet followed by lower side attachment to the fan shroud using 2 bolts while connecting the reservoir hose to the radiator and clamping the wire. You must connect the radiator upper hose together with the lower hose and the A/T oil cooler hoses to the radiator assembly. The procedure begins with filling the vehicle with engine coolant and following up with engine start for leak inspection and final checks of engine coolant level before ENGINE UNDER COVER NO.1 installation.

Related 2001 Toyota Land Cruiser Parts