×
ToyotaParts- Hello
- Login or Register
- Quick Links
- Live Chat
- Track Order
- Parts Availability
- RMA
- Help Center
- Contact Us
- Shop for
- Toyota Parts
- Scion Parts
My Garage
My Account
Cart
OEM 2000 Toyota Corolla Clutch Master Cylinder
- Select Vehicle by Model
- Select Vehicle by VIN
Select Vehicle by Model
orMake
Model
Year
Select Vehicle by VIN
For the most accurate results, select vehicle by your VIN (Vehicle Identification Number).
2 Clutch Master Cylinders found

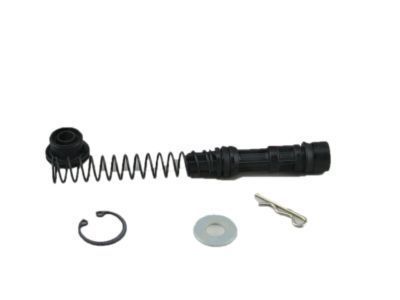
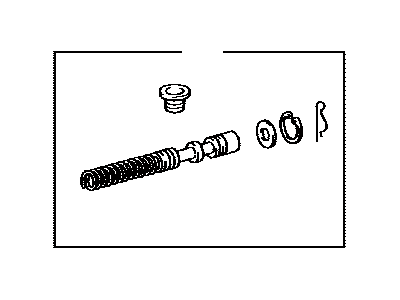
2000 Toyota Corolla Cylinder Kit, Clutch Master
Part Number: 04311-12110$42.65 MSRP: $59.36You Save: $16.71 (29%)Ships in 1-3 Business DaysProduct Specifications- Other Name: Cylinder Kit Clutch; Clutch Master Cylinder
- Replaces: 04311-60150
- Part Name Code: 04311
- Item Weight: 0.50 Pounds
- Item Dimensions: 4.1 x 2.6 x 2.4 inches
- Condition: New
- Fitment Type: Direct Replacement
- SKU: 04311-12110
- Warranty: This genuine part is guaranteed by Toyota's factory warranty.
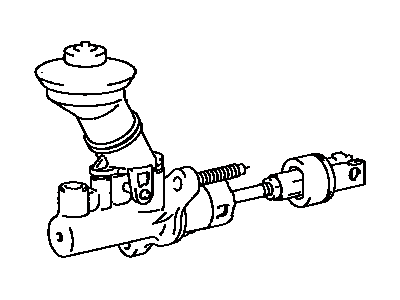
2000 Toyota Corolla Master Cylinder
Part Number: 31410-12381$154.15 MSRP: $218.22You Save: $64.07 (30%)Ships in 1-3 Business DaysProduct Specifications- Other Name: Cylinder Assembly, Master; Clutch Master Cylinder; Brake Master Cylinder; Cylinder Assembly, Clutch Master
- Replaces: 31410-12371, 31410-12380, 31410-12340, 31410-12370, 31410-12350, 31410-12330
- Part Name Code: 31410
- Item Weight: 1.50 Pounds
- Item Dimensions: 12.5 x 6.6 x 4.6 inches
- Condition: New
- Fitment Type: Direct Replacement
- SKU: 31410-12381
- Warranty: This genuine part is guaranteed by Toyota's factory warranty.
2000 Toyota Corolla Clutch Master Cylinder
Looking for affordable OEM 2000 Toyota Corolla Clutch Master Cylinder? Explore our comprehensive catalogue of genuine 2000 Toyota Corolla Clutch Master Cylinder. All our parts are covered by the manufacturer's warranty. Plus, our straightforward return policy and speedy delivery service ensure an unparalleled shopping experience. We look forward to your visit!
2000 Toyota Corolla Clutch Master Cylinder Parts Q&A
- Q: How to service and repair the Clutch Master Cylinder on 2000 Toyota Corolla?A: The Clutch Master Cylinder requires service and repair through a procedure which begins by removing the brake booster followed by fluid removal with a syringe and connecting the clutch line with Special Service Tool: 09023-00100 to a container. Pull out the master cylinder by removing first the lower finish panel along with the lower insert and No. 2 heater to register duct and clip and pin and then unfasten the two mounting nuts. Disassembly begins by loosening the boot lock nut before taking out the clevis and boot. Then drive out the slotted spring pin from the reservoir tank with a pin punch and hammer. The push rod and washer must be removed using snap ring pliers to remove the snap ring. Proceed to remove the piston. Reassembly requires lithium soap base glycol grease-coated parts with the piston positioned first into the cylinder then the push rod assembly installed using a new gasket along with a washer which needs to sit on the push rod before the rod reaches the piston while snap ring pliers guide the snap ring installation followed by boot placement. The reservoir tank requires installation with a new grommet and a slotted spring pin to be driven into position. The installation process begins with fixing a new gasket onto the master cylinder followed by installing the master cylinder using two mounting nuts that should be torqued to 12 Nm (120 kgf-cm, 9 ft.-lbs.). After which install the pin and clip then proceed to set the No. 2 heater to register duct and lower insert before installing the lower finish panel. Special Service Tool 09023-00100 helps connect the clutch line with a torque of 15 Nm (155 kgf-cm, 11 ft. lbs.). After completing the clutch reservoir with brake fluid, bleeding the clutch system begins followed by brake booster installation and clutch pedal adjustment before leak checks.


