×
ToyotaParts- Hello
- Login or Register
- Quick Links
- Live Chat
- Track Order
- Parts Availability
- RMA
- Help Center
- Contact Us
- Shop for
- Toyota Parts
- Scion Parts
My Garage
My Account
Cart
OEM 2000 Toyota Celica Timing Chain
Engine Timing Chain- Select Vehicle by Model
- Select Vehicle by VIN
Select Vehicle by Model
orMake
Model
Year
Select Vehicle by VIN
For the most accurate results, select vehicle by your VIN (Vehicle Identification Number).
2 Timing Chains found

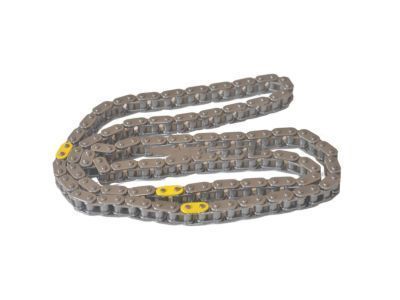
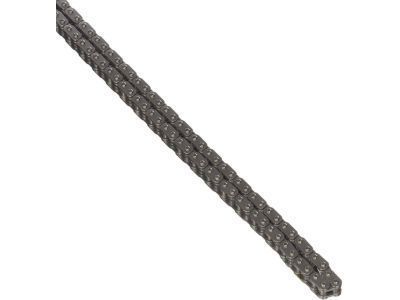
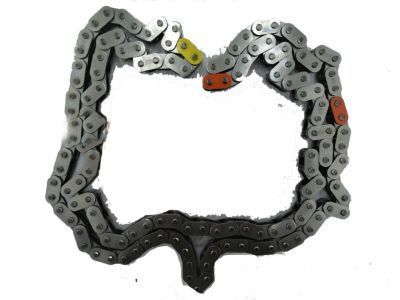
2000 Toyota Celica Timing Chain
Part Number: 13506-0D010$260.60 MSRP: $372.07You Save: $111.47 (30%)Ships in 1-3 Business DaysProduct Specifications- Other Name: Chain Sub-Assembly; Engine Timing Chain
- Manufacturer Note: ENGINE NO.=5001001-9XXXXXX OR CXXXXXX
- Replaces: 13506-22030, 13506-0D020
- Part Name Code: 13506
- Item Weight: 1.20 Pounds
- Item Dimensions: 12.5 x 12.1 x 8.1 inches
- Condition: New
- Fitment Type: Direct Replacement
- SKU: 13506-0D010
- Warranty: This genuine part is guaranteed by Toyota's factory warranty.

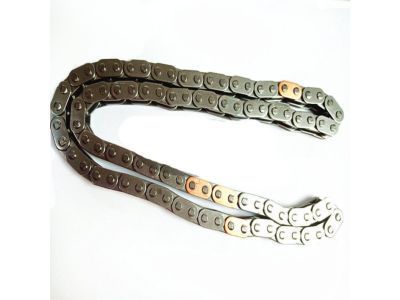
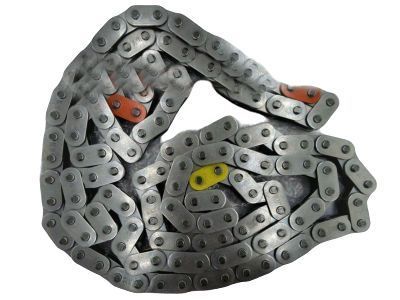
2000 Toyota Celica Timing Chain
Part Number: 13506-88600$272.71 MSRP: $389.37You Save: $116.66 (30%)Ships in 1-3 Business DaysProduct Specifications- Other Name: Chain Sub-Assembly
- Part Name Code: 13506
- Item Weight: 1.30 Pounds
- Item Dimensions: 6.3 x 3.2 x 1.3 inches
- Condition: New
- Fitment Type: Direct Replacement
- SKU: 13506-88600
- Warranty: This genuine part is guaranteed by Toyota's factory warranty.
2000 Toyota Celica Timing Chain
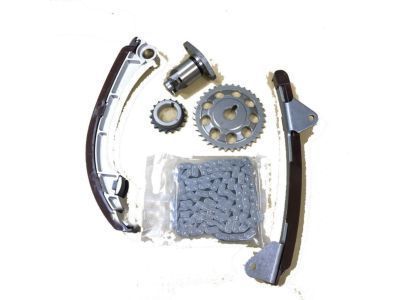
Looking for affordable OEM 2000 Toyota Celica Timing Chain? Explore our comprehensive catalogue of genuine 2000 Toyota Celica Timing Chain. All our parts are covered by the manufacturer's warranty. Plus, our straightforward return policy and speedy delivery service ensure an unparalleled shopping experience. We look forward to your visit!
2000 Toyota Celica Timing Chain Parts Q&A
- Q: How to remove and replace the timing chain on 2000 Toyota Celica?A: You need to start by removing two seals before all engine coolant must be drained. The first step involves removing both the engine under cover together with the drive belt and generator followed by the right-hand front wheel. The PS pump requires a string harness for suspension while the technician removes its oil pressure switch connector together with two nuts and through bolts. The next step involves taking out the right-hand engine mounting insulator by using a jack with a wooden block support during this process; the 1ZZ-FE requires removal of four bolts and two nuts and the 2ZZ-GE demands removal of five bolts and two nuts. The procedure for removing the 1ZZ-FE cylinder head cover includes removing four bolts, taking off the ignition coils, detaching the two PCV hoses while removing nine bolts, two seal washers, two nuts and the cover with its gasket. The 2ZZ-GE maintenance requires an identical procedure alongside separation of the No. 3 ventilation hose and complete extraction of the No. 1 ventilation pipe with gasket. For the TDC/compression setup use the crankshaft pulley timing mark "0" to align it with the groove with the camshaft timing sprocket marks position matched at identical points. First disconnect the crankshaft position sensor from the timing chain cover while using Special Service Tool: 09213-70010 and 09330-00021 along with two nuts. Afterward remove the crankshaft pulley from its position. Disassemble the engine by taking out the drive belt tensioner then the right-hand engine mounting bracket (three bolts for 1ZZ-FE and four for 2ZZ-GE), chain tensioner and water pump. To detach the timing chain cover on a 1ZZ-FE engine workers need to unfasten 11 bolts along with a nut while using a torx wrench socket (E8) for the stud bolt and carefully prying off the cover. When working with the 2ZZ-GE model you should remove twelve bolts alongside the stud bolt before taking away the timing chain cover with its attached gaskets. Start the process by removing all components including crank angle sensor plate and chain tensioner slipper along with timing chain and crankshaft timing sprocket. This removal may require screwdrivers for assist. Detach the chain vibration damper followed by the valve timing control assembly and camshaft timing sprocket while being vigilant about not harming the cylinder head and valve lifter. workers should inspect the timing chain components as well as sprockets for wear and elongation and should replace these items when needed. Special Service Tool: 09309-37010 must be used during installation of the oil seal when the timing chain cover is removed. However when the cover remains in place, cut off the oil seal lip then remove it before adding a new one. The procedure for installing this component requires application of engine oil onto the valve timing controller assembly followed by correct placement of the timing mark before installation onto the camshaft with subsequent attachment of the camshaft timing sprocket. Install the chain vibration damper and timing chain without letting the yellow and orange links straddle the timing marks. After installation of the crank angle sensor plate and chain tensioner slipper, the timing chain cover and water pump installation should proceed for the 1ZZ-FE model by using seal packing (Part No. 08826-00100). Complete the installation by tightening the specified bolt torques. The installation method of the 2ZZ-GE requires the same procedure but with applicable torque values. The right-hand engine mounting bracket should go in place as well as the drive belt tensioner and crankshaft position sensor with the crankshaft pulley. All these components need to be correctly torqued. At the last stage of installation place the PS pump then install the generator followed by the drive belt before setting the right-hand engine under cover and front wheel while filling with coolant and checking the system for leaks upon starting the engine.
