×
ToyotaParts- Hello
- Login or Register
- Quick Links
- Live Chat
- Track Order
- Parts Availability
- RMA
- Help Center
- Contact Us
- Shop for
- Toyota Parts
- Scion Parts
My Garage
My Account
Cart
OEM 2009 Scion tC Door Lock Actuator
Power Door Lock Actuator- Select Vehicle by Model
- Select Vehicle by VIN
Select Vehicle by Model
orMake
Model
Year
Select Vehicle by VIN
For the most accurate results, select vehicle by your VIN (Vehicle Identification Number).
4 Door Lock Actuators found

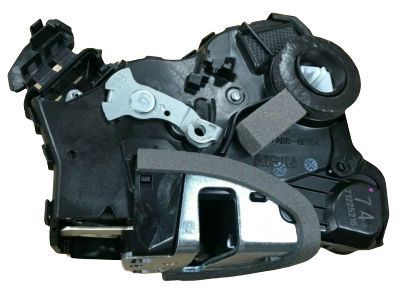
2009 Scion tC Lock Assembly, Front Door W/Motor, Passenger Side
Part Number: 69030-33261$270.97 MSRP: $386.88You Save: $115.91 (30%)Ships in 1 Business DayProduct Specifications- Other Name: Lock Assembly, Front Door W; Door Lock Actuator Motor; Door Latch Assembly; Door Lock Actuator; Door Lock
- Position: Passenger Side
- Part Name Code: 69030A
- Item Weight: 2.00 Pounds
- Item Dimensions: 8.5 x 5.6 x 5.8 inches
- Condition: New
- Fitment Type: Direct Replacement
- SKU: 69030-33261
- Warranty: This genuine part is guaranteed by Toyota's factory warranty.

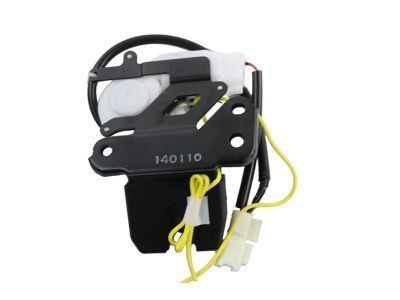
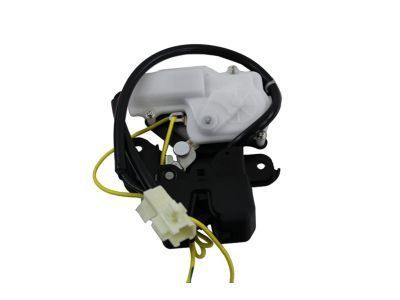
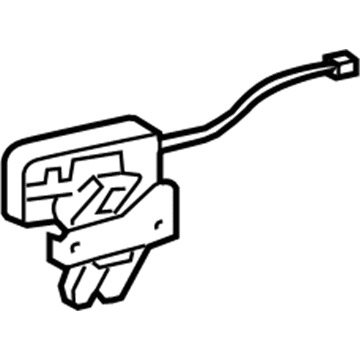
2009 Scion tC Lock Assembly, Rear
Part Number: 69350-21110$224.25 MSRP: $320.18You Save: $95.93 (30%)Ships in 1-3 Business DaysProduct Specifications- Other Name: Lock Assembly, Back Door; Liftgate Latch, Rear; Trunk Lock Actuator Motor; Door Lock Actuator; Door Lock; Lock; Lock Assembly, Back Door, W/Courtesy Lamp Switch
- Position: Rear
- Part Name Code: 69350P
- Item Weight: 1.60 Pounds
- Item Dimensions: 17.0 x 12.0 x 3.1 inches
- Condition: New
- Fitment Type: Direct Replacement
- SKU: 69350-21110
- Warranty: This genuine part is guaranteed by Toyota's factory warranty.
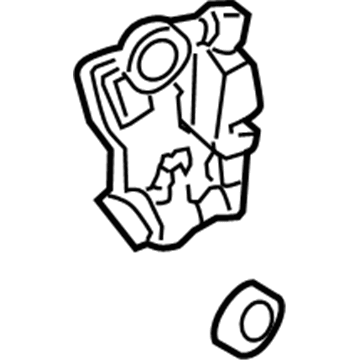
2009 Scion tC Lock Actuator, Driver Side
Part Number: 69040-02120$255.94 MSRP: $365.43You Save: $109.49 (30%)Ships in 1-2 Business DaysProduct Specifications- Other Name: Lock Assembly, Front Door W; Door Latch Assembly, Front Left; Door Lock Actuator Motor; Door Lock Actuator; Door Lock; Lock Assembly; Control Sub-Assembly, Door Lock Remote, Driver Side; Front Door Lock Assembly
- Manufacturer Note: W(POWER DOOR LOCK)
- Position: Driver Side
- Replaces: 69040-33221
- Item Weight: 2.10 Pounds
- Item Dimensions: 8.0 x 5.5 x 5.6 inches
- Condition: New
- Fitment Type: Direct Replacement
- SKU: 69040-02120
- Warranty: This genuine part is guaranteed by Toyota's factory warranty.
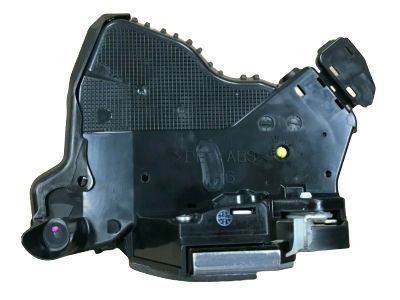
2009 Scion tC Lock Actuator, Passenger Side
Part Number: 69030-02130$255.94 MSRP: $365.43You Save: $109.49 (30%)Ships in 1-2 Business DaysProduct Specifications- Other Name: Lock Assembly, Front Door W; Door Latch Assembly, Front Right; Door Lock Actuator Motor; Door Lock Actuator; Door Lock; Lock Assembly; Front Door W/Motor, Passenger Side; Door Latch Assembly
- Manufacturer Note: W(POWER DOOR LOCK)
- Position: Passenger Side
- Replaces: 69030-33221
- Item Weight: 1.50 Pounds
- Item Dimensions: 8.3 x 5.6 x 5.8 inches
- Condition: New
- Fitment Type: Direct Replacement
- SKU: 69030-02130
- Warranty: This genuine part is guaranteed by Toyota's factory warranty.
2009 Scion tC Door Lock Actuator
Looking for affordable OEM 2009 Scion tC Door Lock Actuator? Explore our comprehensive catalogue of genuine 2009 Scion tC Door Lock Actuator. All our parts are covered by the manufacturer's warranty. Plus, our straightforward return policy and speedy delivery service ensure an unparalleled shopping experience. We look forward to your visit!
2009 Scion tC Door Lock Actuator Parts Q&A
- Q: How to remove the power door lock actuator on 2009 Scion tC?A: The removal process for power door lock actuators begins with disconnecting the battery cable at the negative (-) terminal for a minimum of 90 seconds before continuing. Start by removing assist grip cover LH from the left-hand side then proceed with taking off the power window regulator master switch assembly from the driver-side position. First remove the door control switch assembly from the passenger side followed by the front door trim board sub-assembly then the front door inside handle sub-assembly and conclude with the front door service hole cover. Next in the removal sequence is to remove both the front door frame sub-assembly rear lower piece and the front door outside handle cover unit. The last step is to detach the front door lock assembly. Any additional instructions regarding the installation will be provided in reverse order compared to removal steps. Both LH and RH sides require the same installation procedures alongside the fact that standard bolt charts list unspecifically torqued bolts. Special Service Tool: 09800-10080.
