My Garage
Cart

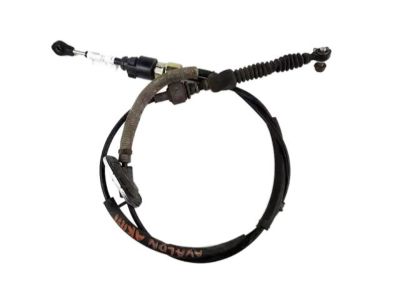
OEM 2007 Toyota Avalon Shift Cable

Transmission Shift Cable
  • Select Vehicle by Model
  • Select Vehicle by VIN
Select Vehicle by Model
Make
Model
Year
or
Select Vehicle by VIN
For the most accurate results, select vehicle by your VIN (Vehicle Identification Number).

1 Shift Cable found

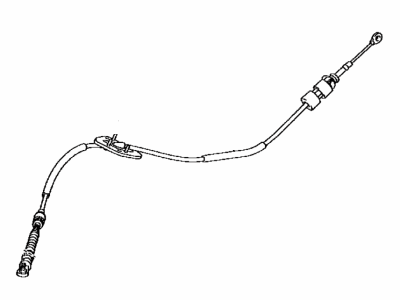
  • 2007 Toyota Avalon Shift Cable Diagram - 33820-AC020
    View related parts

    2007 Toyota Avalon Shift Control Cable

    Part Number: 33820-AC020
    $243.47 MSRP: $347.63
    You Save: $104.16 (30%)
    Ships in 1-3 Business Days
    ADD TO CART
    Product Specifications
    • Other Name: Cable Assembly, Transmission Control; Automatic Transmission Shifter Cable
    • Part Name Code: 33820B
    • Item Weight: 1.70 Pounds
    • Item Dimensions: 21.0 x 14.4 x 7.1 inches
    • Condition: New
    • Fitment Type: Direct Replacement
    • SKU: 33820-AC020
    • Warranty: This genuine part is guaranteed by Toyota's factory warranty.
    More Info
    Fits the following 2007 Toyota Avalon Submodels:
    • Limited, Touring, XL, XLS | 6 Cyl 3.5 L GAS

2007 Toyota Avalon Shift Cable

Looking for affordable OEM 2007 Toyota Avalon Shift Cable? Explore our comprehensive catalogue of genuine 2007 Toyota Avalon Shift Cable. All our parts are covered by the manufacturer's warranty. Plus, our straightforward return policy and speedy delivery service ensure an unparalleled shopping experience. We look forward to your visit!

2007 Toyota Avalon Shift Cable Parts Q&A

  • Q: How to service and repair the Shift Cable assembly on 2007 Toyota Avalon?
    A: Starting the transmission control cable assembly repair requires performing disconnection of the cable from the negative battery terminal. Remove the shift lever knob sub-assembly, position indicator housing assembly, console box upper, console panel sub-assembly upper, console box assembly, console box front, air bag sensor assembly center, air cleaner assembly, intake air resonator sub-assembly, engine under cover LH, and finally the transmission control cable assembly by removing the 2 bolts and disconnecting the shift cable grommet retainer No. 2, the nut from the control shaft lever, and the cable from the control shaft lever and control cable bracket. Drop the control cable from the body by extracting its end from the control cable clamp while removing shift cable grommet retainer No. 2. Verify that the transmission shifts from standing starts in N to D and shifts back in R while the shift lever moves effortlessly from P to R. Begin by loosening the control shaft lever nut followed by pressing the control shaft fully down until reaching the two notches at the N position. Using the up position of the control cable end when the shift lever is in N, install both parts to the control shaft lever then torque the nut to 15 N m (150 kgf cm, 10 ft. lbf). The control cable should receive standard stretching before tightening the nut while avoiding excessive position change during installation. The current positions of the vehicle should be verified once the engine starts. To install the transmission control cable assembly connect shift cable grommet retainer No. 2 to the floor shift cable and insert the control cable into the body while placing the uneven surface facing upward before securing the floor shift cable. The control cable needs installation onto the control cable clamp then the transmission control cable assembly should be fitted to the control shaft lever with a nut while it meets up with the bracket using a new clip. The installation process includes applying 5.0 N m (50 kgf cm, 43 in. lbf) torque when joining shift cable grommet retainer No. 2 with 2 bolts before proceeding with the intake air resonator sub-assembly, air cleaner assembly, air bag sensor assembly center, console box front, console box assembly, console panel sub-assembly upper, console box upper, position indicator housing assembly, and shift lever knob sub-assembly. Inspection of shift lever position should occur after reconnecting the cable to its corresponding negative terminal point.