×
ToyotaParts- Hello
- Login or Register
- Quick Links
- Live Chat
- Track Order
- Parts Availability
- RMA
- Help Center
- Contact Us
- Shop for
- Toyota Parts
- Scion Parts
My Garage
My Account
Cart
OEM 2006 Toyota Avalon Blower Motor
A/C Heater Blower Motor- Select Vehicle by Model
- Select Vehicle by VIN
Select Vehicle by Model
orMake
Model
Year
Select Vehicle by VIN
For the most accurate results, select vehicle by your VIN (Vehicle Identification Number).
1 Blower Motor found

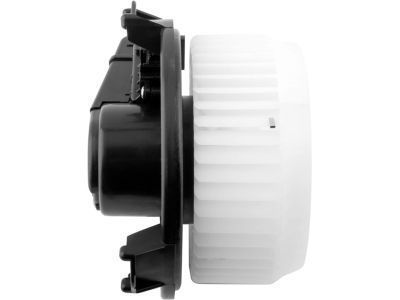
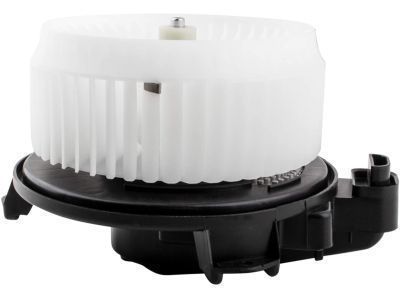
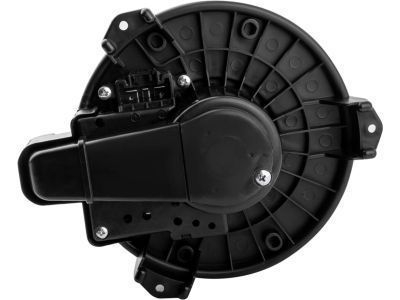
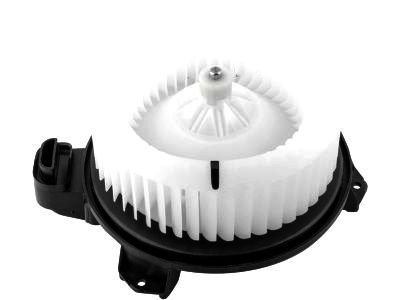
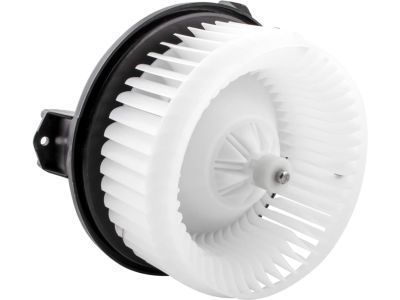
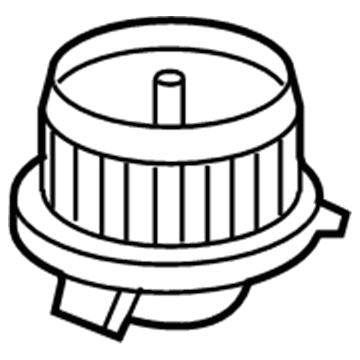
2006 Toyota Avalon Motor Sub-Assembly, Blower W/Fan, Front
Part Number: 87103-0E040$145.92 MSRP: $206.58You Save: $60.66 (30%)Ships in 1-3 Business DaysProduct Specifications- Other Name: Motor Sub-Assembly, Blower; HVAC Blower Motor; Blower Motor
- Position: Front
- Replaces: 87103-48080, 87103-07040
- Part Name Code: 87103B
- Item Weight: 4.20 Pounds
- Item Dimensions: 10.2 x 9.8 x 7.8 inches
- Condition: New
- Fitment Type: Direct Replacement
- SKU: 87103-0E040
- Warranty: This genuine part is guaranteed by Toyota's factory warranty.
2006 Toyota Avalon Blower Motor
Looking for affordable OEM 2006 Toyota Avalon Blower Motor? Explore our comprehensive catalogue of genuine 2006 Toyota Avalon Blower Motor. All our parts are covered by the manufacturer's warranty. Plus, our straightforward return policy and speedy delivery service ensure an unparalleled shopping experience. We look forward to your visit!
2006 Toyota Avalon Blower Motor Parts Q&A
- Q: How to service and repair the blower motor on 2006 Toyota Avalon?A: Disconnection of the negative battery cable along with a 90-second wait must be done to avoid triggering Air Bags before starting blower motor service work. You must first remove the cowl top ventilator louver on the right side and after that both front wiper arm and blade assemblies on the left and right side. The next steps require removal of the windshield wiper motor with link assembly along with panel components from the cowl ventilator and afterward evacuating refrigerant from the system with SST 07110-58060 (07117-58080, 07117-58090, 07117-78050, 07117-88060, 07117-88070, 07117-88080). First disconnect the suction hose sub-assembly and the air conditioner tube accessory and the heater water outlet hose A along with the heater water inlet hose A. Afterward remove the instrument panel safety pad sub-assembly and front passenger Air Bag assembly and air duct sub-assembly No.1. Then separate the steering intermediate shaft assembly and remove the steering column assembly. More components follow including heater to register duct No.2 and heater to register duct assembly No.6 together with console box duct No.1 and both floor carpet brackets. The procedure requires you to disconnect the clamp and connector and remove six screws to remove the instrument panel reinforcement assembly and air duct sub-assembly No.2 together with the blower assembly. The next step entails removing the evaporator temperature sensor while using a 4 mm hexagon wrench to remove the cooler expansion valve and the two O-rings along with the cooler evaporator sub-assembly No.1. The service begins with cleaning the air filter after removing the air filter cover plate followed by disassembly and cleaning of the air inlet servomotor and air duct sub-assembly No.3. After removing the cooling unit motor assembly with fan you can install the new evaporator sub-assembly No.1 by applying compressor oil (ND-OIL 8) to its O-rings. The expansion valve must be installed with two hex bolts that reach a torque of 3.5 N.m (35 kgf.cm, 30 in.lbf) while the evaporator temperature sensor should be placed with complete coverage of the grommet. Reinstall the blower assembly using six screws together with the instrument panel reinforcement assembly and steering intermediate shaft assembly as well as the steering column assembly. The instrument panel safety pad should be installed together with the front passenger Air Bag assembly, air conditioner tube and accessory, and suction hose sub-assembly. After reconnecting the cable to the negative battery terminal complete initialization of the front power seat control system under specified initialization parameters for power seat ECU function. Insufficient engine coolant requires addition while leak detection is essential before proceeding with the refrigerant charge using SST 07110-58060 (07117-58060, 07117-58070, 07117-58080, 07117-58090, 07117-78050, 07117-88060, 07117-88070, 07117-88080). The correct amount for the charge should be between 450-550g (15.9 to 19.4 oz.). warm up the engine, check for refrigerant leakage, and finally reinstall the windshield wiper motor and link assembly, followed by both front wiper arm and blade assemblies.
