×
ToyotaParts- Hello
- Login or Register
- Quick Links
- Live Chat
- Track Order
- Parts Availability
- RMA
- Help Center
- Contact Us
- Shop for
- Toyota Parts
- Scion Parts
My Garage
My Account
Cart
OEM 2005 Toyota Prius Exhaust Pipe
Exhaust Tail Pipe- Select Vehicle by Model
- Select Vehicle by VIN
Select Vehicle by Model
orMake
Model
Year
Select Vehicle by VIN
For the most accurate results, select vehicle by your VIN (Vehicle Identification Number).
2 Exhaust Pipes found

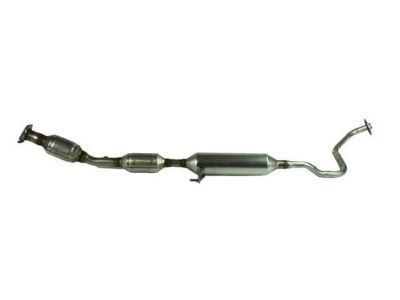
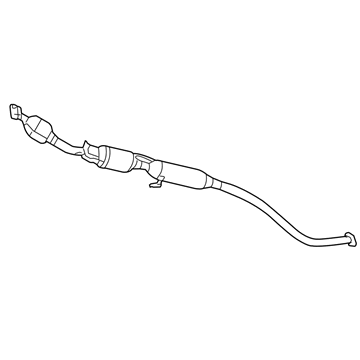
2005 Toyota Prius Exhaust Pipe, Front
Part Number: 17410-21500$2263.86 MSRP: $3038.76You Save: $774.90 (26%)Ships in 1-3 Business DaysProduct Specifications- Other Name: Pipe Assembly, Exhaust; Front Pipe; Pipe Assembly, Exhaust, Front
- Manufacturer Note: *114=TOYOTA/GD3EA6/Y
- Position: Front
- Part Name Code: 17410
- Item Weight: 19.30 Pounds
- Item Dimensions: 84.8 x 29.1 x 8.3 inches
- Condition: New
- Fitment Type: Direct Replacement
- SKU: 17410-21500
- Warranty: This genuine part is guaranteed by Toyota's factory warranty.
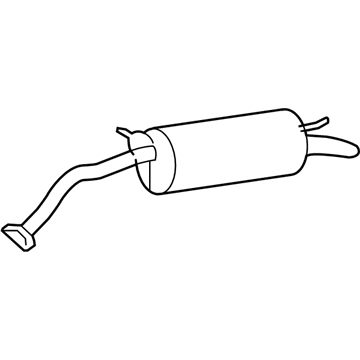
2005 Toyota Prius Muffler & Pipe
Part Number: 17430-21580$316.98 MSRP: $414.52You Save: $97.54 (24%)Ships in 1-3 Business DaysProduct Specifications- Other Name: Pipe Assembly, Exhaust Tail; Muffler; Direct-Fit Exhaust; System Kit; Pipe; Muffler; Pipe Assembly, Exhaust, Tail
- Part Name Code: 17430
- Item Weight: 10.50 Pounds
- Item Dimensions: 43.6 x 12.7 x 9.0 inches
- Condition: New
- Fitment Type: Direct Replacement
- SKU: 17430-21580
- Warranty: This genuine part is guaranteed by Toyota's factory warranty.
2005 Toyota Prius Exhaust Pipe
Looking for affordable OEM 2005 Toyota Prius Exhaust Pipe? Explore our comprehensive catalogue of genuine 2005 Toyota Prius Exhaust Pipe. All our parts are covered by the manufacturer's warranty. Plus, our straightforward return policy and speedy delivery service ensure an unparalleled shopping experience. We look forward to your visit!
2005 Toyota Prius Exhaust Pipe Parts Q&A
- Q: How to service the exhaust pipe assembly on 2005 Toyota Prius?A: Service of the exhaust pipe assembly (1NZ-FXE) requires starting with removal of the rear floor board No.2 then continuing with deck floor box rear followed by rear floor board No.3. The first step involves disconnecting engine wire No.3 from the battery negative terminal before removing the instrument panel finish panel located in the lower center position. First detach the heated oxygen sensor using Special Service Tool: 09224-00010 before moving to the floor panel brace front through removal of its 4 bolts. The exhaust pipe tail requires removal of its 2 bolts and 2 compression springs followed by disconnecting the exhaust pipe tail from its 2 exhaust pipe supports to extract the gasket from the exhaust nine front. Start by removing the 2 exhaust pipe assembly front bolts along with 2 compression springs to detach the exhaust pipe front from 2 exhaust pipe supports and removing the gasket from the exhaust manifold. You should replace the compression spring when measuring its free length with vernier calipers reveals it falls below 40.5 mm (1.594 inch). To install a new gasket correctly on top of the exhaust manifold use a plastic-faced hammer with a wooden block and be specific about gasket installation direction while avoiding reusing the old gasket. Connect the exhaust pipe front section to the 2 exhaust pipe supports before tightening the compression springs and 2 bolts so they reach a torque of 43 Nm (440 kgf-cm, 32 ft. lbs.). The free length of the compression spring on the exhaust pipe assembly tail requires inspection to meet a minimum requirement of 38.5 mm (1.516 inch). A replacement is necessary if this measurement is not achieved. Install the exhaust pipe tail to the 2 exhaust pipe supports after applying a new gasket correctly while tightening the 2 compression springs and 2 bolts to 43 Nm (440 kgf-cm, 32 ft. lbs.). Reattach the floor panel brace front with 30 Nm torque while using Special Service Tool: 09224-00010 to reconnect the heated oxygen sensor and instrument panel finish panel lower center and engine wire No.3 (battery negative terminal) via its connection point. To finish the process you should test for exhaust leaks before putting back the rear floor board No.3, deck floor box rear and rear floor board No.2 while initializing the power window control system.


