×
ToyotaParts- Hello
- Login or Register
- Quick Links
- Live Chat
- Track Order
- Parts Availability
- RMA
- Help Center
- Contact Us
- Shop for
- Toyota Parts
- Scion Parts
My Garage
My Account
Cart
OEM 2005 Toyota Prius Crankshaft Seal
- Select Vehicle by Model
- Select Vehicle by VIN
Select Vehicle by Model
orMake
Model
Year
Select Vehicle by VIN
For the most accurate results, select vehicle by your VIN (Vehicle Identification Number).
2 Crankshaft Seals found

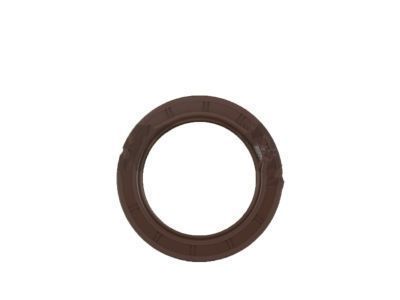
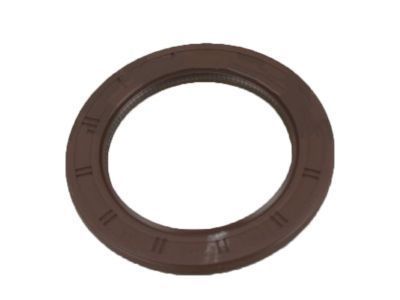
2005 Toyota Prius Rear Main Seal
Part Number: 90311-75022$40.26 MSRP: $56.03You Save: $15.77 (29%)Ships in 1 Business DayProduct Specifications- Other Name: Seal, Type T Oil; Engine Crankshaft Seal, Rear; Seal, Engine Rear Oil; Engine Crankshaft Seal; Crankshaft Seal
- Position: Rear
- Replaces: 90311-75015, 90311-75019, 90311-75016
- Part Name Code: 11401L
- Item Weight: 0.50 Pounds
- Condition: New
- Fitment Type: Direct Replacement
- SKU: 90311-75022
- Warranty: This genuine part is guaranteed by Toyota's factory warranty.

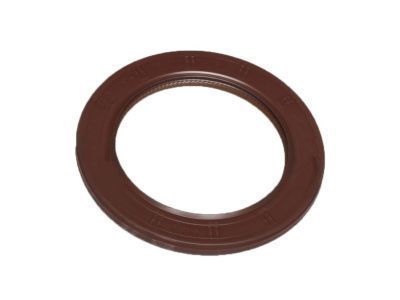
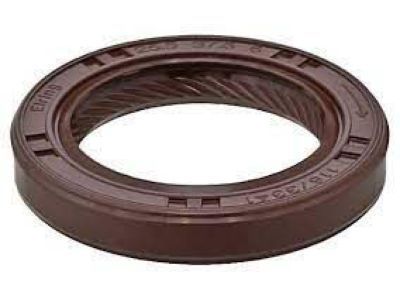
2005 Toyota Prius Front Crank Seal
Part Number: 90311-25032$9.31 MSRP: $12.96You Save: $3.65 (29%)Ships in 1 Business DayProduct Specifications- Other Name: Seal, Type T Oil; Engine Crankshaft Seal, Front; Timing Cover Gasket; Multi-Purpose Seal; Timing Cover Seal; Oil Seal; Front Seal; Oil Seal for Timing Chain/Belt Cover & Oil Pump; Engine Crankshaft Seal
- Position: Front
- Replaces: 90311-25020, 90311-25021
- Item Weight: 0.50 Pounds
- Condition: New
- Fitment Type: Direct Replacement
- SKU: 90311-25032
- Warranty: This genuine part is guaranteed by Toyota's factory warranty.
2005 Toyota Prius Crankshaft Seal
Looking for affordable OEM 2005 Toyota Prius Crankshaft Seal? Explore our comprehensive catalogue of genuine 2005 Toyota Prius Crankshaft Seal. All our parts are covered by the manufacturer's warranty. Plus, our straightforward return policy and speedy delivery service ensure an unparalleled shopping experience. We look forward to your visit!
2005 Toyota Prius Crankshaft Seal Parts Q&A
- Q: How to replace the Crankshaft Seal on 2005 Toyota Prius?A: The replacement of the engine rear oil seal (1NZ-FXE) begins with hybrid vehicle transaxle assembly removal followed by removing the transmission input damper assembly by utilizing the special service tools: 09213-58013 (91111-50845), 09330-00021 to stabilize the crankshaft while unfastening the 6 bolts which detach the input damper and input damper cover. The process continues with flywheel sub-assembly removal after securing the crankshaft similarly with the first tools. Afterwards extract the 6 bolts and the flywheel. A cutter knife should be used to cut off the oil seal's lip but the seal must be pried out using a tape-covered screwdriver while inspecting the crankshaft for damage along with smoothing any rough areas by using 400-grit sandpaper. Apply multipurpose grease No. 2 to the lip as a thin layer while protecting it from foreign materials and then use special service tool: 09223-56010 to tap the oil seal until it reaches the cylinder block edge while avoiding angled tapping and removing remaining grease. After applying adhesive (Part No. 08833-00070, Three Bond 1324, or equivalent) to the first 2 or 3 threads of bolt ends, make sure to clean all oil residue from bolts and bolt holes before attaching the flywheel with 6 bolts torque to 49 Nm (500 kgf-cm, 36 ft. lbs.) then every bolt requires an additional 90° of tightening. Do not start the engine during a 1-hour period after the installation procedure. To install the transmission input damper assembly position the hole of the input damper with special service tool: 09301-00210. Use the 6 bolts to temporarily secure the input damper cover while holding the crankshaft with special service tool: 09213-58013 (91111-50845), 09330-00021. Torque to 20 Nm (204 kgf-cm, 15 ft. lbs.) and reinstall the hybrid vehicle transaxle assembly.
