×
ToyotaParts- Hello
- Login or Register
- Quick Links
- Live Chat
- Track Order
- Parts Availability
- RMA
- Help Center
- Contact Us
- Shop for
- Toyota Parts
- Scion Parts
My Garage
My Account
Cart
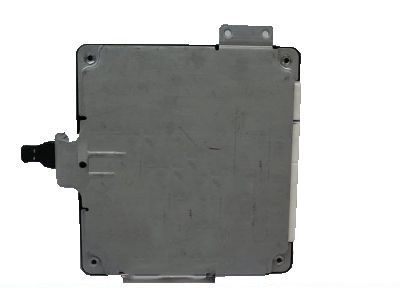
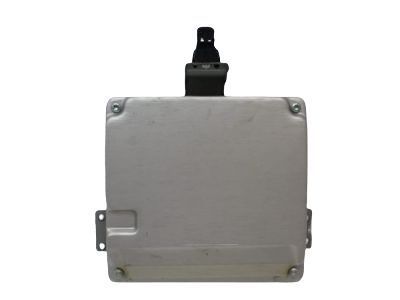
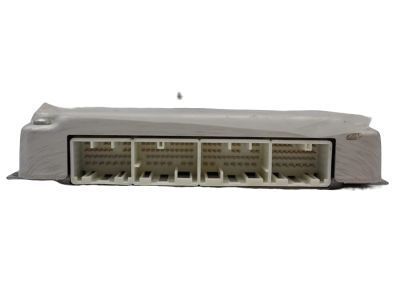
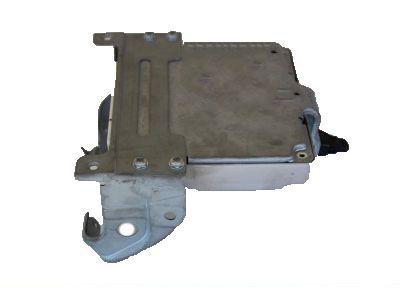
OEM 2005 Toyota Matrix Engine Control Module
Engine Control Computer- Select Vehicle by Model
- Select Vehicle by VIN
Select Vehicle by Model
orMake
Model
Year
Select Vehicle by VIN
For the most accurate results, select vehicle by your VIN (Vehicle Identification Number).
5 Engine Control Modules found

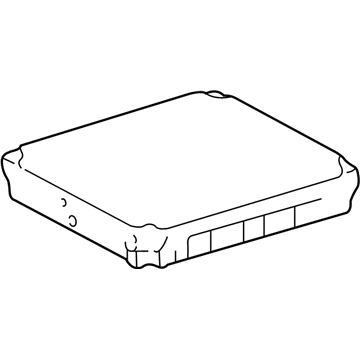
2005 Toyota Matrix ECM
Part Number: 89661-02K53$347.87 MSRP: $509.80You Save: $161.93 (32%)Ships in 1-3 Business DaysProduct Specifications- Other Name: Computer, Engine Control; Engine Control Module
- Replaces: 89661-02K54, 89661-02D12, 89661-02K50, 89661-02D11, 89661-02K51, 89661-02K52
- Item Weight: 4.10 Pounds
- Item Dimensions: 12.6 x 9.8 x 4.1 inches
- Condition: New
- SKU: 89661-02K53
- Warranty: This genuine part is guaranteed by Toyota's factory warranty.

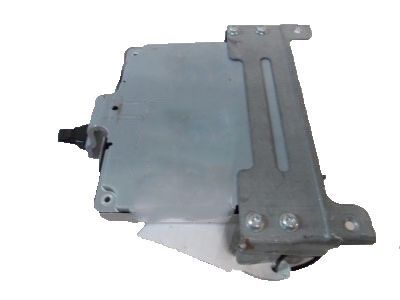
2005 Toyota Matrix ECM
Part Number: 89661-02K43$381.80 MSRP: $559.53You Save: $177.73 (32%)Ships in 1-3 Business DaysProduct Specifications- Other Name: Computer, Engine Control; Engine Control Module
- Replaces: 89661-02K42, 89661-02D52, 89661-02D51, 89661-02K40, 89661-02K41, 89661-02K44
- Item Weight: 1.40 Pounds
- Item Dimensions: 12.8 x 10.2 x 4.0 inches
- Condition: New
- SKU: 89661-02K43
- Warranty: This genuine part is guaranteed by Toyota's factory warranty.
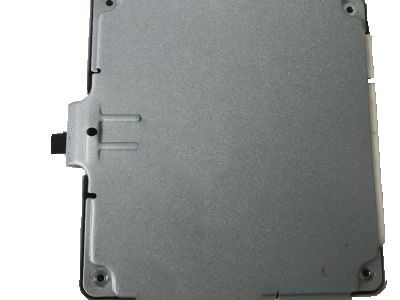
2005 Toyota Matrix ECM
Part Number: 89661-01141$589.52 MSRP: $863.95You Save: $274.43 (32%)Ships in 1-3 Business DaysProduct Specifications- Other Name: Computer, Engine Control; Engine Control Module
- Replaces: 89661-01140
- Item Weight: 2.20 Pounds
- Item Dimensions: 13.0 x 10.0 x 3.9 inches
- Condition: New
- SKU: 89661-01141
- Warranty: This genuine part is guaranteed by Toyota's factory warranty.
2005 Toyota Matrix ECM
Part Number: 89661-02K33$366.48 MSRP: $537.08You Save: $170.60 (32%)Ships in 1-3 Business DaysProduct Specifications- Other Name: Computer, Engine Control; Engine Control Module
- Replaces: 89661-02K31, 89661-02K32, 89661-02D42, 89661-02K30
- Item Weight: 2.20 Pounds
- Item Dimensions: 12.8 x 9.8 x 4.1 inches
- Condition: New
- SKU: 89661-02K33
- Warranty: This genuine part is guaranteed by Toyota's factory warranty.
- Product Specifications
- Other Name: Computer, Engine Control; Engine Control Module
- Manufacturer Note: PART NUMBER LABEL=89661-02C50
- Part Name Code: 89661
- Item Weight: 2.20 Pounds
- Item Dimensions: 12.8 x 10.3 x 4.0 inches
- Condition: New
- Fitment Type: Direct Replacement
- SKU: 89661-02C50
- Warranty: This genuine part is guaranteed by Toyota's factory warranty.
2005 Toyota Matrix Engine Control Module
Looking for affordable OEM 2005 Toyota Matrix Engine Control Module? Explore our comprehensive catalogue of genuine 2005 Toyota Matrix Engine Control Module. All our parts are covered by the manufacturer's warranty. Plus, our straightforward return policy and speedy delivery service ensure an unparalleled shopping experience. We look forward to your visit!
2005 Toyota Matrix Engine Control Module Parts Q&A
- Q: How to replace the Engine Control Module (ECM) on 2005 Toyota Matrix?A: A safe replacement process for the Engine Control Module (ECM) starts with disconnecting the battery negative terminal. The glove compartment door needs its assembly removed by uninstalling the door stopper screw following door stopper release through upper part deformation and subsequent door upward extraction. The order to extract the ECM includes two-step clip removal with a clip remover followed by cover opening and disconnecting four ECM connectors before removing the wire harness from its clamp and unscrewing the two screws and unfastening the claw and clip. Then, remove the ECM cover. When dealing with the ECM bracket either Delco or Denso brands need attention; Delco requires 4 screw removal while Denso requires 2 screws per bracket (No. 2, No. 3). The installation steps involve first securing ECM bracket No. 3 with 2 screws tightened to 3.2 N.m followed by ECM bracket No. 2 with the same torque value for 2 screws then the Denso-made ECM bracket with 2 screws tightened to 3.2 N.m and finishing with the Delco-made ECM bracket secured with 4 screws to 3.2 N.m torque. Securing the ECM requires first installing the new cover before placing the ECM with its necessary 2 screws (Torque: 3.0 N.m) and restoring all 4 connectors to the ECM and then tightening the harness clamp and finish with 2 securing clips. Install the glove compartment door assembly and reconnect the battery negative terminal while tightening it to 5.4 N.m. Finally, register the VIN.
