×
ToyotaParts- Hello
- Login or Register
- Quick Links
- Live Chat
- Track Order
- Parts Availability
- RMA
- Help Center
- Contact Us
- Shop for
- Toyota Parts
- Scion Parts
My Garage
My Account
Cart
OEM 2005 Toyota Avalon Starter Motor
Starter Ignition- Select Vehicle by Model
- Select Vehicle by VIN
Select Vehicle by Model
orMake
Model
Year
Select Vehicle by VIN
For the most accurate results, select vehicle by your VIN (Vehicle Identification Number).
1 Starter Motor found
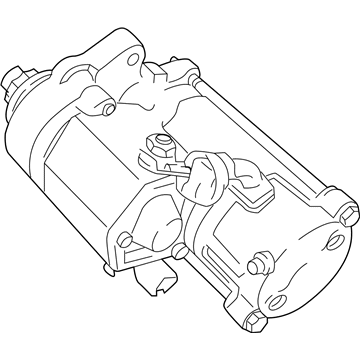
2005 Toyota Avalon Starter
Part Number: 28100-0A011-84$160.01 MSRP: $225.18You Save: $65.17 (29%)Ships in 1-3 Business DaysProduct Specifications- Other Name: Reman Starter; Starter Motor
- Replaces: 28100-0A011, 28100-0A010-84, 28100-0A010
- Item Weight: 7.60 Pounds
- Item Dimensions: 16.8 x 9.2 x 8.3 inches
- Condition: New
- SKU: 28100-0A011-84
- Warranty: This genuine part is guaranteed by Toyota's factory warranty.
2005 Toyota Avalon Starter Motor
Looking for affordable OEM 2005 Toyota Avalon Starter Motor? Explore our comprehensive catalogue of genuine 2005 Toyota Avalon Starter Motor. All our parts are covered by the manufacturer's warranty. Plus, our straightforward return policy and speedy delivery service ensure an unparalleled shopping experience. We look forward to your visit!
2005 Toyota Avalon Starter Motor Parts Q&A
- Q: How to replace the starter motor and initialize the Front Power Seat Control System on 2005 Toyota Avalon?A: The replacement process begins with disconnecting the cable from the negative battery terminal. Disassemble the air cleaner assembly while detaching its hose then detach the air cleaner inlet No.1. First disconnect terminal 50 of the connector then open the terminal cap to remove the nut while severing the wire harness from terminal 30 before removing the two starter bolts. Place the starter assembly in position before fastening it with two bolts and tightening them to 37 N.m (380 kgf.cm, 26 ft.lbf). Preform the following steps: Connect terminal 30 of the wire harness before adding the nut then torque it to 9.8 N.m (100 kgf.cm, 87 in.lbf). Finally, apply the nut cap and connect terminal 50 to the starter assembly. Put back the hose-connected air cleaner assembly along with air cleaner inlet No.1 before resting the cable on the negative battery terminal. The Front Power Seat Control System needs a system reset after battery disconnects along with replacement of the D/C CUT fuse or power seat switch or power seat assembly removal. Follow this power seat ECU initialization process by sliding the seat fully forward and reclining the seatback forward before raising the seat cushion and headrest conceiving all switches. Then reverse these actions by sliding the seat back and reclining the seatback while lowering both seat cushion and headrest.


