My Garage
Cart

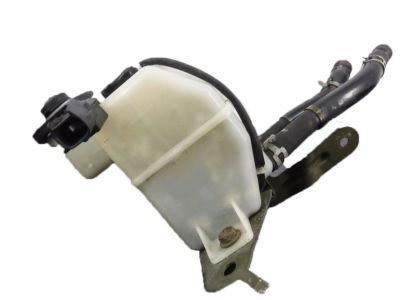
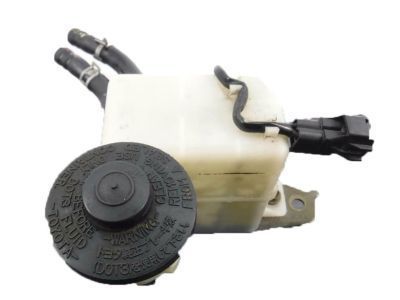
OEM 2004 Toyota Sienna Brake Master Cylinder Reservoir

Brake Fluid Storage Tank
  • Select Vehicle by Model
  • Select Vehicle by VIN
Select Vehicle by Model
Make
Model
Year
or
Select Vehicle by VIN
For the most accurate results, select vehicle by your VIN (Vehicle Identification Number).

1 Brake Master Cylinder Reservoir found

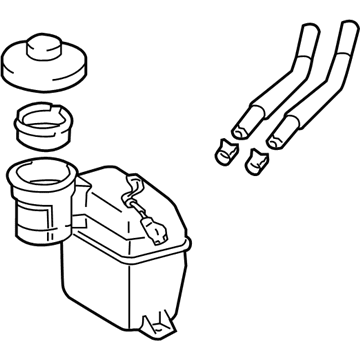
  • 2004 Toyota Sienna Brake Master Cylinder Reservoir Diagram - 47220-08030
    View related parts

    2004 Toyota Sienna Master Cylinder Reservoir

    Part Number: 47220-08030
    $150.74 MSRP: $213.40
    You Save: $62.66 (30%)
    Ships in 1-3 Business Days
    ADD TO CART
    Product Specifications
    • Other Name: Reservoir Assembly, Master Cylinder; Brake Master Cylinder Reservoir; Reservoir Assembly; Reservoir Sub-Assembly, Brake Master Cylinder
    • Part Name Code: 47202
    • Item Weight: 0.60 Pounds
    • Item Dimensions: 5.8 x 5.9 x 3.7 inches
    • Condition: New
    • Fitment Type: Direct Replacement
    • SKU: 47220-08030
    • Warranty: This genuine part is guaranteed by Toyota's factory warranty.
    More Info
    Fits the following 2004 Toyota Sienna Submodels:
    • CE, LE, Limited, XLE, XLE Limited | 6 Cyl 3.3 L GAS, 6 Cyl 3.5 L GAS

2004 Toyota Sienna Brake Master Cylinder Reservoir

Looking for affordable OEM 2004 Toyota Sienna Brake Master Cylinder Reservoir? Explore our comprehensive catalogue of genuine 2004 Toyota Sienna Brake Master Cylinder Reservoir. All our parts are covered by the manufacturer's warranty. Plus, our straightforward return policy and speedy delivery service ensure an unparalleled shopping experience. We look forward to your visit!

2004 Toyota Sienna Brake Master Cylinder Reservoir Parts Q&A

  • Q: How to service and repair the Brake Master Cylinder Reservoir Sub-Assembly on 2004 Toyota Sienna?
    A: The service and repair process for Brake Master Less Reservoir Tank Cylinder Sub-Assembly starts with fluid drainage from braking systems followed by cleaning paint surfaces exposed to drained fluid. First disconnect the battery negative terminal followed by removal of the air cleaner assembly with hose and the cowl top panel sub-assembly outer front. It will then become necessary to disconnect the brake master cylinder using Special Service Tool: 09023-00100. The tool enables you to disconnect both brake tubes while sliding the clip to detach the reservoir hose and removing the two nuts. To access the brake master less reservoir tank cylinder sub-assembly securely position the brake master cylinder between soft-jawed vise and aluminum plates before removing the O-ring with a screwdriver. The brake tube requires Special Service Tool: 09023-00100 to disconnect for further detachment of two nuts and two bolts while removing the sub-assembly from its position. Drop the No.3 piston from the diameter converting unit and the No.1 piston from the plunger master cylinder because replacement parts cannot be used if these components fall. A pin punch of 5 mm diameter together with a hammer should be used to remove the pin before taking out the brake master cylinder union and two grommets. For brake master less reservoir tank cylinder sub-assembly installation you should apply lithium soap base glycol grease to the grommets then insert the master cylinder union with the pin while adding the two new O-rings. Fasten the sub-assembly with two nuts and two bolts while torquing them to 25 Nm (255 kgf-cm, 18 ft. lbs.) then check for proper installation of the No.3 piston without looseness. After connecting the brake tube to the brake master cylinder using Special Service Tool: 09023-00100 and torquing it to 15 Nm (155 kgf-cm, 11 ft. lbs.) install a new O-ring before continuing. Reinstall the brake master cylinder with two nuts and torques them to 13 Nm (130 kgf-cm, 9 ft. lbs.) but before doing so reconnect the reservoir hose then use Special Service Tool: 09023-00100 to restore connection of the two brake tubes which demands a torque of 15 Nm (155 kgf-cm, 11 ft. lbs.). Proceed with the following brake system installation steps by filling the reservoir with brake fluid, bleeding both the master cylinder and brake line followed by checking reservoir fluid level, examining for leakage, reattaching the cowl top panel front outer and inspecting brake pedal height. Finish by testing the brake actuator with a Toyota hand-held tester.