My Garage
Cart

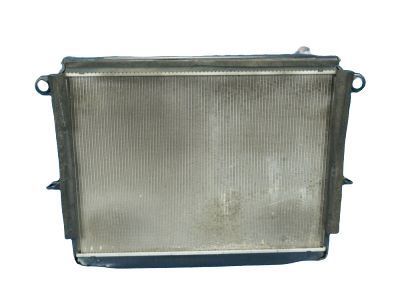
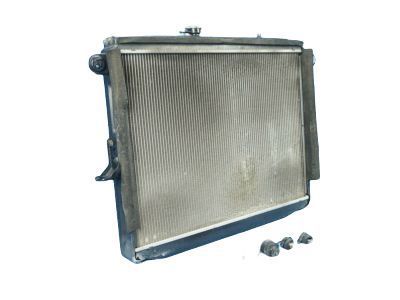
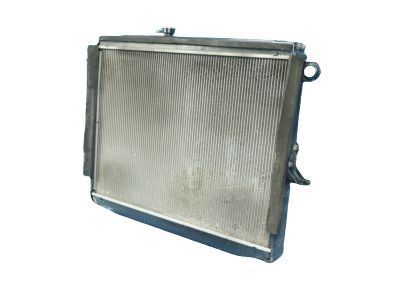
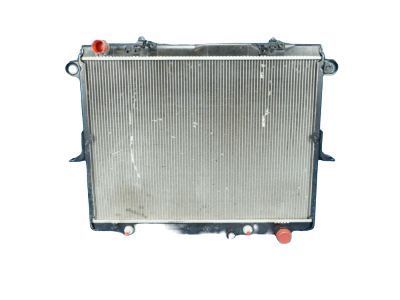
OEM 2003 Toyota Land Cruiser Radiator

Cooling Radiator
  • Select Vehicle by Model
  • Select Vehicle by VIN
Select Vehicle by Model
Make
Model
Year
or
Select Vehicle by VIN
For the most accurate results, select vehicle by your VIN (Vehicle Identification Number).

1 Radiator found

  • 2003 Toyota Land Cruiser Radiator - 16400-50290
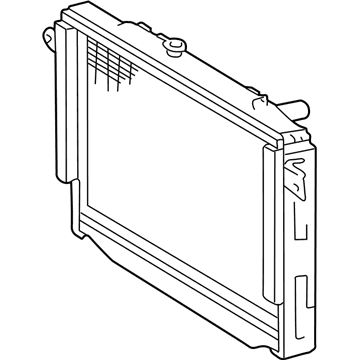
    2003 Toyota Land Cruiser Radiator Diagram - 16400-50290
    View related parts

    2003 Toyota Land Cruiser Radiator Assembly

    Part Number: 16400-50290
    $490.55 MSRP: $718.90
    You Save: $228.35 (32%)
    Ships in 1-3 Business Days
    ADD TO CART
    Product Specifications
    • Other Name: Radiator
    • Part Name Code: 16400
    • Item Weight: 28.10 Pounds
    • Item Dimensions: 38.2 x 30.6 x 8.5 inches
    • Condition: New
    • Fitment Type: Direct Replacement
    • SKU: 16400-50290
    • Warranty: This genuine part is guaranteed by Toyota's factory warranty.
    More Info
    Fits the following 2003 Toyota Land Cruiser Submodels:
    • Base | 8 Cyl 4.7 L GAS

2003 Toyota Land Cruiser Radiator

Looking for affordable OEM 2003 Toyota Land Cruiser Radiator? Explore our comprehensive catalogue of genuine 2003 Toyota Land Cruiser Radiator. All our parts are covered by the manufacturer's warranty. Plus, our straightforward return policy and speedy delivery service ensure an unparalleled shopping experience. We look forward to your visit!

2003 Toyota Land Cruiser Parts Questions & Experts Answers

  • Q: How to remove and install the radiator on 2003 Toyota Land Cruiser?
    A: The first step for radiator removal begins with disconnecting engine under cover No.1 before draining engine coolant. The radiator requires removing its upper and lower hoses as well as its A/T oil cooler hoses connected to the radiator. Use tools to remove the radiator reservoir by disconnecting the wire clamp as well as unfastening the reservoir hose and the 2 bolts securing it with the grommet. The radiator assembly removal process involves seven installation steps. Firstly disconnect the 2 clamps of A/C discharge tube from its bracket and remove the corresponding 2 bolts while disconnecting the 2 brackets of the wire from the radiator. Additionally separate the A/T oil cooler hoses from the fan shroud clamp followed by loosening the fan pulley mounting nuts and removing the generator drive belt and lastly extracting the 3 bolts securing the fan shroud to the radiator then removing the 4 fan pulley mounting nuts. You must first extract the fan including fluid coupling along with fan pulley and fan shroud before you proceed with removing two nuts and two bolts to extract the radiator assembly. Start by removing the radiator side supports after disassembly of the four nuts and two brackets then proceed to detach the eight nuts along with the two side supports. Begin radiator installation by securing the side supports to the radiator unit with 8 nuts while torquing them to 12.7 Nm (130 kgf cm, 9 ft. lbs.). Afterward attach the 2 brackets with 4 nuts which need to be tightened to 20 Nm (200 kgf-cm, 13 ft. lbs.). Reinstall the radiator assembly by fastening 2 nuts and 2 bolts so they reach 20 Nm (200 kgf-cm, 15 ft. lbs.) and 18 Nm (185 kgf-cm, 13 ft. lbs.) torque respectively. Position the fan with fluid coupling and its fan pulley and fan shroud before temporarily installing the fan pulley mounting nuts and securing the fan shroud with 3 bolts applying 5.0 Nm (50 kgf-cm, 43 inch lbs.) torque. Install fan shroud with 3 bolts torqued to 5.0 Nm (50 kgf-cm, 43 inch lbs.), then place generator drive belt followed by tightening 4 fan pulley mounting nuts. Finally, secure 2 brackets on the wire to the radiator wire with 2 bolts and mount 2 clamps on the A/C discharge tube to the brackets on the wire with 2 nuts. The radiator reservoir installation begins with sinking the grommet into the reservoir while fastening the bottom segment to the fan shroud with 2 bolts followed by attaching the reservoir hose to the radiator and securing the clamp on the wire to the radiator. To complete the installation process connect all handles to the radiator then fill it with engine coolant, start the engine to identify any leaks before rechecking engine coolant levels and finally installing engine under cover No.1.

Related 2003 Toyota Land Cruiser Parts