×
ToyotaParts- Hello
- Login or Register
- Quick Links
- Live Chat
- Track Order
- Parts Availability
- RMA
- Help Center
- Contact Us
- Shop for
- Toyota Parts
- Scion Parts
My Garage
My Account
Cart
OEM 2003 Toyota Celica Radiator
Cooling Radiator- Select Vehicle by Model
- Select Vehicle by VIN
Select Vehicle by Model
orMake
Model
Year
Select Vehicle by VIN
For the most accurate results, select vehicle by your VIN (Vehicle Identification Number).
2 Radiators found
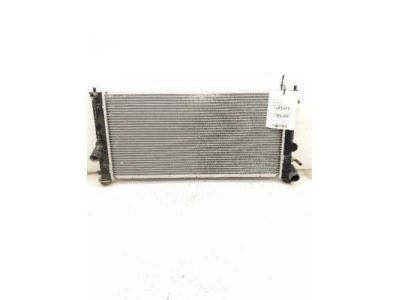
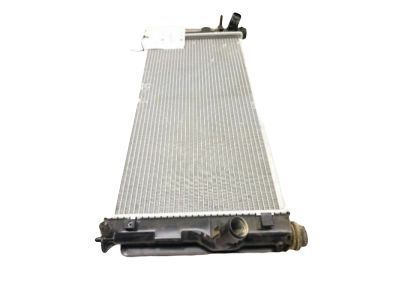
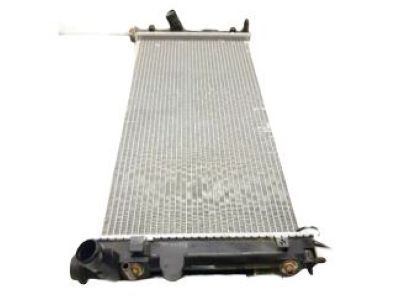
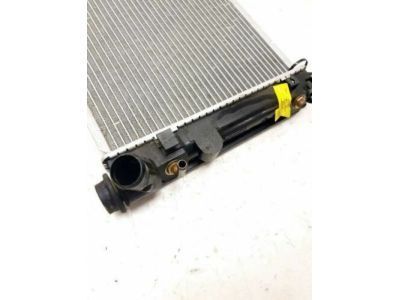
2003 Toyota Celica Radiator Assembly
Part Number: 16400-22070$324.63 MSRP: $463.49You Save: $138.86 (30%)Product Specifications- Other Name: Radiator
- Part Name Code: 16400
- Item Weight: 10.20 Pounds
- Item Dimensions: 41.0 x 6.1 x 25.0 inches
- Condition: New
- Fitment Type: Direct Replacement
- SKU: 16400-22070
- Warranty: This genuine part is guaranteed by Toyota's factory warranty.
 Product Specifications
- Other Name: Radiator
- Part Name Code: 16400
- Item Weight: 13.60 Pounds
- Item Dimensions: 34.7 x 5.3 x 17.3 inches
- Condition: New
- Fitment Type: Direct Replacement
- SKU: 16400-22060
- Warranty: This genuine part is guaranteed by Toyota's factory warranty.
2003 Toyota Celica Radiator
Looking for affordable OEM 2003 Toyota Celica Radiator? Explore our comprehensive catalogue of genuine 2003 Toyota Celica Radiator. All our parts are covered by the manufacturer's warranty. Plus, our straightforward return policy and speedy delivery service ensure an unparalleled shopping experience. We look forward to your visit!
2003 Toyota Celica Radiator Parts Q&A
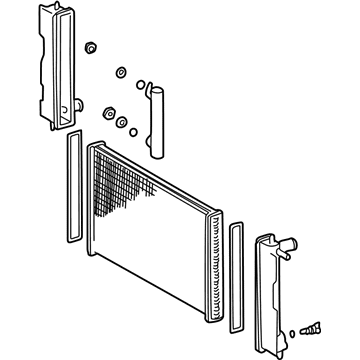
- Q: How to service and repair the radiator on 2003 Toyota Celica?A: The radiator maintenance starts with draining the fluid through removal of the drain plug followed by O-ring replacement. Special Service Tool: 09230-01010 should be assembled with the claw on the overhaul handle while setting stopper bolts at 0.2 to 0.3 mm (0.008 to 0.012 inch) to avert damage. Apply the same tool to uncaulk the lock plates through handle operation until the stopper bolts reach their stopping point. A soft-faced hammer should be used to lightly tap the radiator bracket until the tanks and O-ring become removable. After removing the cooler pipe with a loose nut the replacement process continues with the 2 nuts and 2 plate washers to extract the oil cooler and 2 O-rings. The lock plate should be investigated for damage with repairs made to stop reassembly problems. The radiator features a two-time limitation for recaulking before needing replacement. Reinstall the oil cooler first by placing new O-rings on the cooler contacts then putting the lower tank together using two plate washers and two nuts while tightening the assembly to 8.34 Nm (85 kgf-cm, 74 inch lbs.) before connecting the cooler pipe with 14.7 Nm (150 kgf-cm, 11 ft. lbs.). Install new O-rings and tanks correctly while checking to ensure no foreign materials exist in the lock plate groove before tapping it with a soft-faced hammer to remove gaps. The stopper bolt requires adjustment on Special Service Tools 09230-01010 and 09231-14010 until a dimension "B" measurement of 8.4 mm (0.331 inch) is reached. Users must check that the lock plate height (H) falls within 7.40 - 7.80 mm (0.2913 - 0.3071 inch) using the tool before adjusting as required. After installing the new O-ring on the drain plug you should check for water leaks by using Special Service Tool: 09230-01010 to tighten the drain plug, install engine coolant reservoir and plug the inlet and outlet pipes at 177 kPa (1.8 kgf/cm2, 26 psi) with a radiator cap tester while submerging the radiator in water and looking for any leakage as a precaution against air pockets in radiators with resin tanks.
