×
ToyotaParts- Hello
- Login or Register
- Quick Links
- Live Chat
- Track Order
- Parts Availability
- RMA
- Help Center
- Contact Us
- Shop for
- Toyota Parts
- Scion Parts
My Garage
My Account
Cart
OEM 2002 Toyota Echo Coil Springs
Strut Spring- Select Vehicle by Model
- Select Vehicle by VIN
Select Vehicle by Model
orMake
Model
Year
Select Vehicle by VIN
For the most accurate results, select vehicle by your VIN (Vehicle Identification Number).
3 Coil Springs found

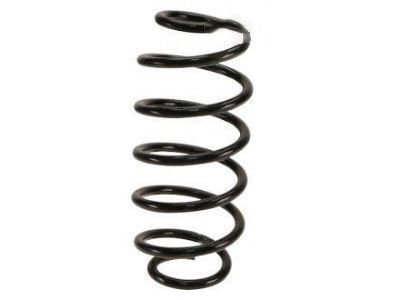
2002 Toyota Echo Coil Spring, Rear
Part Number: 48231-52040$101.42 MSRP: $142.37You Save: $40.95 (29%)Ships in 1-3 Business DaysProduct Specifications- Other Name: Spring, Coil, Rear; Coil Springs; Spring; Spring, Coil, Rear Passenger Side; Spring, Coil, Rear Driver Side
- Position: Rear
- Item Weight: 4.40 Pounds
- Item Dimensions: 17.3 x 10.7 x 5.6 inches
- Condition: New
- Fitment Type: Direct Replacement
- SKU: 48231-52040
- Warranty: This genuine part is guaranteed by Toyota's factory warranty.
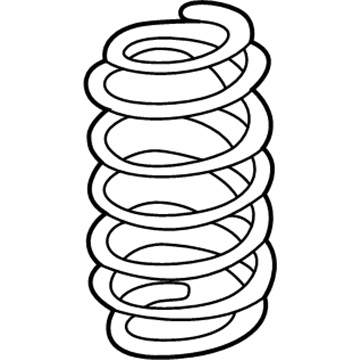
2002 Toyota Echo Coil Spring, Front
Part Number: 48131-52320$92.68 MSRP: $130.10You Save: $37.42 (29%)Ships in 1-3 Business DaysProduct Specifications- Other Name: Spring, Coil, Front; Coil Spring, Front; Coil Springs; Spring; Spring, Front Coil, Passenger Side; Spring, Front Coil, Driver Side
- Position: Front
- Item Weight: 7.10 Pounds
- Item Dimensions: 16.1 x 7.1 x 5.8 inches
- Condition: New
- Fitment Type: Direct Replacement
- SKU: 48131-52320
- Warranty: This genuine part is guaranteed by Toyota's factory warranty.
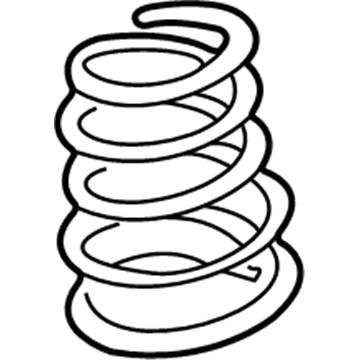
2002 Toyota Echo Coil Spring, Front
Part Number: 48131-52020$87.41 MSRP: $122.69You Save: $35.28 (29%)Ships in 1-3 Business DaysProduct Specifications- Other Name: Spring, Coil, Front; Coil Spring, Front; Coil Springs; Spring; Spring, Front Coil, Passenger Side; Spring, Front Coil, Driver Side
- Position: Front
- Item Weight: 4.00 Pounds
- Item Dimensions: 16.1 x 6.9 x 5.7 inches
- Condition: New
- Fitment Type: Direct Replacement
- SKU: 48131-52020
- Warranty: This genuine part is guaranteed by Toyota's factory warranty.
2002 Toyota Echo Coil Springs
Looking for affordable OEM 2002 Toyota Echo Coil Springs? Explore our comprehensive catalogue of genuine 2002 Toyota Echo Coil Springs. All our parts are covered by the manufacturer's warranty. Plus, our straightforward return policy and speedy delivery service ensure an unparalleled shopping experience. We look forward to your visit!
2002 Toyota Echo Coil Springs Parts Q&A
- Q: How to remove and install the coil springs and associated components on 2002 Toyota Echo?A: In order to take the coil spring off, you have to remove the rear wheels, trim, and seats. Place jacks under the rear axle and remove the shock absorber, and the other shock absorber. Reduce the jacks to remove the coil spring. Check the shock absorber and change the shock absorber when necessary. Install in reverse order making sure that all torque specifications are met.


