×
ToyotaParts- Hello
- Login or Register
- Quick Links
- Live Chat
- Track Order
- Parts Availability
- RMA
- Help Center
- Contact Us
- Shop for
- Toyota Parts
- Scion Parts
My Garage
My Account
Cart
OEM 2002 Toyota Corolla Timing Chain
Engine Timing Chain- Select Vehicle by Model
- Select Vehicle by VIN
Select Vehicle by Model
orMake
Model
Year
Select Vehicle by VIN
For the most accurate results, select vehicle by your VIN (Vehicle Identification Number).
1 Timing Chain found

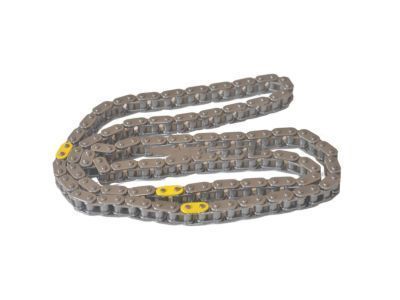
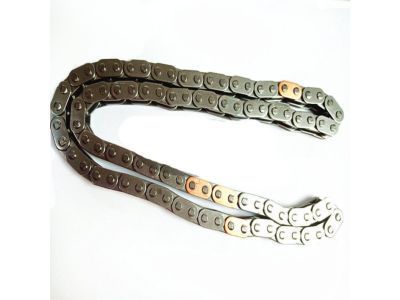
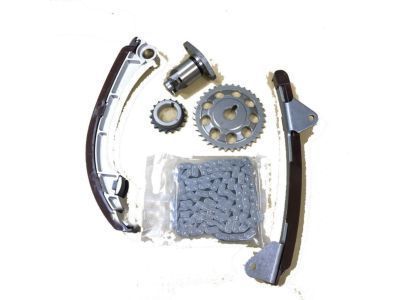
2002 Toyota Corolla Timing Chain
Part Number: 13506-0D010$260.60 MSRP: $372.07You Save: $111.47 (30%)Ships in 1-3 Business DaysProduct Specifications- Other Name: Chain Sub-Assembly; Engine Timing Chain
- Manufacturer Note: ENGINE NO.=5001001-9XXXXXX OR CXXXXXX
- Replaces: 13506-22030, 13506-0D020
- Part Name Code: 13506
- Item Weight: 1.20 Pounds
- Item Dimensions: 12.5 x 12.1 x 8.1 inches
- Condition: New
- Fitment Type: Direct Replacement
- SKU: 13506-0D010
- Warranty: This genuine part is guaranteed by Toyota's factory warranty.
2002 Toyota Corolla Timing Chain
Looking for affordable OEM 2002 Toyota Corolla Timing Chain? Explore our comprehensive catalogue of genuine 2002 Toyota Corolla Timing Chain. All our parts are covered by the manufacturer's warranty. Plus, our straightforward return policy and speedy delivery service ensure an unparalleled shopping experience. We look forward to your visit!
2002 Toyota Corolla Timing Chain Parts Q&A
- Q: How to service and repair the timing chain on 2002 Toyota Corolla?A: The first step for timing chain repairs and services includes draining the engine coolant followed by the washer tank removal along with the right-hand front wheel and right-hand engine under cover and drive belt and generator. To proceed with pump detachment disconnect power steering from the engine and unscrew the pulley bolt using Special Service Tool: 09960-10010 (09962-01000, 09963-01000). The right-hand engine mounting insulator requires removal using a jack which must rest on a wooden or rubber block placed between the jack and the oil pan, while bolt removal of the A/C piping clamp should be done only if the vehicle has A/C. Start by removing the cylinder head cover with its bolts and clips and ignition coil connectors and proceed to set the No. 1 cylinder at TDC/compression by positioning the crankshaft pulley groove on the timing mark. With Special Service Tool: 09213-70011, 09330-00021 use it to remove the crankshaft pulley followed by detaching the crankshaft position sensor wiring. Continue working by taking out the drive belt tensioner right-hand engine mounting bracket chain tensioner water pump and timing chain cover while maintaining the contact surface quality. Discard the crank angle sensor plate together with the chain tensioner slipper and timing chain, crankshaft timing sprocket and chain vibration damper. Check the timing chain system for wear symptoms while you also inspect the sprocket components. Replace any faulty components. When replacing the crankshaft front oil seal Special Service Tools 09309-37010 and 09308-10010 should be used depending on whether the timing chain cover is already removed or not. Secure the chain vibration damper together with the timing chain following proper mark alignment. The installation process also requires proper sprocket alignment and No. 1 cylinder positioning at TDC/compression. Install the chain tensioner slipper while using the crank angle sensor plate and timing chain cover with water pump application of appropriate seal packing (Part No. 08826-00100 or equivalent). Secure all bolts at their specified torque values while maintaining correct placement of both the slipper and the chain. User the necessary special service tools to reinstall the right-hand engine bracket together with drive belt tensioner, crankshaft sensor, and crankshaft pulley based on torque specifications. Finish the procedure by installing the cylinder head cover along with the right-hand engine mounting insulator and power steering pump and generator plus drive belt before putting on the right-hand engine under cover right-hand front wheel and washer tank and refilling engine coolant for an engine start to search for any leaks.


