My Garage
Cart

OEM 2002 Toyota Celica Pressure Plate

Clutch Pressure Plate
  • Select Vehicle by Model
  • Select Vehicle by VIN
Select Vehicle by Model
Make
Model
Year
or
Select Vehicle by VIN
For the most accurate results, select vehicle by your VIN (Vehicle Identification Number).

2 Pressure Plates found

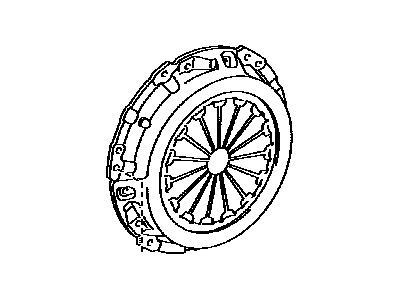
  • 2002 Toyota Celica Pressure Plate Diagram - 31210-12291
    View related parts

    2002 Toyota Celica Pressure Plate

    Part Number: 31210-12291
    $145.34 MSRP: $205.74
    You Save: $60.40 (30%)
    Ships in 1-3 Business Days
    ADD TO CART
    Product Specifications
    • Other Name: Cover Assembly, Clutch; Clutch Kit
    • Replaces: 31210-20380, 31210-12250, 31210-20360, 31210-12251, 31210-12290
    • Part Name Code: 31210
    • Item Weight: 1.40 Pounds
    • Item Dimensions: 12.7 x 11.5 x 2.4 inches
    • Condition: New
    • Fitment Type: Direct Replacement
    • SKU: 31210-12291
    • Warranty: This genuine part is guaranteed by Toyota's factory warranty.
    More Info
    Fits the following 2002 Toyota Celica Submodels:
    • GT, GTS | 4 Cyl 1.8 L GAS
  • 2002 Toyota Celica Pressure Plate - 31210-12221-84
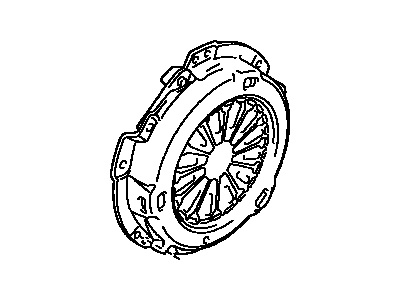
    2002 Toyota Celica Pressure Plate Diagram - 31210-12221-84
    View related parts

    2002 Toyota Celica Pressure Plate

    Part Number: 31210-12221-84
    $65.84 MSRP: $92.59
    You Save: $26.75 (29%)
    Ships in 1-3 Business Days
    ADD TO CART
    Product Specifications
    • Other Name: Reman Clutch Cover; Clutch Kit
    • Replaces: 31210-12221, 31210-12220
    • Item Weight: 10.00 Pounds
    • Item Dimensions: 12.6 x 11.9 x 2.4 inches
    • Condition: New
    • SKU: 31210-12221-84
    • Warranty: This genuine part is guaranteed by Toyota's factory warranty.
    More Info
    Fits the following 2002 Toyota Celica Submodels:
    • GT, GTS | 4 Cyl 1.8 L GAS

2002 Toyota Celica Pressure Plate

Looking for affordable OEM 2002 Toyota Celica Pressure Plate? Explore our comprehensive catalogue of genuine 2002 Toyota Celica Pressure Plate. All our parts are covered by the manufacturer's warranty. Plus, our straightforward return policy and speedy delivery service ensure an unparalleled shopping experience. We look forward to your visit!
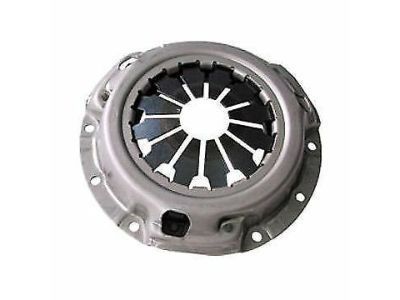
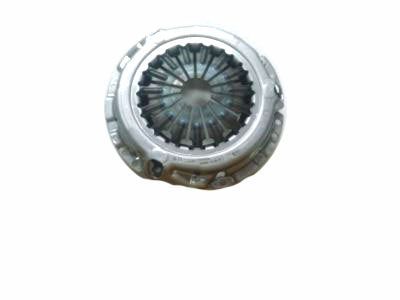
2002 Toyota Celica Pressure Plate Parts Q&A

  • Q: How to service and repair the pressure plate on 2002 Toyota Celica?
    A: Service and repair of the pressure plate begins with transaxle removal from the engine followed by clutch cover and disc removal after aligning both matchmarks between clutch cover and flywheel while using the spring tension method to loosen the set bolts individually until spring release occurs and finally removing the set bolts to avoid clutch disc drop. The service procedure begins by taking away the release bearing and fork assembly before separating them next and completing the process with release fork support and boot removal. Professional use of vernier calipers is essential to measure clutch disc rivet depth which requires a minimum depth of 0.3 mm (0.012 inch) while replacement is needed if this value is not maintained. Use a dial indicator to measure the clutch disc runout only when it stays under 0.8 mm (0.031 inch). Verify the flywheel runout with the same tool checking its maximum value at 0.1 mm (0.004 inch) before replacing it if necessary. The initial flywheel bolt tightening starts by using even torque pressure to reach 49 Nm (500 kgf-cm, 36 ft. lbs.), after which the bolts receive an additional 90° rotation before verification of the painted mark at a 90° angle. Measure the diaphragm spring depth and width to determine replacement of the clutch cover when depth reaches 0.5 mm (0.020 inch) or width exceeds 6.0 mm (0.236 inch). A functional release bearing can be assessed through manual rotation under axial pressure conditions. Otherwise, replace the bearing if necessary. Special Service Tool: 09301-00210 should be inserted into the clutch disc to attach it onto the flywheel while making sure the disc enters correctly and lining up the matchmarks found on the clutch cover and flywheel. Tighten the six bolts to 19 Nm (195 kgf-cm, 14 ft. lbs.) using a specific installation sequence while verifying that the disc maintains its center position throughout the process. A dial indicator helps you check the diaphragm spring tip alignment for maximum non-alignment less than 0.5 mm (0.020 inch). When the alignment exceeds this amount use Special Service Tool: 09333-00013 for manual adjustment. Use a maximum 37 Nm torque (375 kgf-cm, 27 ft. lbs.) to fasten the boot and release fork support to the transaxle while applying release hub grease (Part No. 08887-01806) to both release fork and hub contact areas and applying clutch spline grease (Part No. 08887-01706) to the input shaft spline. Reinstall the transaxle to the engine after you install both the release bearing and fork to the transaxle.