My Garage
Cart

OEM 2000 Toyota Solara Radiator

Cooling Radiator
  • Select Vehicle by Model
  • Select Vehicle by VIN
Select Vehicle by Model
Make
Model
Year
or
Select Vehicle by VIN
For the most accurate results, select vehicle by your VIN (Vehicle Identification Number).

2 Radiators found

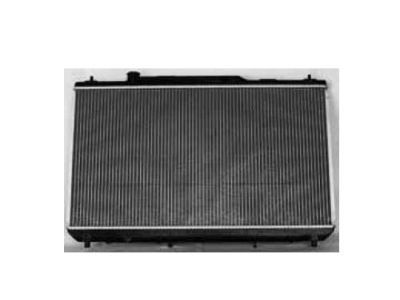
  • 2000 Toyota Solara Radiator - 16410-AZ002
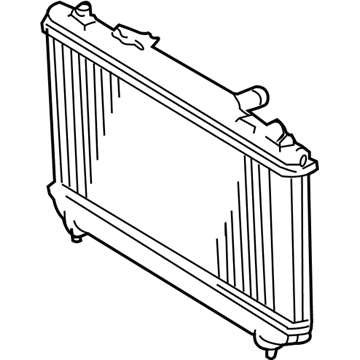
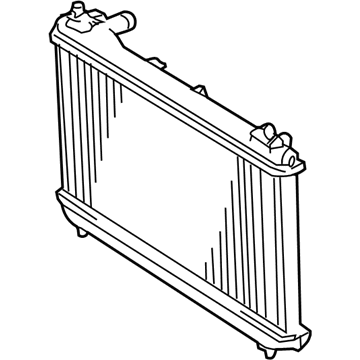
    2000 Toyota Solara Radiator Diagram - 16410-AZ002
    View related parts

    2000 Toyota Solara Radiator Assembly

    Part Number: 16410-AZ002
    $90.08 MSRP: $126.25
    You Save: $36.17 (29%)
    Ships in 1-3 Business Days
    ADD TO CART
    Product Specifications
    • Other Name: Radiator Assembly, L/Cap; Radiator
    • Item Weight: 10.60 Pounds
    • Item Dimensions: 37.8 x 25.5 x 5.1 inches
    • Condition: New
    • SKU: 16410-AZ002
    • Warranty: This genuine part is guaranteed by Toyota's factory warranty.
    Fits the following 2000 Toyota Solara Submodels:
    • SE | 4 Cyl 2.2 L GAS
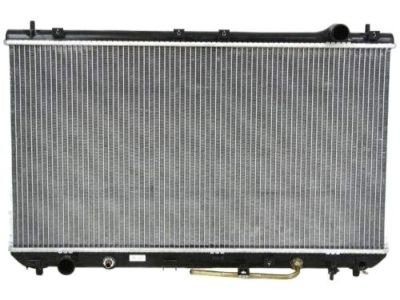
  • 2000 Toyota Solara Radiator - 16410-AZ034
    2000 Toyota Solara Radiator Diagram - 16410-AZ034
    View related parts

    2000 Toyota Solara Radiator Assembly

    Part Number: 16410-AZ034
    $138.97 MSRP: $196.42
    You Save: $57.45 (30%)
    Ships in 1-3 Business Days
    ADD TO CART
    Product Specifications
    • Other Name: Radiator Assembly, L/Cap; Radiator
    • Condition: New
    • SKU: 16410-AZ034
    • Warranty: This genuine part is guaranteed by Toyota's factory warranty.
    Fits the following 2000 Toyota Solara Submodels:
    • SE, SLE | 6 Cyl 3.0 L GAS

2000 Toyota Solara Radiator

Looking for affordable OEM 2000 Toyota Solara Radiator? Explore our comprehensive catalogue of genuine 2000 Toyota Solara Radiator. All our parts are covered by the manufacturer's warranty. Plus, our straightforward return policy and speedy delivery service ensure an unparalleled shopping experience. We look forward to your visit!

2000 Toyota Solara Parts Questions & Experts Answers

  • Q: How to remove and install the radiator on 2000 Toyota Solara?
    A: Start the radiator replacement by draining the engine coolant while disconnecting the relay block from the battery hold-down clamp according to Canadian standards. Disconnection of the upper and lower radiator hoses then follows next with the removal of A/T oil cooler hoses then after disconnecting both No.1 and No.2 cooling fan connectors along the lines of the No.1 ECT switch wire connector. The radiator and cooling fans assembly can be removed by first uninstalling the two bolts and two upper supports before applying 12.8 Nm (130 kgf-cm, 9 ft. lbs.) torque and finally extracting the assembly as you discard its lower supports. Drain the A/T oil cooler hoses from the radiator followed by the lower radiator hose and the No.1 ECT switch and both cooling fans using a torque of 5.0 Nm (50 kgf-cm, 44 inch lbs.) for the No.1 and No.2 cooling fans. Use Special Service Tool: 09230-01010 to install the claw on the overhaul handle by adjusting the stopper bolt for a dimension "B" measurement between 0.2 and 0.5 mm (0.008 - 0.020 inch). The lock plates will detach after using this tool to uncaulk them. You can then remove tanks and O-rings by tenderly tapping on the bracket followed by O-ring removal. To access the oil cooler for the A/T detach all components including pipe, nuts and plate washers until you reach the oil cooler and its O-rings. Use clean surfaces to install new O-rings and position the oil cooler over the lower tank while tightening its plate washers and nuts to 8.3 Nm (85 kgf-cm, 74 inch lbs.) and 14.7 Nm (150 kgf-cm, 11 ft. lbs.) respectively. The lock plate must be inspected to detect any damage before deforming it for correct assembly because this prevents water from leaking. To prevent water leakage a lock plate installation requires new O-rings as well as tank inspection for foreign objects while tapping the lock plate to remove gaps. The Special Service Tools 09230-01010 and 09231-14010 must be used to adjust the stopper bolt to reach an 8.4 mm (0.34 inch) measurement at dimension "B". Users should operate the tool on the lock plate to verify proper height measurement between 7.4 to 7.8 mm (0.2959 to 0.3119 inches). Proceed with the final steps by installing the cushion followed by executing the installation process in the exact reverse sequence of dismantling.

Related 2000 Toyota Solara Parts