×
ToyotaParts- Hello
- Login or Register
- Quick Links
- Live Chat
- Track Order
- Parts Availability
- RMA
- Help Center
- Contact Us
- Shop for
- Toyota Parts
- Scion Parts
My Garage
My Account
Cart
Cluster & Switches
2009 Toyota Venza A/C Switch, Blower Control Switches
Currently shopping for
2009 Toyota Venza
Change VehicleVehicle Options
BaseVehicle Options
BaseCategories Close X
Currently selected
Body & Hardware
- Back Glass
- Bumper & Components - Front
- Bumper & Components - Rear
- Center Pillar & Rocker
- Cluster & Switches
- Console
- Cowl
- Dash Panel Components
- Door & Components
- Driver Seat Components
- Ducts
- Fender & Components
- Floor & Rails
- Front Door
- Front Door - Lock & Hardware
- Fuel Door
- Gate & Hardware
- Glass - Front Door
- Glass - Rear Door
- Glass - Windshield
- Glass & Hardware - Pillars
- Glass & Hardware - Quarter Panel
- Glove Box
- Grille & Components
- Hinge Pillar
- Hood & Components
- Information Labels
- Inner Structure - Quarter Panel
- Instrument Panel
- Instrument Panel Components
- Jack & Components
- Lift Gate
- Lift Gate - Lock & Hardware
- Outside Mirrors
- Overhead Console
- Passenger Seat Components
- Quarter Panel & Components
- Radiator Support
- Rear Body
- Rear Door
- Rear Door - Lock & Hardware
- Rear Floor & Rails
- Rear Seat Components
- Rear Spoiler
- Roof & Components
- Roof Rack
- Seat Belt
- Sound System
- Splash Shields
- Structural Components & Rails
- Sunroof
- Wiper & Washer Components
Other Categories
A/C & Heating
Air & Fuel Delivery
Belts & Cooling
Brakes
Charging & Starting
Driveline & Axles
Electrical
Emission Control & Exhaust
Engine
Headlights & Lighting
Interior & Exterior Trim
Maintenance & Lubrication
Steering
Suspension
Transmission
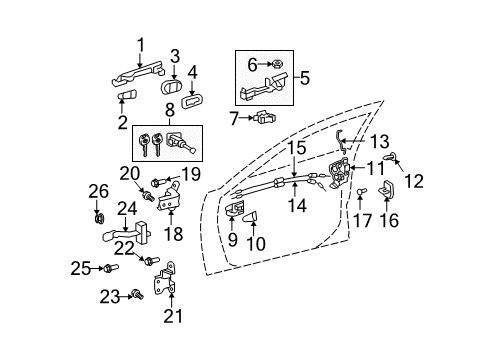
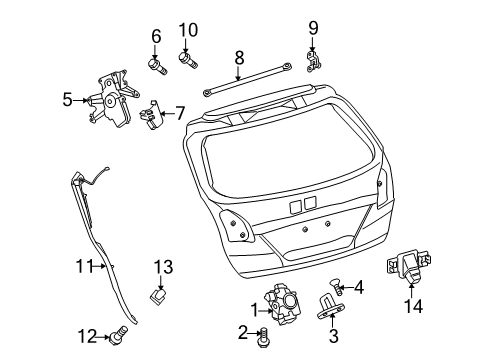
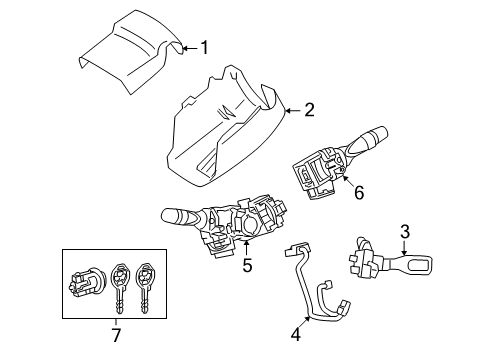
How to use OE catalog
Diagram (1 of 1): Instrument panel - Cluster & switches
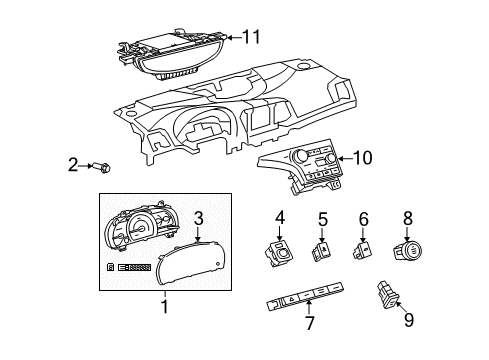
Sort by:
Ref No.
Ref No.
Part No. & Part Description
Price & Qty.
Part No. &
Part Description
Part Description
- 1
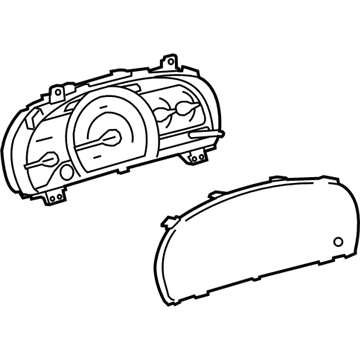
- 1
- 2

 MSRP: $1.81 Your Price: $1.301
- 3
 MSRP: $51.55 Your Price: $37.031
- 4

 MSRP: $249.49 Your Price: $176.241
 - 4
 MSRP: $249.49 Your Price: $176.241
- 5
 MSRP: $122.74 Your Price: $87.441
- 6
 MSRP: $121.41 Your Price: $86.491
- 7
 MSRP: $224.54 Your Price: $158.611
 - 7MSRP: $222.87 Your Price: $157.441
- 8
 MSRP: $405.84 Your Price: $284.251
- 9
 MSRP: $126.06 Your Price: $89.811
- 10
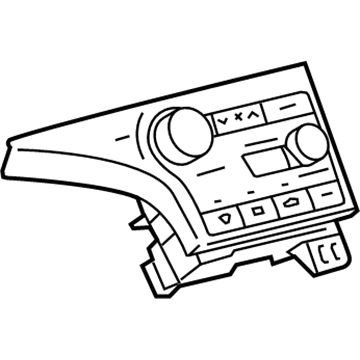
- 11
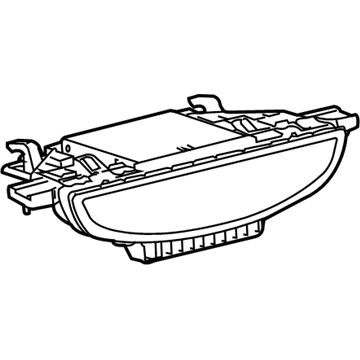 MSRP: $555.65 Your Price: $379.151
 MSRP: $4.47 Your Price: $3.21
 MSRP: $1.81 Your Price: $1.30
 MSRP: $2.81 Your Price: $2.02
OEM 2009 Toyota Venza Parts for Cluster & Switches
Genuine 2009 Toyota Venza parts are produced by Toyota with the official design and standards, thus they ensure a high quality throughout the production process. OEM parts are the ideal choice for people looking for new Cluster & Switches parts. With our competitive prices, we offer 2009 Toyota Venza A/C Switch, Blower Control Switches that fit tight budgets, while still including the manufacturer warranties, a hassle-free returns policy and quick shipping options.
A/C Switch Installation and Repair Tips for 2009 Toyota Venza
- Q:How to remove the A/C Switch assembly on 2009 Toyota Venza?A:In order to loosen the air conditioning control assembly, loosen the negative battery terminal. Next, lift the upper console panel, which is different depending on the seat heater systems. The next step is to assemble it by unscrewing it, applying protective tape, unclipping and unguiding clips and guides and breaking the connector connection.