×
ToyotaParts- Hello
- Login or Register
- Quick Links
- Live Chat
- Track Order
- Parts Availability
- RMA
- Help Center
- Contact Us
- Shop for
- Toyota Parts
- Scion Parts
My Garage
My Account
Cart
OEM Toyota Celica Bumper Cover
Bumper Shell- Select Vehicle by Model
- Select Vehicle by VIN
Select Vehicle by Model
orMake
Model
Year
Select Vehicle by VIN
For the most accurate results, select vehicle by your VIN (Vehicle Identification Number).
29 Bumper Covers found
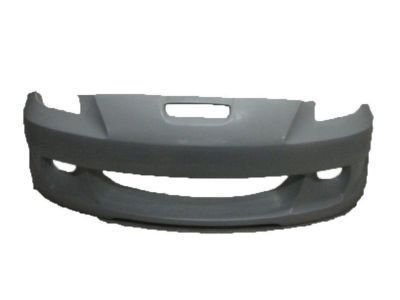
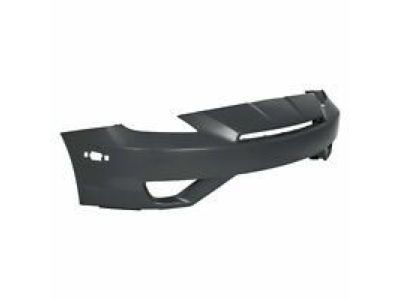
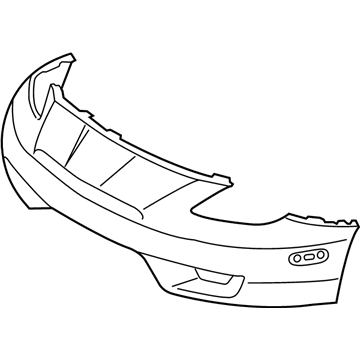
Toyota Celica Bumper Cover, Front Upper Part Number: 52119-20947
$181.73 MSRP: $259.47You Save: $77.74 (30%)Ships in 1-3 Business Days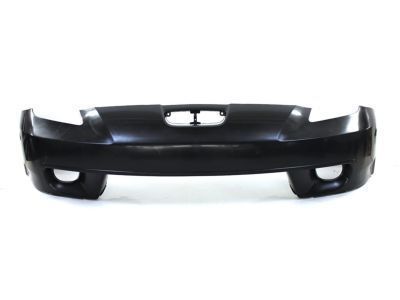
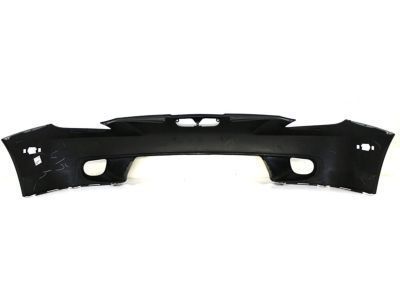
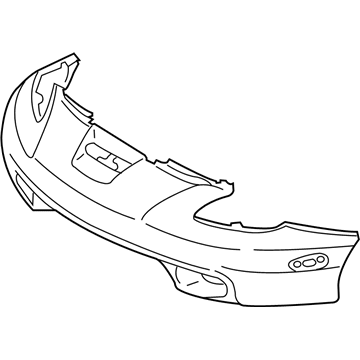
Toyota Celica Bumper Cover, Front Upper Part Number: 52119-20943
$227.16 MSRP: $324.34You Save: $97.18 (30%)Ships in 1-3 Business DaysToyota Celica Bumper Cover, Front Part Number: 08164-20830
$793.46 MSRP: $1162.83You Save: $369.37 (32%)Ships in 1-3 Business Days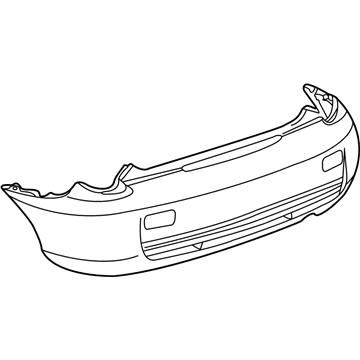
Toyota Celica Bumper Cover, Rear Driver Side Part Number: 52159-20942
$237.65 MSRP: $339.31You Save: $101.66 (30%)Ships in 1-3 Business DaysToyota Celica Bumper Cover, Blue, Front Part Number: 00602-08164-C1
$570.66 MSRP: $641.99You Save: $71.33 (12%)Ships in 1-3 Business Days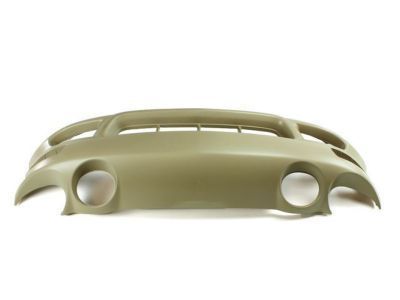
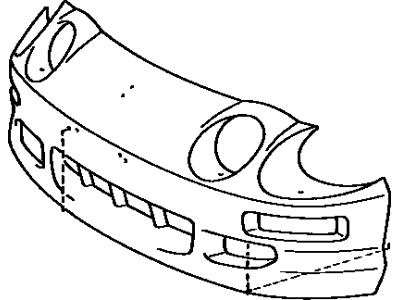
Toyota Celica Bumper Cover, Front Part Number: 52119-2B915
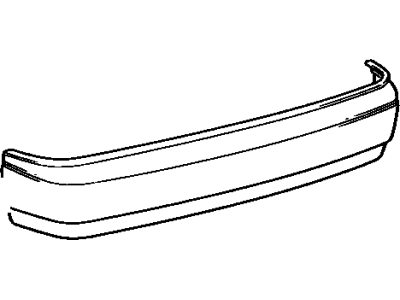
Toyota Celica Cover, Rear Part Number: 52159-20915
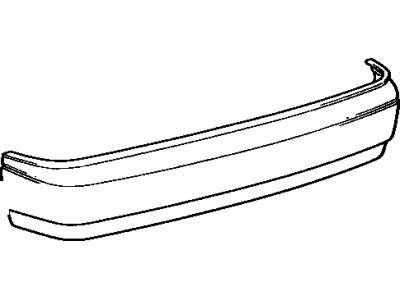
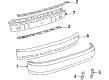
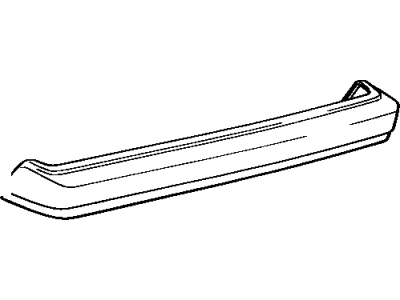
Toyota Celica Cover, Rear Part Number: 52159-20909
Toyota Celica Cover, Rear Part Number: 52159-14902
Toyota Celica Cover, Rear Part Number: 52159-14270
Toyota Celica Cover, Rear Part Number: 52159-14130

Toyota Celica Bumper Cover, Front Driver Side Part Number: 52119-20917
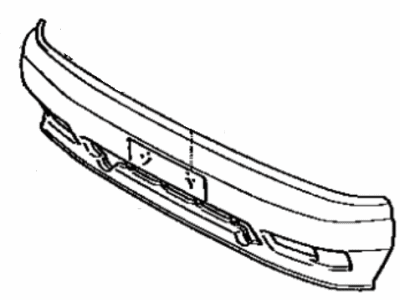
Toyota Celica Bumper Cover, Front Part Number: 52119-20910
Toyota Celica Bumper Cover, Front Part Number: 52119-20907
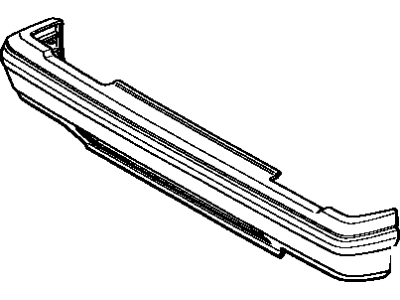
Toyota Celica Cover, Front Part Number: 52119-14905
Toyota Celica Cover, Front Part Number: 52119-14904
Toyota Celica Bumper Cover, Red, Front Part Number: 00602-08164-D0
Toyota Celica Bumper Cover, Black, Front Part Number: 00602-08164-C0
Toyota Celica Bumper Cover, Front Part Number: 00602-08164-B0
Toyota Celica Bumper Cover, White, Front Part Number: 00602-08164-A0
| Page 1 of 2 |Next >
1-20 of 29 Results
Toyota Celica Bumper Cover
Choose genuine Bumper Cover that pass strict quality control tests. You can trust the top quality and lasting durability. Shopping for OEM Bumper Cover for your Toyota Celica? Our website is your one-stop destination. We stock an extensive selection of genuine Toyota Celica parts. The price is affordable so you can save more. It only takes minutes to browse and find the exact fit. Easily add to cart and check out fast. Our hassle-free return policy will keep you stress-free. We process orders quickly for swift delivery. Your parts will arrive faster, so you can get back on the road sooner.
Toyota Celica Bumper Cover is proudly mounted on a sports coupe that has gained fans since 1973. Toyota designed Celica to be a car with good handling, dependable power, and an attractive appearance at a low cost. The Celica has a lightweight chassis, and the 1.6 to 2.2 liter engines are responsive and have precision steering that provides the Celica with confident acceleration and cornering with the ability to sip fuel. Safety was another significant concern at Toyota, and the company added sturdier bumpers in 1975 and kept improving the suspension components to ensure that the coupe remains calm on long commutes or on a curvy road. Owners of generations commend Toyota build quality that continues to have many of its original cars on the road long after decades with little trouble. That tradition of hardiness is directly connected with the Bumper Cover, which covers the nose or tail. This molded plastic shell protects metal impact beams from chips, scratches, and low speed knocks. The sculpted lines of the shell smooth airflow to radiators and brakes, and the Celica slides through air gracefully. The Bumper Cover is a good fit with the provision of the mount points for the fog lamps, the grille inserts, and the parking sensors, which allows the owners of the vehicle to upgrade the appearance without cutting the sheet metal. In case of damage, installation of a new Bumper Cover will restore factory fit and maintain durability due to the fact that paint matches and gaps remain tight. Installation requires unbolting the old unit, positioning the new panel, attaching clips, reconnecting the lights, and ensuring even spacing for a secure installation.
Related Toyota Celica Parts
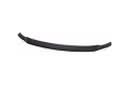 Toyota Celica Spoiler
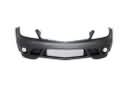 Toyota Celica Bumper
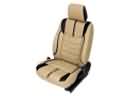 Toyota Celica Seat Covers
 Toyota Celica Emblem
 Toyota Celica Air Deflector
 Toyota Celica Door Lock Cylinder
 Toyota Celica Grille
 Toyota Celica Interior Door Handle
 Toyota Celica License Plate
 Toyota Celica Liftgate Hinge
 Toyota Celica Seat Cushion
 Toyota Celica Window Run