×
ToyotaParts- Hello
- Login or Register
- Quick Links
- Live Chat
- Track Order
- Parts Availability
- RMA
- Help Center
- Contact Us
- Shop for
- Toyota Parts
- Scion Parts
My Garage
My Account
Cart
OEM 2009 Toyota Venza Exhaust Manifold
Engine Exhaust Manifold- Select Vehicle by Model
- Select Vehicle by VIN
Select Vehicle by Model
orMake
Model
Year
Select Vehicle by VIN
For the most accurate results, select vehicle by your VIN (Vehicle Identification Number).
3 Exhaust Manifolds found
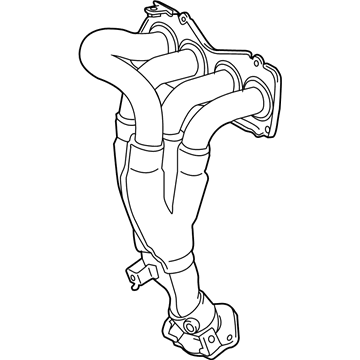
2009 Toyota Venza Exhaust Manifold
Part Number: 25051-0V080$481.57 MSRP: $600.20You Save: $118.63 (20%)Product Specifications- Other Name: Converter Sub-Assembly; Manifold Converter; Converter Sub-Assembly, Exhaust Manifold
- Manufacturer Note: (L),*212
- Replaces: 25051-36030
- Part Name Code: 25051
- Item Weight: 10.30 Pounds
- Item Dimensions: 18.0 x 10.5 x 7.1 inches
- Condition: New
- Fitment Type: Direct Replacement
- SKU: 25051-0V080
- Warranty: This genuine part is guaranteed by Toyota's factory warranty.
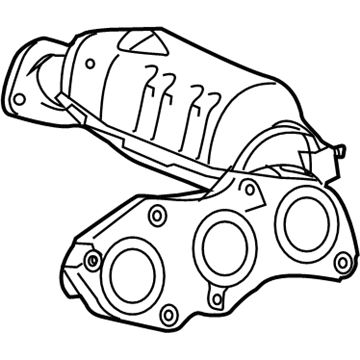
2009 Toyota Venza Exhaust Manifold, Passenger Side
Part Number: 17140-0P020$686.44 MSRP: $1005.98You Save: $319.54 (32%)Ships in 1-3 Business DaysProduct Specifications- Other Name: Manifold Assembly, Exhaust; Catalytic Converter with Integrated Exhaust Manifold, Right; Manifold Converter; Manifold Sub-Assembly, Exhaust, Passenger Side
- Position: Passenger Side
- Part Name Code: 17104
- Item Weight: 12.50 Pounds
- Item Dimensions: 17.8 x 11.2 x 8.0 inches
- Condition: New
- Fitment Type: Direct Replacement
- SKU: 17140-0P020
- Warranty: This genuine part is guaranteed by Toyota's factory warranty.
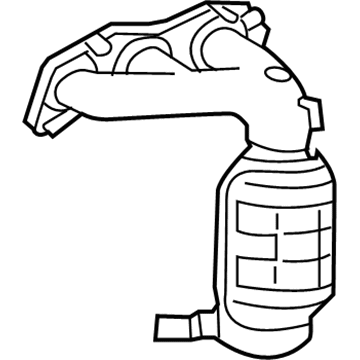
2009 Toyota Venza Exhaust Manifold, Driver Side
Part Number: 17150-0P040$607.33 MSRP: $890.04You Save: $282.71 (32%)Ships in 1-3 Business DaysProduct Specifications- Other Name: Manifold Assembly, Exhaust; Catalytic Converter with Integrated Exhaust Manifold, Left; Manifold Converter; Manifold Sub-Assembly, Exhaust, Driver Side
- Manufacturer Note: MARK L0P040
- Position: Driver Side
- Replaces: 17150-31050
- Part Name Code: 17105
- Item Weight: 11.20 Pounds
- Item Dimensions: 14.6 x 12.2 x 9.1 inches
- Condition: New
- Fitment Type: Direct Replacement
- SKU: 17150-0P040
- Warranty: This genuine part is guaranteed by Toyota's factory warranty.
2009 Toyota Venza Exhaust Manifold
Looking for affordable OEM 2009 Toyota Venza Exhaust Manifold? Explore our comprehensive catalogue of genuine 2009 Toyota Venza Exhaust Manifold. All our parts are covered by the manufacturer's warranty. Plus, our straightforward return policy and speedy delivery service ensure an unparalleled shopping experience. We look forward to your visit!
2009 Toyota Venza Exhaust Manifold Parts Q&A
- Q: How to install the exhaust manifold on 2009 Toyota Venza?A: Installation of the exhaust manifold To install the exhaust manifold, Place the No. 1 converter insulator and No. 2 heat insulator with bolts both with 12 Nm torque.Fit the exhaust manifold converter sub-assembly at 35 Nm with nuts, and then the heat insulators and manifold stays at 43 Nm.Install the air fuel ratio sensor, front exhaust pipe, and check leakages.


