My Garage
Cart

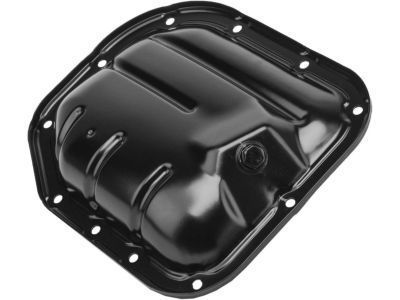
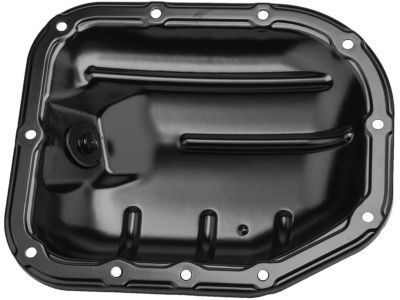
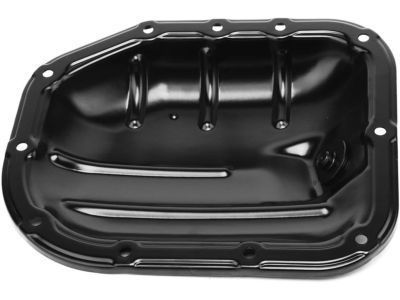
OEM 2008 Toyota Prius Oil Pan

Oil Drain Pan
  • Select Vehicle by Model
  • Select Vehicle by VIN
Select Vehicle by Model
Make
Model
Year
or
Select Vehicle by VIN
For the most accurate results, select vehicle by your VIN (Vehicle Identification Number).

2 Oil Pans found

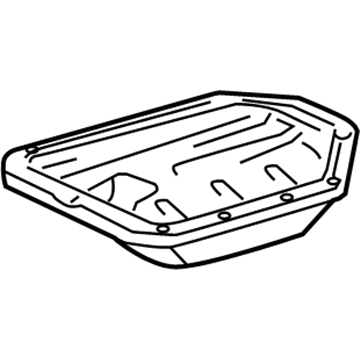
  • 2008 Toyota Prius Oil Pan Diagram - 12102-21010
    View related parts

    2008 Toyota Prius Oil Pan, Lower

    Part Number: 12102-21010
    $61.73 MSRP: $86.65
    You Save: $24.92 (29%)
    Ships in 1-3 Business Days
    ADD TO CART
    Product Specifications
    • Other Name: Pan Sub-Assembly, Oil; Engine Oil Pan, Lower; Lower Oil Pan; Engine Oil Pan
    • Position: Lower
    • Part Name Code: 12102A
    • Item Weight: 1.80 Pounds
    • Item Dimensions: 2.1 x 8.8 x 10.8 inches
    • Condition: New
    • Fitment Type: Direct Replacement
    • SKU: 12102-21010
    • Warranty: This genuine part is guaranteed by Toyota's factory warranty.
    More Info
    Fits the following 2008 Toyota Prius Submodels:
    • Base, Touring | 4 Cyl 1.5 L FULL HYBRID EV-GAS (FHEV)
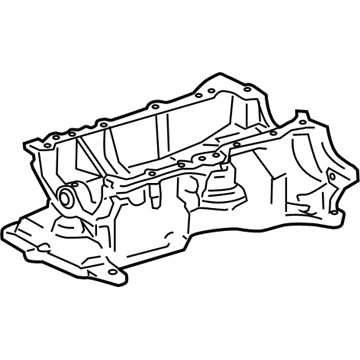
  • 2008 Toyota Prius Oil Pan - 12111-21060
    2008 Toyota Prius Oil Pan Diagram - 12111-21060
    View related parts

    2008 Toyota Prius Oil Pan

    Part Number: 12111-21060
    $145.81 MSRP: $206.40
    You Save: $60.59 (30%)
    Ships in 1-3 Business Days
    ADD TO CART
    Product Specifications
    • Other Name: Pan, Oil
    • Replaces: 12111-21051
    • Item Weight: 6.80 Pounds
    • Item Dimensions: 17.9 x 13.4 x 11.2 inches
    • Condition: New
    • SKU: 12111-21060
    • Warranty: This genuine part is guaranteed by Toyota's factory warranty.
    More Info
    Fits the following 2008 Toyota Prius Submodels:
    • Base, Touring | 4 Cyl 1.5 L FULL HYBRID EV-GAS (FHEV)

2008 Toyota Prius Oil Pan

Looking for affordable OEM 2008 Toyota Prius Oil Pan? Explore our comprehensive catalogue of genuine 2008 Toyota Prius Oil Pan. All our parts are covered by the manufacturer's warranty. Plus, our straightforward return policy and speedy delivery service ensure an unparalleled shopping experience. We look forward to your visit!

2008 Toyota Prius Oil Pan Parts Q&A

  • Q: How to remove and install the oil pan assembly on 2008 Toyota Prius?
    A: Use a 12 mm socket hexagon wrench to remove the oil filter union as your first step for removing the oil pan assembly. The first step requires draining engine oil by removing the oil pan drain plug combined with gasket before removing the 9 bolts and 2 nuts. The blade of Special Service Tool: 09032-00100 needs insertion between the oil pan and oil pan No.2 to cut off the applied sealer before extracting oil pan No.2 without harming either oil pan. The oil strainer sub-assembly can be removed by first removing its bolt alongside two nuts before taking out the oil strainer and gasket. Before removing the oil pan sub-assembly begin by taking out 13 bolts then peel the pan away from the cylinder block by using a screwdriver tipped with tape while being cautious to avoid forceful prying. First remove the 2 O-rings from the cylinder block and then install the Torx socket wrench E5 to eliminate the 4 stud bolts. You need a Torx socket wrench E5 to install the 4 stud bolts that should be tightened to 5.0 Nm (51 kgf-cm, 44 inch lbs.). The installation process must have a continuous bead seal packing layer with a diameter ranging from 2.0 to 3.0 mm (0.079 to 0.118 inch). Use Part No. 08826-00080 seal packing or equivalent materials when applying it to contact surfaces. Keep the oil pan installation time less than 3 minutes and bolt tightening should occur within 15 minutes. Additionally, avoid exposing the seal packing to engine oil for two hours after installation. Two fresh O-rings designed for the cylinder block must go under installation but need to remain both clean and free from jam when inserting the oil pan. Begin by loosely tightening the 13 bolts of specified order before applying torque to 24 Nm (245 kgf-cm, 18 ft.lbs) and recording bolt measurements as Bolt A is 46 mm (1.81 inch) while Bolt B extends to 85 mm (3.35 inch) and Bolt C reaches 140.7 mm (5.54 inch). To install an engine rear oil seal use multipurpose grease No. 2 on the new oil seal lip before tapping it into contact with cylinder block edge using Special Service Tool: 09223-56010 while keeping the crankshaft free from excess grease. The oil strainer and new gasket must be installed with the bolt and 2 nuts then tightened to 11 Nm (112 kgf-cm, 8.1 ft. lbs.). The installation of the second oil pan demands continuous application of seal packing (Diameter 2.5 to 3.5 mm (0.0984 to 0.1378 inch)) using Seal packing: Part No. 08826-00080 or equivalent on the contact surface followed by a three-minute installation period and bolt tension within 15 minutes. Two-hour exposure to engine oil needs to be avoided. Utilize a 9.0 Nm torque for tightening the 9 bolts and 2 nuts of oil pan No. 2 before applying a new gasket and installing oil pan drain plug with a 38 Nm torque. A 12 mm socket hexagon wrench helps you install the oil filter union which requires a torque of 30 Nm (306 kgf-cm, 22 ft. lbs.). Then clean the oil filter installation surface before applying engine oil to the O-ring of the new filter. Manually install the O-ring until it touches the seat, finish by turning the filter an additional 3/4 turn with Service Tool: 09228-06501.