×
ToyotaParts- Hello
- Login or Register
- Quick Links
- Live Chat
- Track Order
- Parts Availability
- RMA
- Help Center
- Contact Us
- Shop for
- Toyota Parts
- Scion Parts
My Garage
My Account
Cart
OEM 2008 Scion xD Windshield
Glass Windshield- Select Vehicle by Model
- Select Vehicle by VIN
Select Vehicle by Model
orMake
Model
Year
Select Vehicle by VIN
For the most accurate results, select vehicle by your VIN (Vehicle Identification Number).
1 Windshield found
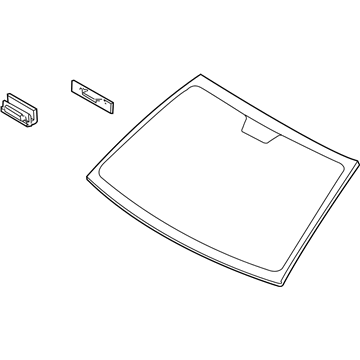
2008 Scion xD Windshield, Front
Part Number: 56101-52370$379.99 MSRP: $556.87You Save: $176.88 (32%)Ships in 1-3 Business DaysProduct Specifications- Other Name: Glass Sub-Assembly, Windshield; Windshield, Front; Glass, Windshield
- Manufacturer Note: *LAM,T=4.56,GREEN
- Position: Front
- Part Name Code: 56111
- Condition: New
- Fitment Type: Direct Replacement
- SKU: 56101-52370
- Warranty: This genuine part is guaranteed by Toyota's factory warranty.
2008 Scion xD Windshield
Looking for affordable OEM 2008 Scion xD Windshield? Explore our comprehensive catalogue of genuine 2008 Scion xD Windshield. All our parts are covered by the manufacturer's warranty. Plus, our straightforward return policy and speedy delivery service ensure an unparalleled shopping experience. We look forward to your visit!
2008 Scion xD Windshield Parts Q&A
- Q: How to remove the windshield glass on 2008 Scion xD?A: The first step to remove windshield glass requires disconnecting the negative battery cable then waiting 90 seconds to stop the Air Bag from deploying. The operation starts by taking off the front wiper arm head cap followed by detaching both the front wiper arm and blade assembly from the left and right sides. The process starts with removing both the hood to cowl top seal and cowl top ventilator louver sub-assembly and subsequently removing left and right cowl side trim boards. Initially, technicians must remove both front door scuff plates followed by the No. 1 and No. 2 instrument panel under cover sub-assemblies together with the front door opening trim Weather Strips from each side. The first step entails the removal of front pillar garnishes together with assist grip and visor assemblies followed by visor holder and personal light assembly and room light assembly. The front portion of the roof headliner can be gently lowered instead of full removal while you extract the inner mirror from its position. The windshield outside molding should be cut with a specific knife to protect the vehicle body before its removal. First disconnect both No. 1 and No. 2 stoppers on the windshield glass and wrap protective tape over the installation area to stop damage from occurring. A piano wire acts to cut adhesive material surrounding windshield glass during operations that use suction cups for preventing glass drops. Before removing the windshield glass users should place matchmarks on its surface and on the vehicle body then remove the glass while keeping most of the adhesive on the body where it will be reinstalled. Use a scraper to detach the window glass adhesive dam without harming the windshield glass and then install a fresh one. The installation ends with removing the windshield glass stoppers numbered 2 and 1 then putting fresh replacements to finish the process.


