×
ToyotaParts- Hello
- Login or Register
- Quick Links
- Live Chat
- Track Order
- Parts Availability
- RMA
- Help Center
- Contact Us
- Shop for
- Toyota Parts
- Scion Parts
My Garage
My Account
Cart
OEM 2006 Toyota Tundra Timing Chain
Engine Timing Chain- Select Vehicle by Model
- Select Vehicle by VIN
Select Vehicle by Model
orMake
Model
Year
Select Vehicle by VIN
For the most accurate results, select vehicle by your VIN (Vehicle Identification Number).
2 Timing Chains found

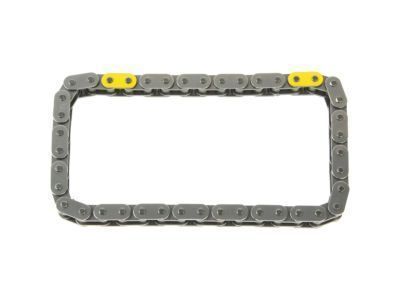
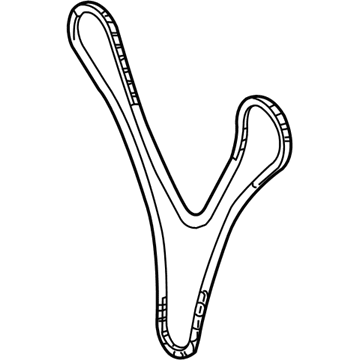
2006 Toyota Tundra Secondary Chain
Part Number: 13507-AD010$98.46 MSRP: $138.21You Save: $39.75 (29%)Ships in 1-2 Business DaysProduct Specifications- Other Name: Chain Sub-Assembly; Engine Timing Chain; Chain; Timing Chain
- Manufacturer Note: (L)
- Replaces: 13507-31010
- Part Name Code: 13507
- Item Weight: 0.80 Pounds
- Item Dimensions: 2.7 x 2.5 x 0.4 inches
- Condition: New
- Fitment Type: Direct Replacement
- Require Quantity: 2
- SKU: 13507-AD010
- Warranty: This genuine part is guaranteed by Toyota's factory warranty.

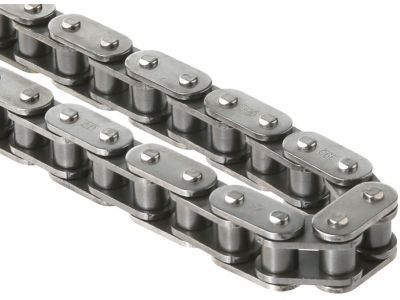
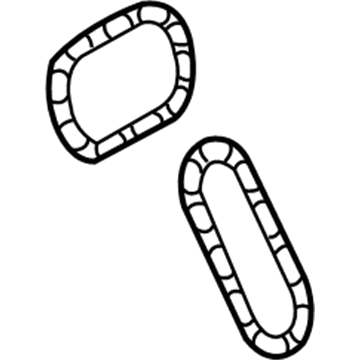
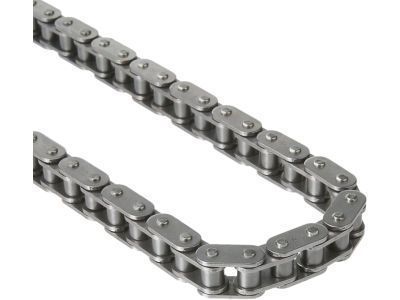
2006 Toyota Tundra Timing Chain
Part Number: 13506-AD010$264.79 MSRP: $378.07You Save: $113.28 (30%)Ships in 1-3 Business DaysProduct Specifications- Other Name: Chain Sub-Assembly; Engine Timing Chain
- Manufacturer Note: (L)
- Replaces: 13506-31010
- Part Name Code: 13506
- Item Weight: 1.90 Pounds
- Item Dimensions: 6.4 x 3.5 x 1.2 inches
- Condition: New
- Fitment Type: Direct Replacement
- SKU: 13506-AD010
- Warranty: This genuine part is guaranteed by Toyota's factory warranty.
2006 Toyota Tundra Timing Chain
Looking for affordable OEM 2006 Toyota Tundra Timing Chain? Explore our comprehensive catalogue of genuine 2006 Toyota Tundra Timing Chain. All our parts are covered by the manufacturer's warranty. Plus, our straightforward return policy and speedy delivery service ensure an unparalleled shopping experience. We look forward to your visit!
2006 Toyota Tundra Timing Chain Parts Q&A
- Q: How to service and repair the timing chain on 2006 Toyota Tundra?A: Service and repair of the timing chain requires draining the engine coolant and oil followed by battery removal and V-bank cover and radiator removal together with fluid coupling fan loosening. The service begins with drive belt removal followed by the removal of fan with fluid coupling and air cleaner then the intake air surge tank and cylinder head cover together with VVT sensor and oil level gauge guide by removing its oil level gauge bolt and O-ring. The vane pump repair requires disconnecting the P/S oil pressure switch connector followed by bolting the two bolts to separate it while averting contact between the pulley and nearby components. Next in repair order should be the generator and cooler compressor removal through five bolt extraction and then proceeding with idler pulleys No.1 and No.2. To remove the crankshaft pulley utilize SST 09213-54015 (91651-60855), 09330-00021 first to keep pulley set bolt rotation but you will need SST 09950-50013 (09951-05010, 09952-05010, 09953-05020, 09954-05031) to unfasten it. The technician should remove oil pan No.2 through the process of disassembling the 15 bolts and two nuts and using SST 09032-00100 to cut off sealer material before handling the contact surfaces with care. Next remove the oil strainer together with its gasket before proceeding with the oil pan removal process which includes four housing bolts and the flywheel housing under cover and 17 bolts and two nuts and careful prying off of the pan. The water outlet pipe needs five bolts removal and O-ring removal to detach the two oil cooler hoses, two radiator hoses, and five water by-pass hoses. The LH cylinder head requires removal of its O-ring first before the timing chain cover extraction begins by unscrewing 24 bolts and removing two nuts while gently prying it loose. Place the No.1 cylinder at TDC/compression by attaching its crankshaft pulley set bolt and positioning the crankshaft set key to align with the timing line while ensuring proper alignment of camshaft timing gear assembly and sprocket marks. Remove chain tensioner No.1 through plunger insertion and stopper plate turning followed by securing with a 3.5 mm bar then removing its two bolts. The technician must first remove the chain tensioner slipper and idle gear No.1 using a 10 mm hexagon wrench followed by chain vibration damper No.2, No.1 timing chain, crankshaft timing sprocket and finally No.2 timing chain after fixing the tensioner then releasing the camshaft timing sprocket and gear assembly. The measurement of No.1 and No.2 timing chains must reveal elongation measurements below 146.8 mm (5.780 inch). Instect all components using the following measurements: camshaft timing gear assembly as 115.5 mm (4.547 inch) and sprockets at 73.1 mm (2.878 inch) alongside crankshaft timing sprocket 61.0 mm (2.402 inch). The maintenance technician examines idle gear number one along with its shaft oil clearance according to standard specifications between 0.020 to 0.043 mm (0.0008 to 0.0017 inch) while ensuring maximum clearance remains below 0.093 mm (0.0037 inch). The smooth function and maximum worn depth of 1.0 mm (0.039 inch) of chain tensioners No.1 and No.2 must be checked and measured and vibration dampers with excessive wear should be replaced.
