My Garage
Cart

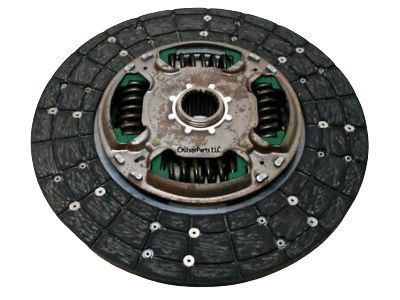
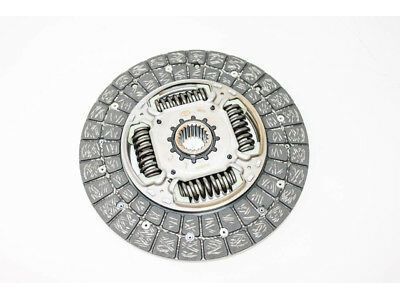
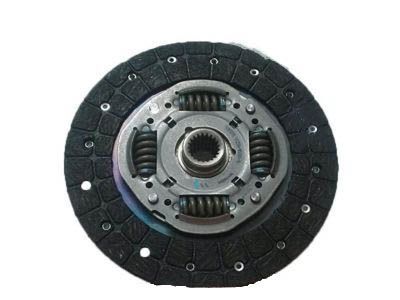
OEM 2006 Toyota Matrix Clutch Disc

Friction Disc
  • Select Vehicle by Model
  • Select Vehicle by VIN
Select Vehicle by Model
Make
Model
Year
or
Select Vehicle by VIN
For the most accurate results, select vehicle by your VIN (Vehicle Identification Number).

2 Clutch Discs found

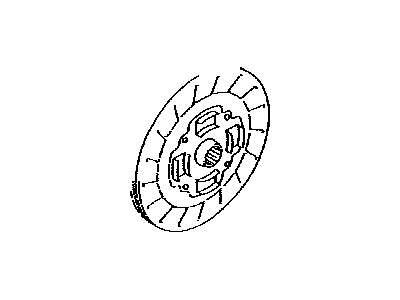
  • 2006 Toyota Matrix Clutch Disc Diagram - 31250-12360-84
    View related parts

    2006 Toyota Matrix Disc

    Part Number: 31250-12360-84
    $47.07 MSRP: $65.64
    You Save: $18.57 (29%)
    Ships in 1-3 Business Days
    ADD TO CART
    Product Specifications
    • Other Name: Clutch Disc, Reman; Clutch Kit
    • Replaces: 31250-12360, 31250-17020, 31250-12320
    • Item Weight: 2.30 Pounds
    • Item Dimensions: 10.0 x 9.4 x 1.8 inches
    • Condition: New
    • SKU: 31250-12360-84
    • Warranty: This genuine part is guaranteed by Toyota's factory warranty.
    More Info
    Fits the following 2006 Toyota Matrix Submodels:
    • XRS | 4 Cyl 1.8 L GAS
  • 2006 Toyota Matrix Clutch Disc Diagram - 31250-05101
    View related parts

    2006 Toyota Matrix Disc

    Part Number: 31250-05101
    $118.78 MSRP: $168.15
    You Save: $49.37 (30%)
    ADD TO CART
    Product Specifications
    • Other Name: Disc Assembly, Clutch; Clutch Kit
    • Replaces: 31250-05100, 31250-05060
    • Part Name Code: 31250
    • Item Weight: 3.10 Pounds
    • Item Dimensions: 9.7 x 9.3 x 1.9 inches
    • Condition: New
    • Fitment Type: Direct Replacement
    • SKU: 31250-05101
    • Warranty: This genuine part is guaranteed by Toyota's factory warranty.
    More Info
    Fits the following 2006 Toyota Matrix Submodels:
    • Base, XR | 4 Cyl 1.8 L GAS

2006 Toyota Matrix Clutch Disc

Looking for affordable OEM 2006 Toyota Matrix Clutch Disc? Explore our comprehensive catalogue of genuine 2006 Toyota Matrix Clutch Disc. All our parts are covered by the manufacturer's warranty. Plus, our straightforward return policy and speedy delivery service ensure an unparalleled shopping experience. We look forward to your visit!

2006 Toyota Matrix Clutch Disc Parts Q&A

  • Q: How to overhaul the clutch disc on 2006 Toyota Matrix?
    A: The clutch disc overhaul sequence begins with manual transaxle assembly extraction and continues with the removal of the clutch release fork sub-assembly that requires dismantling of the clutch release fork with its clutch release bearing from the transaxle assembly. The next step is to remove the clutch release bearing assembly from the clutch release fork and afterward extract the release fork support from the transaxle assembly together with the release bearing hub clip and the clutch release fork boot. Starting from matchmarks, loosen each set bolt gradually with one turn until spring tension releases so you can remove the 6 bolts that detach the clutch cover assembly to avoid dropping the clutch disc assembly. The technician will separate the clutch disc assembly while also maintaining a clean condition for its lining part along with the pressure plate and flywheel sub-assembly surface. Use vernier calipers to check the depth of clutch disc assembly rivet heads which must be less than 0.3 mm (0.012 inch) for proper operation or replace the assembly. You must install the clutch disc assembly into the transaxle assembly with accurate direction before verifying its runout with a dial indicator until it reaches 0.8 mm (0.031 inch) for necessary replacement. To check diaphragm spring wear within the clutch cover assembly use a vernier caliper then inspect both the depth which must be minimum 0.5 mm (0.020 inch) and the width that needs to measure 6.0 mm (0.236 inch); do a replacement when necessary. A dial indicator should be used to check the flywheel sub-assembly runout to ensure it does not exceed 0.1 mm (0.004 inch) since replacement will be required if this value is exceeded. Testing the clutch release bearing assembly with hand movement under axial force conditions requires a replacement of the assembly if necessary. Use Special Service Tool: 09301-00210 to install the clutch disc assembly before installing it into the flywheel sub-assembly with the correct orientation. Position the clutch cover assembly according to matchmarks before applying torque to 19.1 Nm (195 kgf-cm, 14 ft. lbs.) to the specified 6 bolts in the right sequence while verifying that the disc remains centered. Use a dial indicator to check the diaphragm spring tip alignment in the clutch cover assembly while inspecting the maximum non-alignment distance; this distance should not exceed 0.5 mm (0.020 inch). Adjust the assembly with Special Service Tool: 09333-00013 if necessary. Installation of the release fork support to the transaxle assembly requires torque 36.8 Nm followed by installing the release bearing hub clip and clutch release fork sub-assembly. Release hub grease (Part No. 08887-01806) must be applied to specified contact points before each component gets installed. The clutch spline grease (Part No. 08887-01706) should be applied to the input shaft spline before installing the clutch release bearing assembly. Make sure the release bearing moves easily during installation. Place the clutch release fork boot and the manual transaxle assembly as the last stage of installation.