×
ToyotaParts- Hello
- Login or Register
- Quick Links
- Live Chat
- Track Order
- Parts Availability
- RMA
- Help Center
- Contact Us
- Shop for
- Toyota Parts
- Scion Parts
My Garage
My Account
Cart
OEM 2006 Toyota Highlander Alternator
Generator- Select Vehicle by Model
- Select Vehicle by VIN
Select Vehicle by Model
orMake
Model
Year
Select Vehicle by VIN
For the most accurate results, select vehicle by your VIN (Vehicle Identification Number).
4 Alternators found
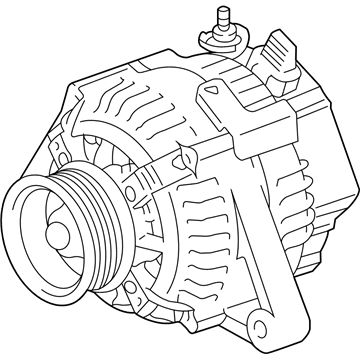
2006 Toyota Highlander Alternator
Part Number: 27060-28270-84$214.33 MSRP: $285.34You Save: $71.01 (25%)Ships in 1-3 Business DaysProduct Specifications- Other Name: Reman Alternator
- Item Weight: 16.10 Pounds
- Item Dimensions: 11.7 x 9.1 x 7.4 inches
- Condition: New
- SKU: 27060-28270-84
- Warranty: This genuine part is guaranteed by Toyota's factory warranty.
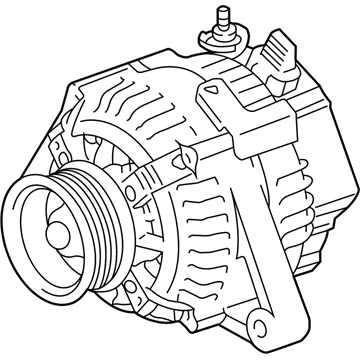
2006 Toyota Highlander Reman Alternator
Part Number: 27060-20270-84$209.43 MSRP: $278.78You Save: $69.35 (25%)Ships in 1-3 Business DaysProduct Specifications- Other Name: Alternator
- Item Weight: 14.70 Pounds
- Item Dimensions: 9.5 x 8.3 x 7.4 inches
- Condition: New
- SKU: 27060-20270-84
- Warranty: This genuine part is guaranteed by Toyota's factory warranty.
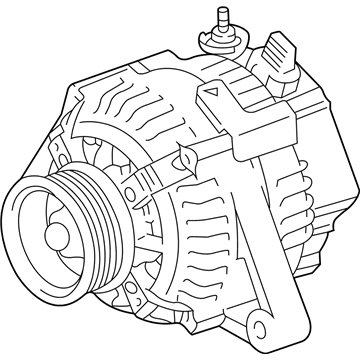
2006 Toyota Highlander Alternator
Part Number: 27060-28290-84$208.18 MSRP: $277.09You Save: $68.91 (25%)Ships in 1-3 Business DaysProduct Specifications- Other Name: Reman Alternator
- Item Weight: 14.80 Pounds
- Item Dimensions: 13.6 x 10.6 x 8.8 inches
- Condition: New
- SKU: 27060-28290-84
- Warranty: This genuine part is guaranteed by Toyota's factory warranty.
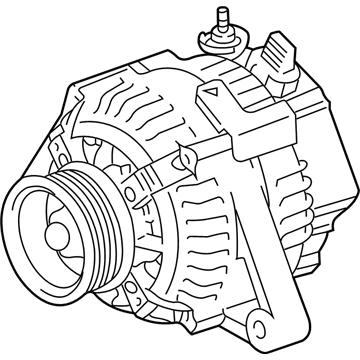
2006 Toyota Highlander Reman Alternator
Part Number: 27060-20280-84$235.75 MSRP: $314.08You Save: $78.33 (25%)Ships in 1-3 Business DaysProduct Specifications- Other Name: Alternator
- Item Weight: 14.80 Pounds
- Item Dimensions: 13.5 x 11.2 x 9.1 inches
- Condition: New
- SKU: 27060-20280-84
- Warranty: This genuine part is guaranteed by Toyota's factory warranty.
2006 Toyota Highlander Alternator
Looking for affordable OEM 2006 Toyota Highlander Alternator? Explore our comprehensive catalogue of genuine 2006 Toyota Highlander Alternator. All our parts are covered by the manufacturer's warranty. Plus, our straightforward return policy and speedy delivery service ensure an unparalleled shopping experience. We look forward to your visit!
2006 Toyota Highlander Alternator Parts Q&A
- Q: How to service and repair the alternator on 2006 Toyota Highlander?A: Install Special Service Tool 09820-63010 (09820-06010 and 09820-06020) to remove the pulley yet secure its holding tool with a torque wrench before turning the socket clockwise to reach a torque of 39 N.m (398 kgf.cm, 29 ft.lbf). This will properly align the tool against the rotor shaft. The adapter needs installation onto a vise followed by socket insertion before attaching the pulley nut. When loosening the pulley nut using the pulley holding tool by turning it counterclockwise keep the rotation below one-half turn as excessive turns may damage the rotor shaft structure. The alternator should be carefully extracted from the adapter before proceeding to turn the socket tool to remove both the pulley holding tool and pulley nut and pulley. Place the generator onto the pulley before uninstalling its 3 nuts to remove the generator rear end cover. The removal of the terminal insulator from the rectifier end frame must be completed before unscrewing the two screws for the 100 A model and removing the brush holder and plate seal for the 130 A model. The generator coil assembly can be removed by extracting its 4 bolts while using Special Service Tool 09950-40011 (containing 6 tools) to separate the rectifier end frame. Finish the generator disassembly by first removing both washer and rotor parts. The generator rotor assembly installation process starts by setting the generator drive end frame onto the pulley then placing the rotor with a washer followed. To install the generator rectifier end frame coil use a deep socket wrench 21 for 100 A models or wrench 20 for 130 A models in order to carefully insert the coil followed by applying 5.8 N.m (59 kgf.cm, 51 in.lbf) torque to the 4 bolts. To mount the generator brush holder assembly for the 100 A model the user first places the 2 brushes into the brush holder before inserting a 1.0 mm (0.039 in.) pin through the brush holder hole then securing it with 2 screws tightened to 1.8 N.m (18 kgf.cm, 16 in.lbf). To construct the 130 A model you need to place the plate seal inside before fixing the brush holder upward with pin orientation while applying equal torque to screws. The installation requires positioning the pins on the brush holder to match holes of the plate seal outside followed by installation. Install the terminal insulator in the right mounting orientation before applying 3 nuts and tightening them to 4.6 N.m (47 kgf.cm, 41 in.lbf). Install the generator pulley with Special Service Tool 09820-63010 (09820-06010, 09820-06020) by hand-tightening the pulley nut followed by using a torque wrench on the pulley holding tool to execute a clockwise turn until the socket reaches 39 N.m (398 kgf.cm, 29 ft.lbf) while ensuring the tool remains securely on the pulley shaft. Mount the adapter into a vise then insert the socket into the adapter before attaching the pulley nut and use the pulley holding tool to turn it clockwise to reach 111 N.m (1,132 kgf.cm, 82 ft.lbf). Uninstall the alternator from the adapter before removing the socket by turning the tool and then inspect the pulley mobility.


