×
ToyotaParts- Hello
- Login or Register
- Quick Links
- Live Chat
- Track Order
- Parts Availability
- RMA
- Help Center
- Contact Us
- Shop for
- Toyota Parts
- Scion Parts
My Garage
My Account
Cart
OEM 2005 Toyota Sequoia Exhaust Manifold
Engine Exhaust Manifold- Select Vehicle by Model
- Select Vehicle by VIN
Select Vehicle by Model
orMake
Model
Year
Select Vehicle by VIN
For the most accurate results, select vehicle by your VIN (Vehicle Identification Number).
2 Exhaust Manifolds found

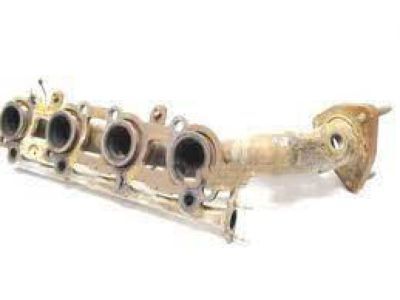
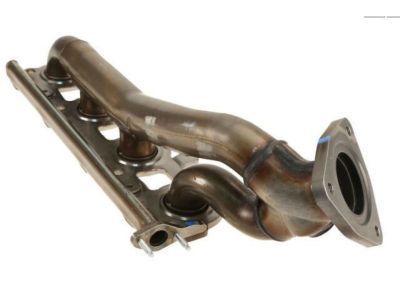
2005 Toyota Sequoia Exhaust Manifold, Driver Side
Part Number: 17105-50190$333.64 MSRP: $476.37You Save: $142.73 (30%)Ships in 1-3 Business DaysProduct Specifications- Other Name: Manifold Sub-Assembly, Exhaust; Exhaust Manifold, Left; Manifold Sub-Assembly, Exhaust, Driver Side
- Position: Driver Side
- Part Name Code: 17105
- Item Weight: 11.70 Pounds
- Item Dimensions: 24.4 x 8.3 x 7.3 inches
- Condition: New
- Fitment Type: Direct Replacement
- SKU: 17105-50190
- Warranty: This genuine part is guaranteed by Toyota's factory warranty.

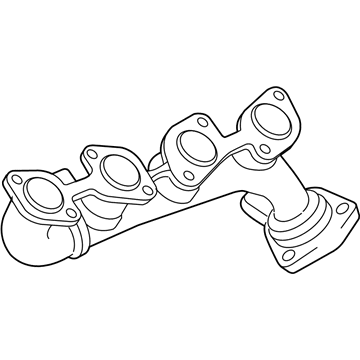
2005 Toyota Sequoia Exhaust Manifold, Passenger Side
Part Number: 17104-50200$356.49 MSRP: $522.44You Save: $165.95 (32%)Ships in 1-2 Business DaysProduct Specifications- Other Name: Manifold Sub-Assembly, Exhaust; Exhaust Manifold, Right; Manifold Sub-Assembly, Exhaust, Passenger Side
- Position: Passenger Side
- Part Name Code: 17104
- Item Weight: 13.40 Pounds
- Item Dimensions: 17.8 x 11.3 x 7.9 inches
- Condition: New
- Fitment Type: Direct Replacement
- SKU: 17104-50200
- Warranty: This genuine part is guaranteed by Toyota's factory warranty.
2005 Toyota Sequoia Exhaust Manifold
Looking for affordable OEM 2005 Toyota Sequoia Exhaust Manifold? Explore our comprehensive catalogue of genuine 2005 Toyota Sequoia Exhaust Manifold. All our parts are covered by the manufacturer's warranty. Plus, our straightforward return policy and speedy delivery service ensure an unparalleled shopping experience. We look forward to your visit!
2005 Toyota Sequoia Exhaust Manifold Parts Q&A
- Q: How to service and repair the exhaust manifold on 2005 Toyota Sequoia?A: You can start exhaust manifold service and repair work by disconnecting heated oxygen sensors followed by their removal. The exhaust-manifold operation begins with detachment of the RH and LH front exhaust pipes through removal of 6 nuts and 2 gaskets to separate them from the exhaust manifold. Next, four bolts and 2 gaskets are removed to separate and remove the 2 front exhaust pipes from the center exhaust pipe. Start by loosening the clamp bolt then disconnect the center exhaust pipe and take off the gasket from the exhaust tail pipe before breaking the pipe with five rings and the center exhaust pipe. Start removal of the exhaust tail pipe by unfastening its 2 rings. Proceed to remove heat insulators by disassembling the 5 No.1 bolts while the 4 No.2 and 3 No.3 and 2 No.4 bolts will also need removal. The installation sequence begins with heat insulators where you should first place No.1 using five bolts then move to No.2 with four bolts followed by No.3 with three bolts finally using two bolts on No.4. The exhaust tail pipe installation requires two rings. Install five rings along with the exhaust pipe while using a new gasket to connect this pipe with an exhaust tail pipe by applying a new clamp which should be tightened to 32 Nm (326 kgf-cm, 24 ft. lbs.). Installation of the RH and LH front exhaust pipes should begin with attaching them to the exhaust manifold using new gaskets and 6 nuts that receive a torque value of 62 Nm (632 kgf-cm, 46 ft. lbs.). This procedure needs to be followed by linking the front exhaust pipes to the center exhaust pipe using new gaskets with 4 bolts that get torqued to 48 Nm (489 kgf-cm, 35 ft. lbs.). After torquing heated oxygen sensors to 44 Nm (450 kgf-cm, 33 ft. lbs.) the installation requires connector connection for heated oxygen sensors.


