×
ToyotaParts- Hello
- Login or Register
- Quick Links
- Live Chat
- Track Order
- Parts Availability
- RMA
- Help Center
- Contact Us
- Shop for
- Toyota Parts
- Scion Parts
My Garage
My Account
Cart
OEM 2004 Toyota Land Cruiser Parking Brake Shoe
Emergency Parking Brake Shoe- Select Vehicle by Model
- Select Vehicle by VIN
Select Vehicle by Model
orMake
Model
Year
Select Vehicle by VIN
For the most accurate results, select vehicle by your VIN (Vehicle Identification Number).
3 Parking Brake Shoes found

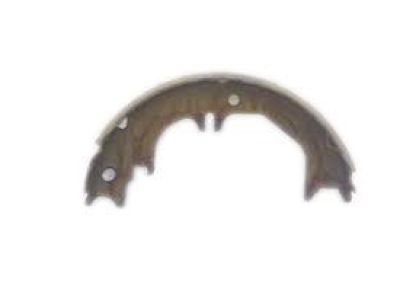
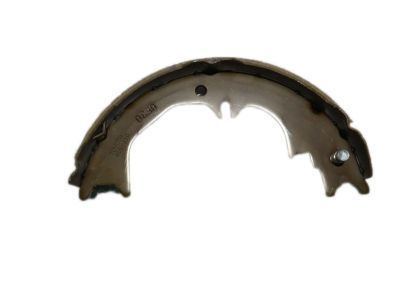
2004 Toyota Land Cruiser Shoes, Driver Side
Part Number: 46580-60050$46.12 MSRP: $64.19You Save: $18.07 (29%)Ships in 1-3 Business DaysProduct Specifications- Other Name: Shoe Assembly, Parking Brake; Parking Brake Shoe; Shoe Assembly, Parking Brake, Driver Side
- Position: Driver Side
- Replaces: 46580-60031
- Part Name Code: 46580
- Item Weight: 1.70 Pounds
- Item Dimensions: 11.0 x 8.8 x 4.1 inches
- Condition: New
- Fitment Type: Direct Replacement
- SKU: 46580-60050
- Warranty: This genuine part is guaranteed by Toyota's factory warranty.

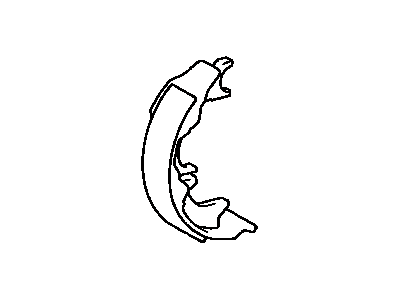
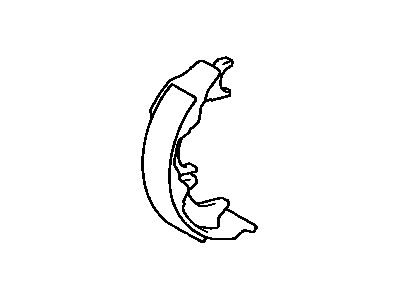
2004 Toyota Land Cruiser Shoes, Passenger Side Or Center
Part Number: 46540-60050$46.12 MSRP: $64.19You Save: $18.07 (29%)Ships in 1-3 Business DaysProduct Specifications- Other Name: Shoe Assembly, Parking Brake; Parking Brake Shoe; Shoe Assembly, Parking Brake, Passenger Side Or Center
- Position: Passenger Side Or Center
- Replaces: 46540-60031
- Part Name Code: 46540
- Item Weight: 1.80 Pounds
- Item Dimensions: 10.6 x 9.2 x 4.2 inches
- Condition: New
- Fitment Type: Direct Replacement
- SKU: 46540-60050
- Warranty: This genuine part is guaranteed by Toyota's factory warranty.

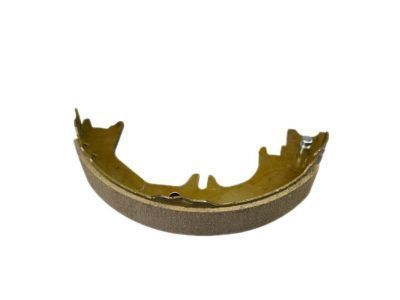
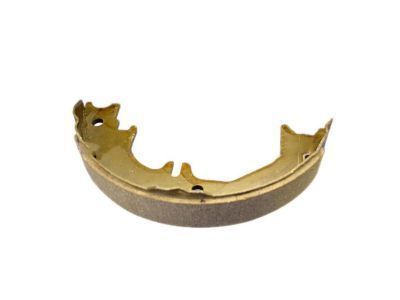
2004 Toyota Land Cruiser Shoes
Part Number: 46550-60060$45.52 MSRP: $63.36You Save: $17.84 (29%)Ships in 1-3 Business DaysProduct Specifications- Other Name: Shoe Assembly, Parking Brake; Parking Brake Shoe; Shoe Assembly, Parking Brake, Passenger Side Or Center; Shoe Assembly, Parking Brake, Driver Side
- Replaces: 46550-60041
- Item Weight: 1.70 Pounds
- Item Dimensions: 10.8 x 9.0 x 4.3 inches
- Condition: New
- Fitment Type: Direct Replacement
- SKU: 46550-60060
- Warranty: This genuine part is guaranteed by Toyota's factory warranty.
2004 Toyota Land Cruiser Parking Brake Shoe
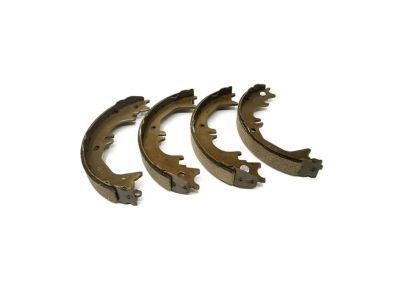
Looking for affordable OEM 2004 Toyota Land Cruiser Parking Brake Shoe? Explore our comprehensive catalogue of genuine 2004 Toyota Land Cruiser Parking Brake Shoe. All our parts are covered by the manufacturer's warranty. Plus, our straightforward return policy and speedy delivery service ensure an unparalleled shopping experience. We look forward to your visit!
2004 Toyota Land Cruiser Parking Brake Shoe Parts Q&A
- Q: How to service and repair the parking brake shoe on 2004 Toyota Land Cruiser?A: The processing of parking brake shoes starts with removing the rear wheel while maintaining 103 Nm (1,050 kgf-cm, 76 ft. lbs.) torque and then immediately detaching the rear disk brake assembly with the specified bolt torque value followed by secure suspension without applying strain to the hose. Follow this with the removal of two mounting bolts that require the same torque value before safely hanging the rear brake assembly so no tension affects the hose. Before disc removal, mark both components and check disc rotation. Regular adjustment of the shoe will ultimately result in wheel movement. You should remove the rear shoe backing plate tension spring along with the tension spring located at the lower side using needle-nose pliers. You will need Special Service Tools: 09717-20010 and 09718-20010 to detach and install the 2 shoe return springs respectfully. Apply tool 09718-20010 for front and rear shoe return springs installation procedures. The shoe strut with spring should be eliminated first before pulling out the rear shoe along with adjuster and then shoe hold-down spring followed by 2 cups and pin. Proceed with the shoe removal sequence by moving the front shoe sideways and then unclipping parking brake cable No. 2 from the lever before removing the shoe hold-down spring along with its attaching pin and 2 cups. Disassembly of the parking brake bellcrank assembly begins by using a screwdriver to remove the C-washer before disconnecting the parking brake cable No. 2 and extracting the clip with manual tool, pin, and 2 tension springs for completion with 2 bolt removal requiring torque of 13 Nm (130 kgf-cm, 9 ft. lbs.). After turning the boot toward the bellcrank bracket users can remove the C-washer and pin before separating the bellcrank from its bracket. Brake shoe lining thickness should be measured to ensure it falls within the range of 1.0 mm (0.039 inch) and 4.0 mm (0.157 inch). Check the inside diameter of the disc for sizes that exceed 231 mm (9.09 inch) and then replace or grind the component. The brake shoe grinder will help adjust the adjustment between the parking brake lining and disc for proper contact. The measurement between the parking brake shoe and lever must be under 0.25 mm (0.0098 inch) clearance or a new shim needs replacement. The reverse reassembly procedure requires application of high-temperature grease and lithium soap base glycol grease to particular parts. The procedure for adjusting parking brake shoe clearance requires cable disconnection followed by removing 2 bellcrank tension springs and loosening the adjusting bolt before expanding the shoes until the disc locks then returning the adjuster 8 notches. The bellcrank adjustment requires pulling it to achieve zero play before tightening the bolt until it contacts the dust seal followed by loosing one turn and securing the lock nut to 5.4 Nm (55 kgf-cm, 48 inch lbs.). To settle the parking brake shoes and disc, drive at 50 km/h (31 mph) with 88 N (9 kgf, 19.8 lbs.) lever force until reaching a 400-meter (0.25 mile) stretch 2 or 3 times according to the specifications before conducting the final parking brake lever travel check.
