×
ToyotaParts- Hello
- Login or Register
- Quick Links
- Live Chat
- Track Order
- Parts Availability
- RMA
- Help Center
- Contact Us
- Shop for
- Toyota Parts
- Scion Parts
My Garage
My Account
Cart
OEM 2004 Scion xA Exhaust Pipe
Exhaust Tail Pipe- Select Vehicle by Model
- Select Vehicle by VIN
Select Vehicle by Model
orMake
Model
Year
Select Vehicle by VIN
For the most accurate results, select vehicle by your VIN (Vehicle Identification Number).
2 Exhaust Pipes found
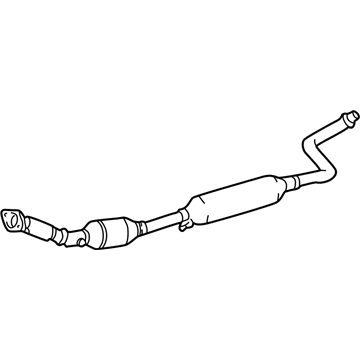
2004 Scion xA Front Pipe
Part Number: 17410-21441$1515.55 MSRP: $2034.32You Save: $518.77 (26%)Ships in 1-3 Business DaysProduct Specifications- Other Name: Pipe Assembly, Exhaust; Exhaust Crossover Pipe, Front; Catalytic Converter; Exhaust Pipe; Converter & Pipe
- Position: Front
- Replaces: 17410-21440
- Item Weight: 11.00 Pounds
- Item Dimensions: 47.2 x 18.0 x 9.3 inches
- Condition: New
- SKU: 17410-21441
- Warranty: This genuine part is guaranteed by Toyota's factory warranty.
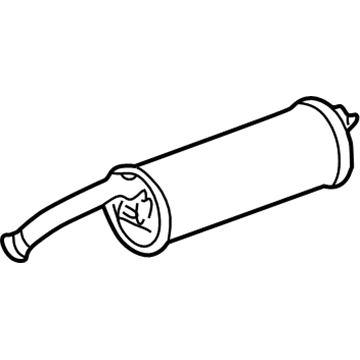
2004 Scion xA Muffler & Pipe
Part Number: 17430-21480$247.20 MSRP: $323.27You Save: $76.07 (24%)Ships in 1-3 Business DaysProduct Specifications- Other Name: Pipe Assembly, Exhaust Tail; Muffler; Direct-Fit Exhaust; System Kit; Pipe; Muffler; Pipe Assembly, Exhaust, Tail
- Part Name Code: 17430
- Item Weight: 11.10 Pounds
- Item Dimensions: 43.2 x 12.5 x 9.2 inches
- Condition: New
- Fitment Type: Direct Replacement
- SKU: 17430-21480
- Warranty: This genuine part is guaranteed by Toyota's factory warranty.
2004 Scion xA Exhaust Pipe
Looking for affordable OEM 2004 Scion xA Exhaust Pipe? Explore our comprehensive catalogue of genuine 2004 Scion xA Exhaust Pipe. All our parts are covered by the manufacturer's warranty. Plus, our straightforward return policy and speedy delivery service ensure an unparalleled shopping experience. We look forward to your visit!
2004 Scion xA Exhaust Pipe Parts Q&A
- Q: How to service and repair the exhaust pipe assembly on 2004 Scion xA?A: Repairing and servicing the exhaust pipe assembly starts with shifting the shift lever knob sub-assy (M/T transaxle) while unfastening the console box assy rear and floor panel brace front with their respective two bolts. First unfasten the bolt from the exhaust pipe assy tail along with the clamp before disconnecting the two exhaust pipe supports to extract the exhaust pipe tail and its gasket. Service of the exhaust pipe assy front requires disconnecting 2 heated oxygen sensor connectors and removing the grommet followed by unfastening 2 bolts and 2 compression springs. The exhaust pipe front requires removal with its gasket from the exhaust manifold and the 2 heated oxygen sensors after disconnecting the 2 exhaust pipe supports. The first step for installing the exhaust pipe assy front involves installing the 2 heated oxygen sensors before torquing them to 44 Nm (449 kgf-cm, 32 ft. lbs.). Seek replacement of the compression spring if its free length measurement by vernier calipers falls below 40.5 mm (1.594 inch). Tapping in a new gasket using plastic-faced hammer and wooden block must be done until it reaches flush with exhaust manifold position with correct gasket orientation and avoid recycling old gaskets. Fasten together the exhaust pipe supports before mounting the exhaust pipe front along with attaching each compression spring and bolt with a torque of 43 Nm (438 kgf-cm, 32 ft. lbs.). Secure the heated oxygen sensor connectors by installation of the grommet. Position the exhaust pipe front by installing a new gasket followed by connecting two exhaust pipe supports that should be secured with a clamp and bolt torqued to 32 Nm (326 kgf-cm, 24 ft. lbs.). The technician must check exhaust gas leaks followed by reinstalling the floor panel brace front at 20 Nm (199 kgf-cm, 14 ft. lbs.) torque setting and then installing the console box assy rear and the shift lever knob sub-assy (M/T transaxle).


