×
ToyotaParts- Hello
- Login or Register
- Quick Links
- Live Chat
- Track Order
- Parts Availability
- RMA
- Help Center
- Contact Us
- Shop for
- Toyota Parts
- Scion Parts
My Garage
My Account
Cart
OEM 2000 Toyota Celica Windshield
Glass Windshield- Select Vehicle by Model
- Select Vehicle by VIN
Select Vehicle by Model
orMake
Model
Year
Select Vehicle by VIN
For the most accurate results, select vehicle by your VIN (Vehicle Identification Number).
1 Windshield found
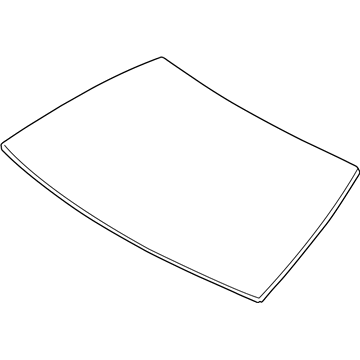
2000 Toyota Celica Windshield, Front
Part Number: 56101-20040$485.88 MSRP: $712.07You Save: $226.19 (32%)Product Specifications- Other Name: Glass Sub-Assembly, Windshield; Windshield Glass, Front; Glass, Windshield
- Manufacturer Note: *TL,T=4.76
- Position: Front
- Part Name Code: 56111
- Condition: New
- Fitment Type: Direct Replacement
- SKU: 56101-20040
- Warranty: This genuine part is guaranteed by Toyota's factory warranty.
2000 Toyota Celica Windshield
Looking for affordable OEM 2000 Toyota Celica Windshield? Explore our comprehensive catalogue of genuine 2000 Toyota Celica Windshield. All our parts are covered by the manufacturer's warranty. Plus, our straightforward return policy and speedy delivery service ensure an unparalleled shopping experience. We look forward to your visit!
2000 Toyota Celica Windshield Parts Q&A
- Q: How to remove and install a windshield on 2000 Toyota Celica?A: Begin by removing the front pillar garnish with a screwdriver but tape the tip before insertion. Follow this process on the opposite side. Without a sliding roof you should disconnect the map light assembly by first removing its lens before unscrewing the two screws and disconnecting the cable connection. Vehicles with sliding roofs require taking off the roof cover after removing the screw then unscrewing the map light assembly plus disconnecting the connector. Separate sun visors and sun visor holders before removing the inner rear view mirror according to the given illustration. Unbolt the two head caps on the wiper arms along with their nuts and arms. Remove the hood to cowl top seal and cowl top ventilator louver by taking off six clips and four screws followed by disconnecting washer hoses. You must take out sliding roof trim before dropping the front roof headliner part for vehicles with a sliding roof system. Use a knife to slice through the windshield outside molding while protecting the vehicle body and then take off all remaining parts. To safely remove the windshield glass use a piano wire between the body and glass while tethering it to wooden blocks. Disconnect the connector if present then apply a string through adhesive before pulling the wire around it. Safeguard the safety pad with plastic before using tape to prevent scratches. Pull out the glass panel while preserving as much of the remaining adhesive on the body part. Use a knife to clean and structure the body contact area while leaving remaining adhesive there. Wipe the cut surface with a fabric shop rag. Clean the taken glass by removing and replacing broken No.2 stoppers and dams before cleaning adhesive away and treating it with a cleaning solution. Apply new No.1 stoppers by taking out damaged ones then cutting off aging glue, cleaning the space, and lining up the new stoppers to ceramic notches. Place new No.2 glass stoppers directly on the ceramic notches and stick new dams to their locations with double-stick tape. Place the glass properly so the edge matches the surface and put marks on it afterward to prepare the glass rim area for repair. Leave the adhesive area untouched while coating the body parts with Primer M and keeping them dry for three minutes. Apply Primer G to the glass edge and remove the excess with cleanups before the product dries for at least three minutes. Install adhesive from cartridge Part No. 08850-00801 or equivalent while it remains fresh and coat the glass following the provided instructions. Set the windshield glass at its reference marks and put light pressure to create contact then adjust the adhesive with a spatula. Insert the new windshield moulding onto the frame while the adhesive remains pliable and adjust it to the center of the car body. Then erase any excess adhesive. Make sure the glass stays protected with tape until the glue sets completely at specified intervals without driving your vehicle. Check for leaks when the adhesive has dried completely and make repairs as needed. Reassemble the roof headlining front side along with the cowl top ventilator louver and hood seal while tightening wiper arms to factory specifications. Also install the inner rear mirror sun visor holder sun visors and map light assembly plus front pillar garnish.


