×
ToyotaParts- Hello
- Login or Register
- Quick Links
- Live Chat
- Track Order
- Parts Availability
- RMA
- Help Center
- Contact Us
- Shop for
- Toyota Parts
- Scion Parts
My Garage
My Account
Cart
Cluster & Switches
2010 Toyota Camry A/C Switch, Blower Control Switches
Currently shopping for
2010 Toyota Camry
Change VehicleCategories Close X
Currently selected
Body & Hardware
- Bumper & Components - Front
- Bumper & Components - Rear
- Center Pillar & Rocker
- Cluster & Switches
- Console
- Cowl
- Dash Panel Components
- Door & Components
- Driver Seat Components
- Ducts
- Fender & Components
- Floor & Rails
- Front Door
- Front Door - Lock & Hardware
- Fuel Door
- Glass - Front Door
- Glass - Rear Door
- Glass - Windshield
- Glass & Hardware - Back Glass
- Glove Box
- Grille & Components
- Hinge Pillar
- Hood & Components
- Information Labels
- Inner Structure - Quarter Panel
- Instrument Panel
- Instrument Panel Components
- Outside Mirrors
- Overhead Console
- Passenger Seat Components
- Quarter Panel & Components
- Radiator Support
- Rear Body
- Rear Door
- Rear Door - Lock & Hardware
- Rear Floor & Rails
- Rear Seat Components
- Rear Spoiler
- Reveal Moldings
- Roof & Components
- Seat Belt
- Sound System
- Splash Shields
- Spoiler
- Structural Components & Rails
- Sunroof
- Trunk
- Trunk Lid & Components
- Under Cover & Splash Shields
- Wiper & Washer Components
Other Categories
A/C & Heating
Air & Fuel Delivery
Belts & Cooling
Brakes
Charging & Starting
Driveline & Axles
Electrical
Emission Control & Exhaust
Engine
Headlights & Lighting
Interior & Exterior Trim
Maintenance & Lubrication
Steering
Suspension
Transmission
How to use OE catalog
2 diagrams found for the vehicle you selected.Select your vehicle options to narrow down results.
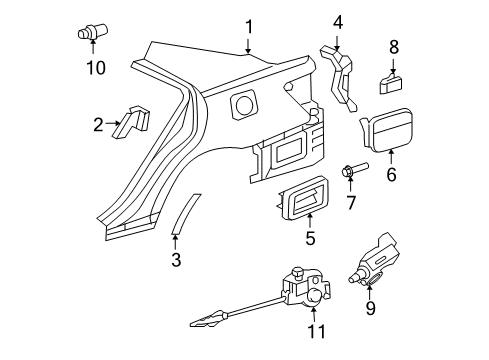
- 1.Instrument Panel - Cluster & Switches (2.4 L)
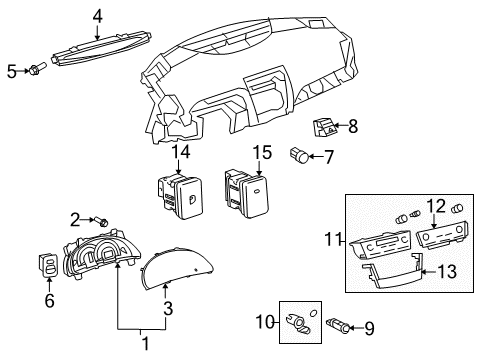
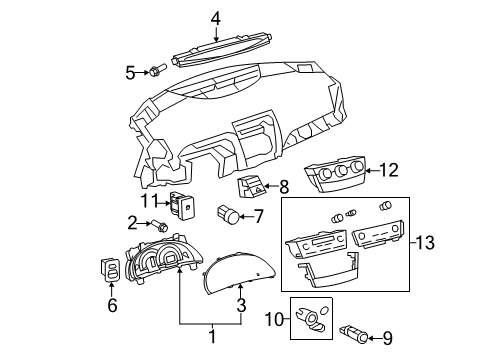
- 2.Instrument Panel - Cluster & Switches (4 Cyl 2.5 L,6 Cyl 3.5 L)
Sort by:
Ref No.
Ref No.
Part No. & Part Description
Price & Qty.
Part No. &
Part Description
Part Description
- 1
- 1
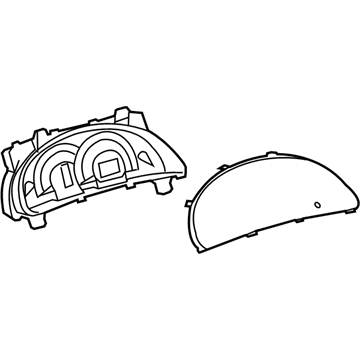
- 1
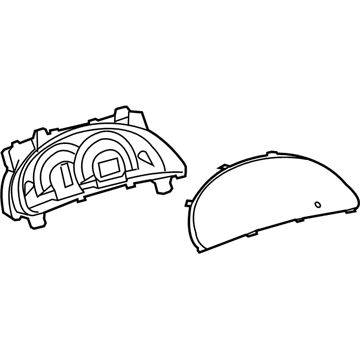
- 183800-06W70
Cluster AssemblyMeter Assembly, Combination- Part Notes: US Built SE, 2.5L, Manual Transmission
- 1MSRP: $823.61 Your Price: $562.001
- 1
- 1MSRP: $846.83 Your Price: $577.841
- 1
- 1MSRP: $1178.25 Your Price: $803.991
- 2
 MSRP: $1.81 Your Price: $1.301
 - 2MSRP: $1.81 Your Price: $1.301
- 3
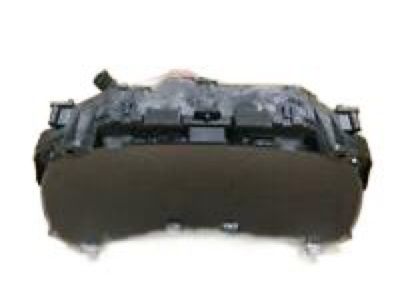 MSRP: $51.55 Your Price: $37.031
 - 3
 MSRP: $48.55 Your Price: $34.881
 - 3
 MSRP: $49.89 Your Price: $35.841
- 4
- 5
 MSRP: $2.81 Your Price: $2.021
- 6

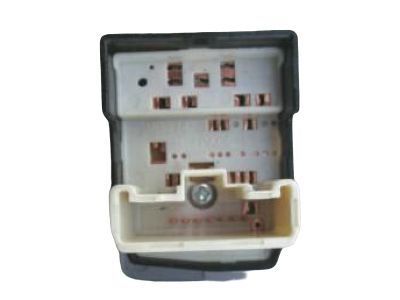
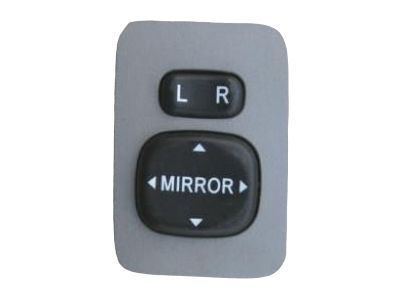 MSRP: $272.76 Your Price: $191.041
 - 6

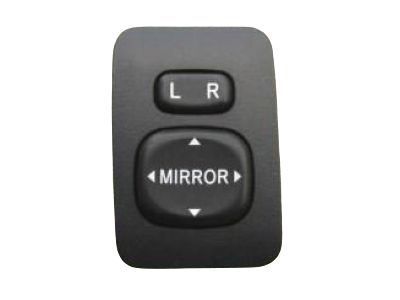 84870-06070-B0
Mirror SwitchSwitch Assembly, Outer M- Part Notes: Bisque;Charcoal;Japan Built, Brown;US Built, Brown
MSRP: $284.42 Your Price: $199.201
- 7
 MSRP: $385.21 Your Price: $269.801
 - 7
 MSRP: $405.84 Your Price: $284.251
- 8
 MSRP: $187.37 Your Price: $132.361
 - 8
 MSRP: $204.58 Your Price: $144.511
 - 8MSRP: $199.25 Your Price: $140.751
- 8MSRP: $199.25 Your Price: $140.751
- 9
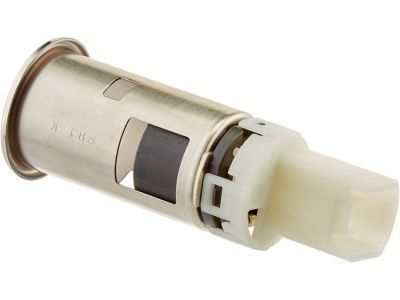
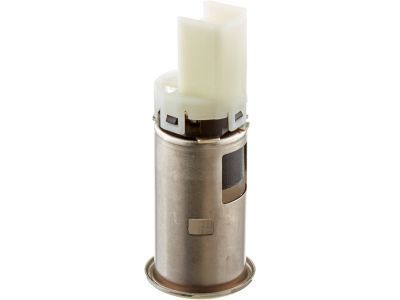 MSRP: $59.86 Your Price: $43.011
- 10
 MSRP: $24.77 Your Price: $17.791
 - 10
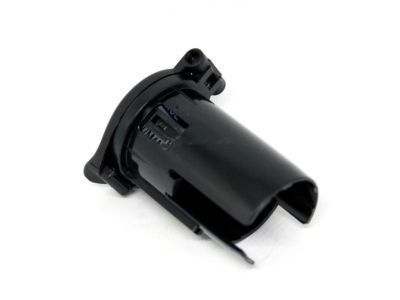 MSRP: $13.46 Your Price: $9.671
- 11
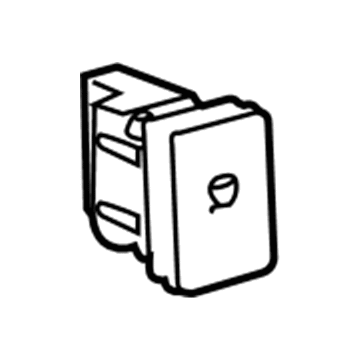 MSRP: $122.74 Your Price: $87.441
 - 11
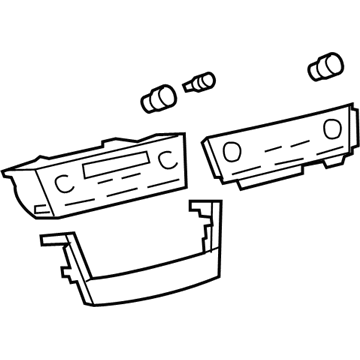 MSRP: $1079.17 Your Price: $736.381
- 12
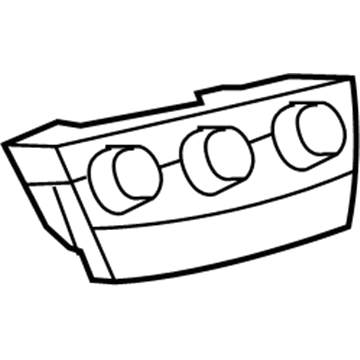 MSRP: $1039.42 Your Price: $709.251
- 12
 MSRP: $225.70 Your Price: $159.441
- 13
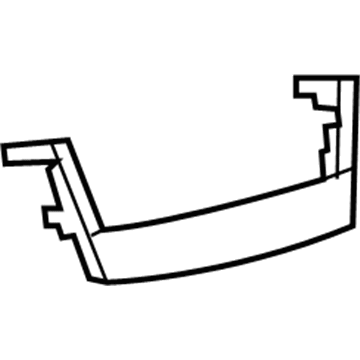 MSRP: $225.70 Your Price: $159.441
- 13
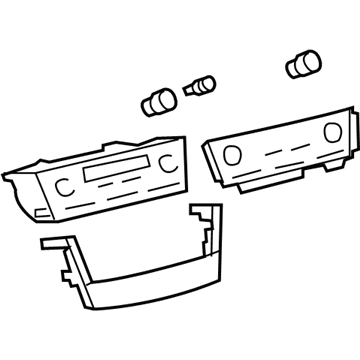 MSRP: $1064.53 Your Price: $726.391
- 14
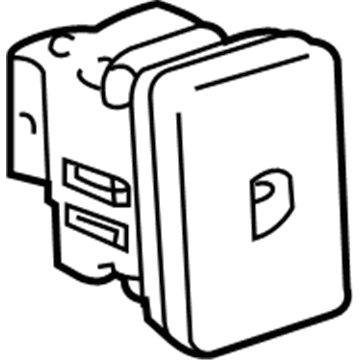 MSRP: $113.09 Your Price: $80.571
- 15
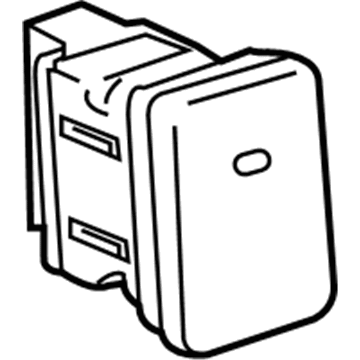 MSRP: $138.54 Your Price: $98.701

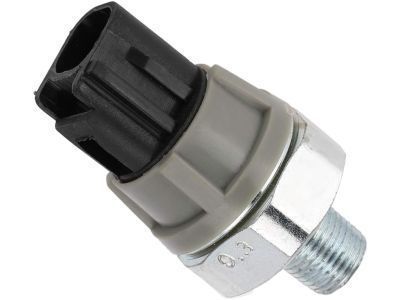
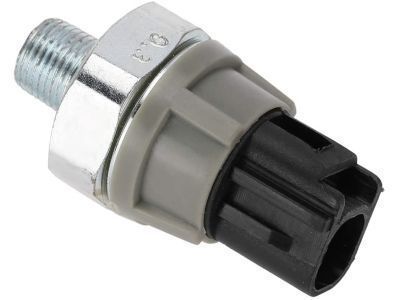
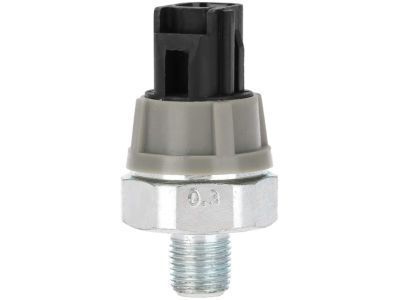
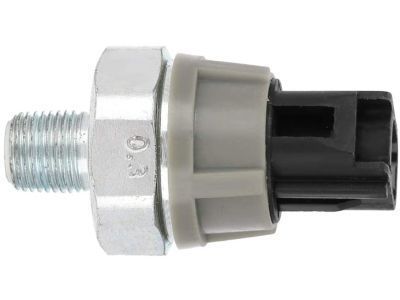 83530-28020
Switch Assy, Oil Pressure (For Engine)- Part Notes: DENSO
- Production Date: 01/2006-08/2011
- Fitting Vehicle Options: ACV40, GSV40.. JPP; ASV40, GSV40.. JPP
- Part Name Code: 83530
- Replaced By: 83530-0E010
MSRP: $64.85 Your Price: $46.59
 84540-33010
Switch Assy, Neutral Start- Production Date: 01/2006-08/2011
- Fitting Vehicle Options: GSV40.. JPP; ASV40, GSV40.. JPP
- Part Name Code: 84540
- Replaced By: 84540-07010
MSRP: $192.93 Your Price: $136.29
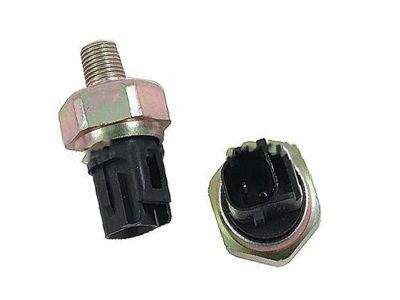 83530-AA011
Switch Assy, Oil Pressure (For Engine)- Part Notes: FASCO
- Production Date: 04/2007-01/2009
- Fitting Vehicle Options: ACV40, GSV40.. JPP
- Part Name Code: 83530
- Replaced By: 83530-0E010
MSRP: $64.85 Your Price: $46.59
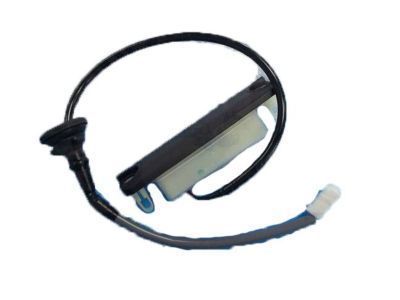 84840-20010
Switch Assy, Luggage Compartment Door Opening- Part Notes: STARTING SYSTEM-PUSH BUTTON
- Production Date: 01/2006-01/2009
- Fitting Vehicle Options: GSV40.. JPP.. XLE
- Part Name Code: 84840
MSRP: $123.24 Your Price: $87.80

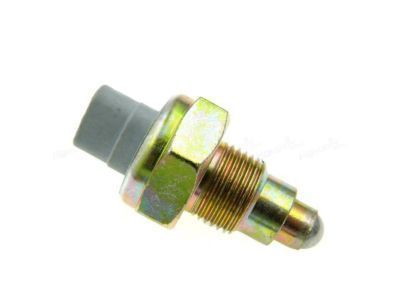
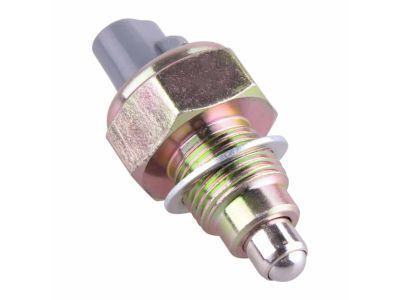
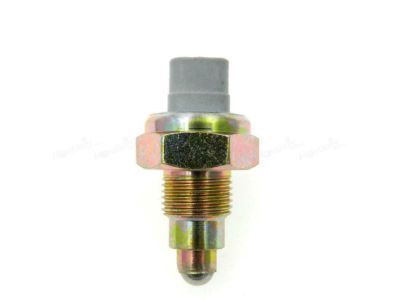
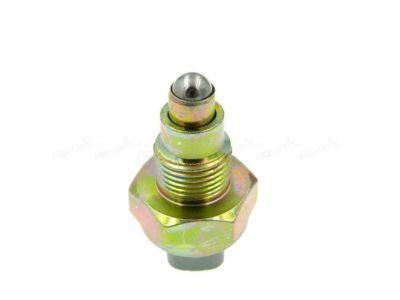
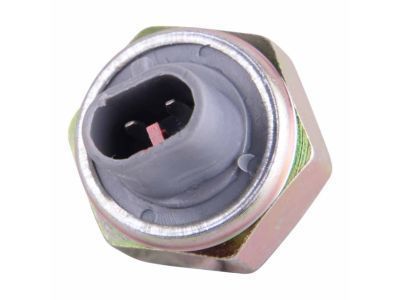
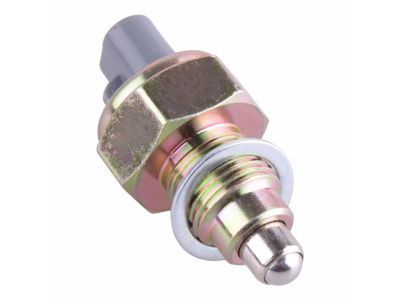
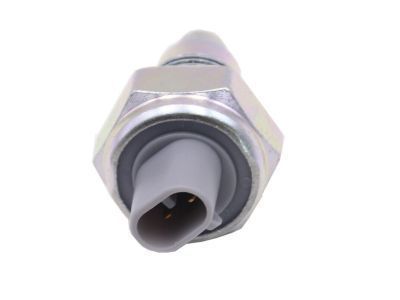
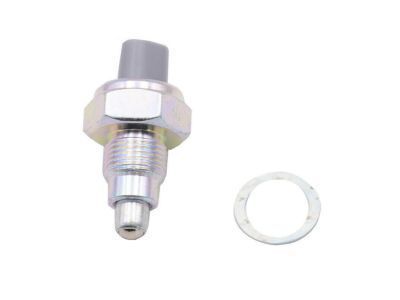
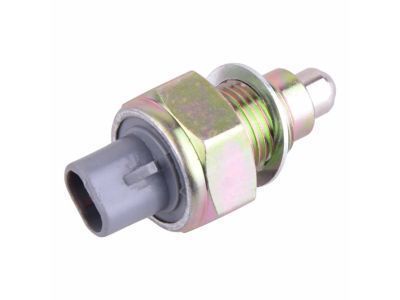 84210-12040
Switch Assy, Back-Up Lamp- Production Date: 01/2006-01/2009
- Fitting Vehicle Options: ACV40.. JPP.. 5F
- Part Name Code: 84210
- Replaced By: 84210-52050
MSRP: $61.53 Your Price: $44.20
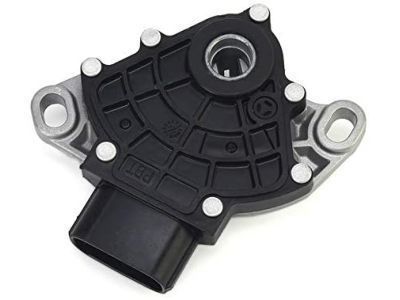
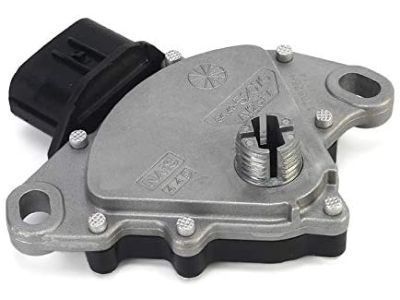
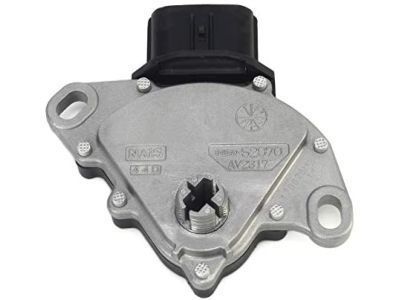 84540-48010
Switch Assy, Neutral Start- Production Date: 01/2006-01/2009
- Fitting Vehicle Options: ACV40.. JPP.. 5FC
- Part Name Code: 84540
- Replaced By: 84540-0E010
MSRP: $219.55 Your Price: $155.09
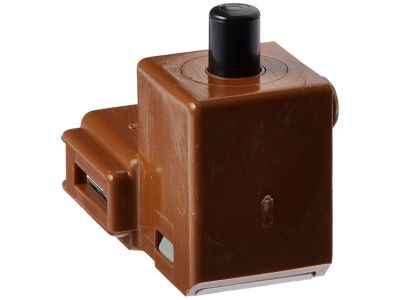
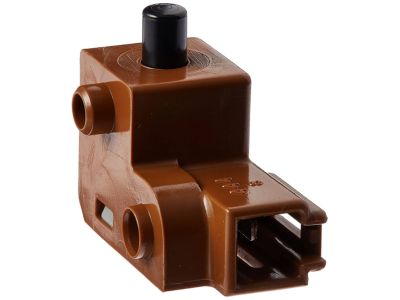
 84550-33010
Switch Assy, Parking Brake- Production Date: 01/2006-01/2009
- Fitting Vehicle Options: ACV40.. JPP.. 5F
- Part Name Code: 84550
- Replaced By: 84550-02020
MSRP: $86.48 Your Price: $61.61

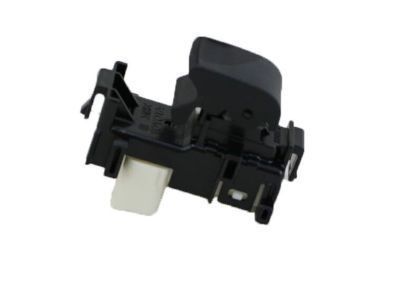 84810-52030
Switch Assy, Power Window Regulator- Production Date: 01/2006-01/2009
- Fitting Vehicle Options: ACV40, GSV40.. JPP
- Part Name Code: 84810
- Replaced By: 84810-06030
MSRP: $113.09 Your Price: $80.57
OEM 2010 Toyota Camry Parts for Cluster & Switches
Genuine 2010 Toyota Camry parts are produced by Toyota with the official design and standards, thus they ensure a high quality throughout the production process. OEM parts are the ideal choice for people looking for new Cluster & Switches parts. With our competitive prices, we offer 2010 Toyota Camry A/C Switch, Blower Control Switches that fit tight budgets, while still including the manufacturer warranties, a hassle-free returns policy and quick shipping options.
A/C Switch Installation and Repair Tips for 2010 Toyota Camry
- Q:How to install the A/C Switch assembly and related components on 2010 Toyota Camry?A:To install the air conditioning control assembly, position it as illustrated for both navigation and non-navigation systems. Install the radio brackets and receivers accordingly, followed by the instrument panel register assembly, upper console panels, floor shift position indicator housing, and finish panel garnishes. Finally, install the shift lever knob sub-assembly.