×
ToyotaParts- Hello
- Login or Register
- Quick Links
- Live Chat
- Track Order
- Parts Availability
- RMA
- Help Center
- Contact Us
- Shop for
- Toyota Parts
- Scion Parts
My Garage
My Account
Cart
A/C Compressor
2000 Toyota Corolla A/C Compressor
Currently shopping for
2000 Toyota Corolla
Change VehicleVehicle Options
4 Cyl 1.8 L GASVehicle Options
4 Cyl 1.8 L GASCategories Close X
Currently selected
A/C & Heating
Other Categories
Air & Fuel Delivery
Belts & Cooling
Body & Hardware
Brakes
Charging & Starting
Driveline & Axles
Electrical
Emission Control & Exhaust
Engine
Headlights & Lighting
Interior & Exterior Trim
Maintenance & Lubrication
Steering
Suspension
Transmission
How to use OE catalog
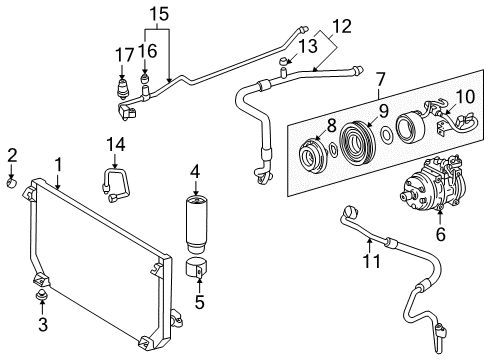
Diagram (1 of 1): Air conditioner & heater - Condenser, compressor & lines
Sort by:
Ref No.
Ref No.
Part No. & Part Description
Price & Qty.
Part No. &
Part Description
Part Description
- 1
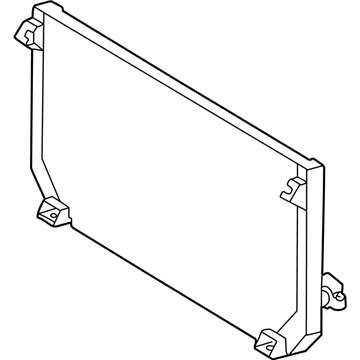 MSRP: $406.68 Your Price: $284.83
- 2

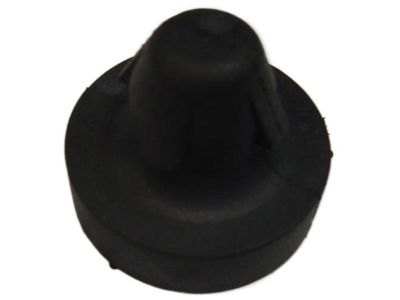 MSRP: $10.46 Your Price: $7.521
- 3
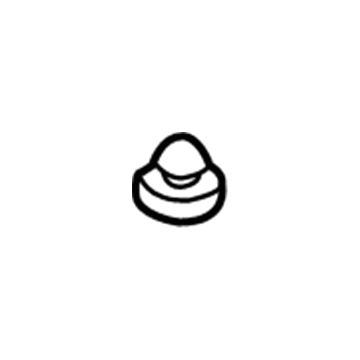 MSRP: $16.29 Your Price: $11.70
- 4
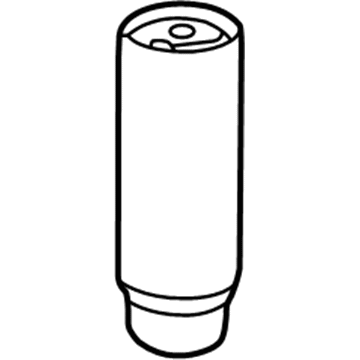 MSRP: $61.53 Your Price: $44.201
- 5
 MSRP: $20.61 Your Price: $14.811
- 6
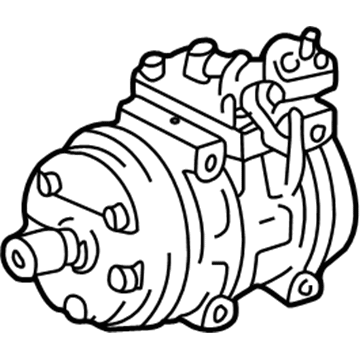
- 7
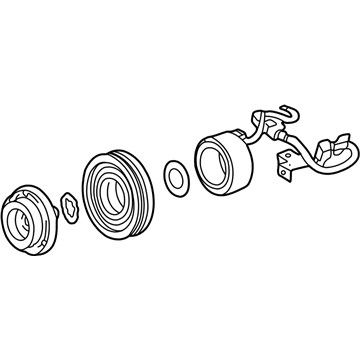 MSRP: $199.59 Your Price: $140.99
- 8
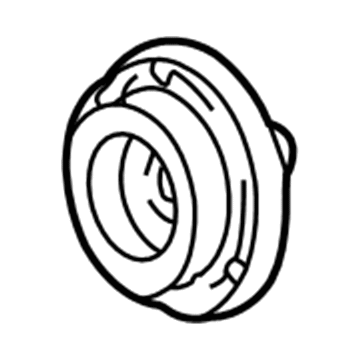
- 9

- 10
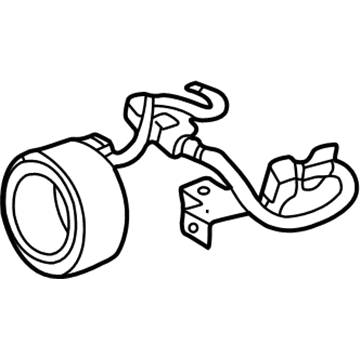
- 11
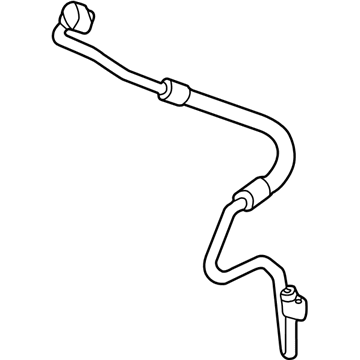
- 12
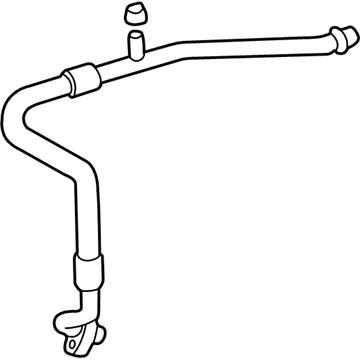
- 13

 MSRP: $5.31 Your Price: $3.811
- 14
 MSRP: $43.23 Your Price: $31.061
- 15
 MSRP: $93.13 Your Price: $66.351
- 16
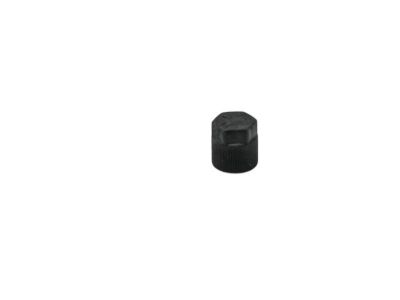
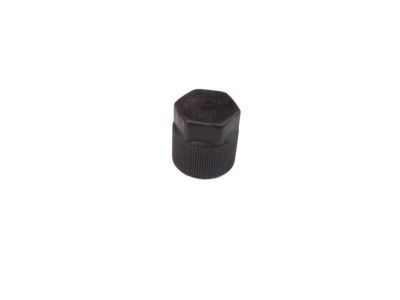
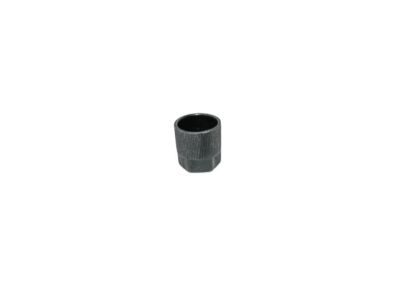
 MSRP: $4.97 Your Price: $3.571
- 17
 MSRP: $322.04 Your Price: $225.561
 MSRP: $73.17 Your Price: $52.57
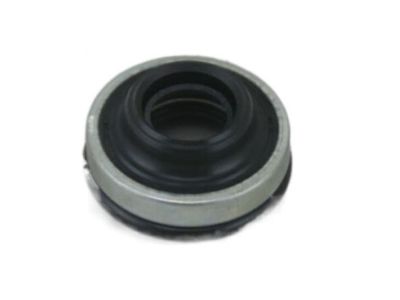
 MSRP: $121.74 Your Price: $86.731
 MSRP: $2.31 Your Price: $1.66
 MSRP: $12.79 Your Price: $9.19
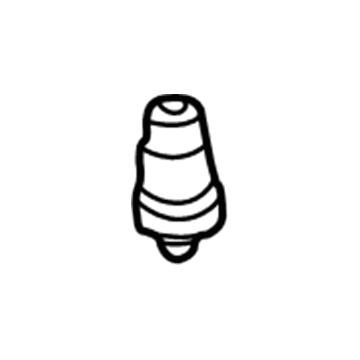
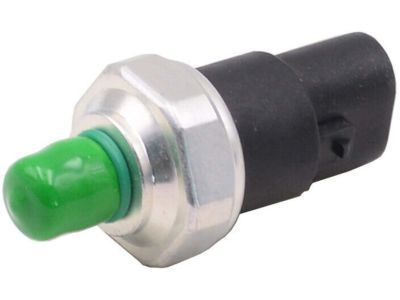
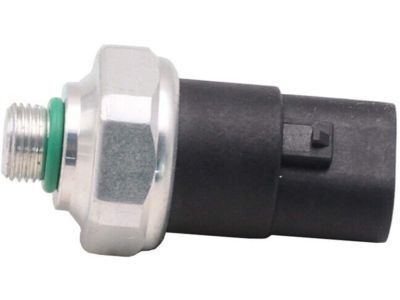
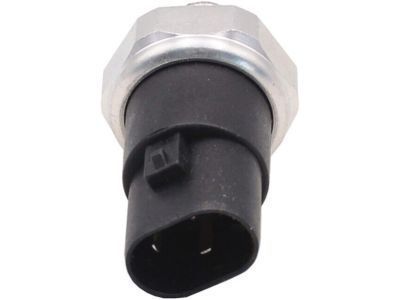
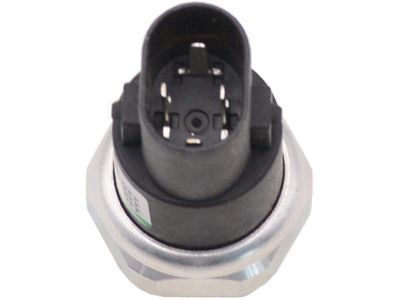
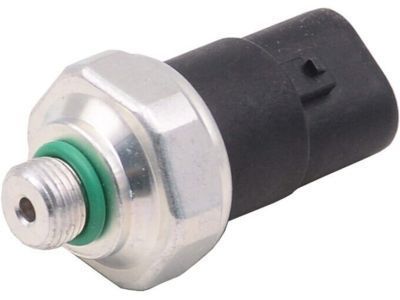
 88336-33110
Sensor, Compressor- Production Date: from 08/1997
- Fitting Vehicle Options: ZZE110
- Part Name Code: 88336
MSRP: $226.20 Your Price: $159.79
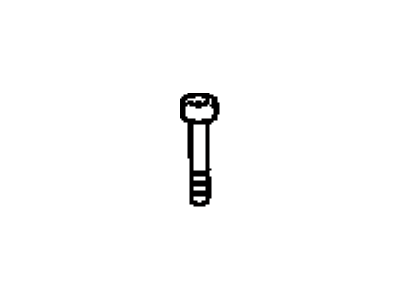 90099-04924
Bolt, Compressor, NO.1- Production Date: from 08/1997
- Fitting Vehicle Options: ZZE110
- Require Quantity: 4
- Package Quantity: 1
- Part Name Code: 88329E
MSRP: $2.50 Your Price: $1.79
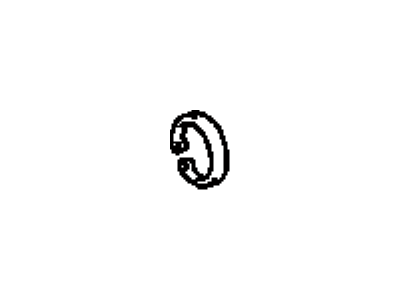 90096-90022
Ring, Compressor Seal Plate Snap- Production Date: from 08/1997
- Fitting Vehicle Options: ZZE110
- Part Name Code: 88360A
MSRP: $3.14 Your Price: $2.26
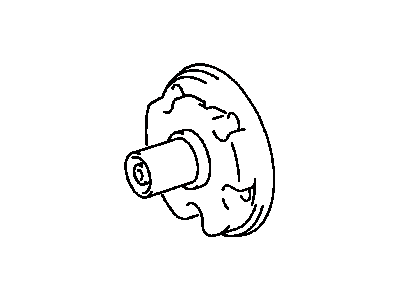 88322-32040
Head, Cooler Compressor Cylinder- Part Notes: REAR
- Location: Rear
- Production Date: from 08/1997
- Fitting Vehicle Options: ZZE110
- Part Name Code: 88321
- Replaced By: 88322-0C020
MSRP: $158.85 Your Price: $113.17
 MSRP: $2.81 Your Price: $2.02
OEM 2000 Toyota Corolla Parts for A/C Compressor
Genuine 2000 Toyota Corolla parts are produced by Toyota with the official design and standards, thus they ensure a high quality throughout the production process. OEM parts are the ideal choice for people looking for new A/C Compressor parts. With our competitive prices, we offer 2000 Toyota Corolla A/C Compressor that fit tight budgets, while still including the manufacturer warranties, a hassle-free returns policy and quick shipping options.
A/C Compressor Clutch Installation and Repair Tips for 2000 Toyota Corolla
- Q:How to service and repair the A/C Compressor Clutch on 2000 Toyota Corolla?A:Patch the compressor clutch To service and repair the compressor clutch, disassemble the compressor clutch by removing pressure plate and shims. Removal of rotor and stator is done using special tools. To reassemble, replace the stator and rotor, clamp them together using snap rings, and tighten the magnetic clutch clearance using shims as needed.