×
ToyotaParts- Hello
- Login or Register
- Quick Links
- Live Chat
- Track Order
- Parts Availability
- RMA
- Help Center
- Contact Us
- Shop for
- Toyota Parts
- Scion Parts
My Garage
My Account
Cart
OEM 2001 Toyota Highlander Blower Motor
A/C Heater Blower Motor- Select Vehicle by Model
- Select Vehicle by VIN
Select Vehicle by Model
orMake
Model
Year
Select Vehicle by VIN
For the most accurate results, select vehicle by your VIN (Vehicle Identification Number).
1 Blower Motor found

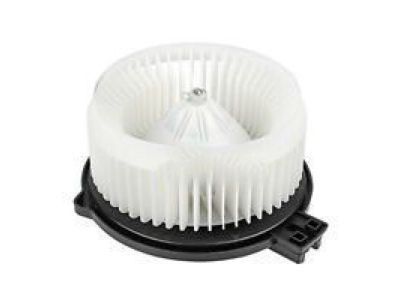
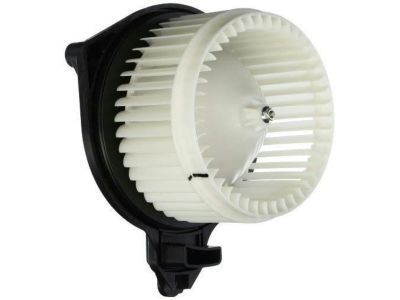
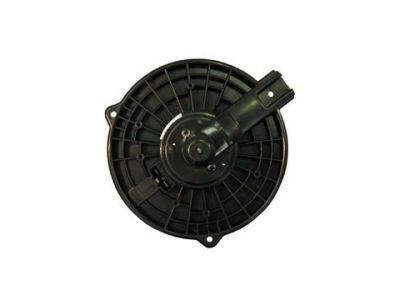
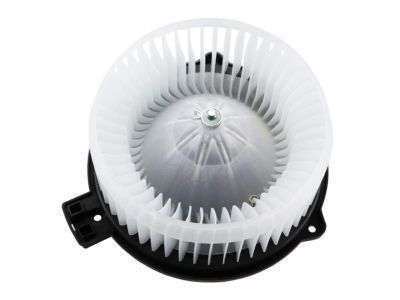
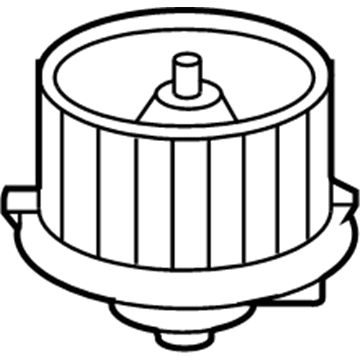
2001 Toyota Highlander Blower Motor, Front
Part Number: 87103-48020$185.11 MSRP: $264.29You Save: $79.18 (30%)Ships in 1-3 Business DaysProduct Specifications- Other Name: Motor Sub-Assembly, Blower; HVAC Blower Motor, Front; Blower Assembly; Motor Sub-Assembly, Cooling Unit, W/Fan; HVAC Blower Motor
- Position: Front
- Part Name Code: 87103A
- Item Weight: 4.20 Pounds
- Item Dimensions: 10.4 x 10.4 x 8.9 inches
- Condition: New
- Fitment Type: Direct Replacement
- SKU: 87103-48020
- Warranty: This genuine part is guaranteed by Toyota's factory warranty.
2001 Toyota Highlander Blower Motor
Looking for affordable OEM 2001 Toyota Highlander Blower Motor? Explore our comprehensive catalogue of genuine 2001 Toyota Highlander Blower Motor. All our parts are covered by the manufacturer's warranty. Plus, our straightforward return policy and speedy delivery service ensure an unparalleled shopping experience. We look forward to your visit!
2001 Toyota Highlander Blower Motor Parts Q&A
- Q: How to service and repair the blower motor on 2001 Toyota Highlander?A: Begin the blower motor service procedure by removing the glove compartment door assembly first and then do air duct No.1 service by unscrewing it and disconnecting its 3 claw fittings followed by completing air duct No.2 service. You must begin by taking off the ECM through removal of its two nuts and connector disconnection. Start the blower assembly removal process by disconnecting the cooling unit motor W/fan sub-assembly connector and clamp and recirculation damper servo connector and by removing 2 screws with a bracket and filter cover and bolt and nut and 2 additional screws to finish disconnecting the part fit to the air conditioner radiator assembly and removing the blower assembly. You must remove the recirculation damper servo sub-assembly after taking away its 3 screws. Remove the cooling unit motor sub-assembly W/fan by unscrewing its three screws. Place the blower assembly into the correct position on the air conditioner radiator assembly before installation using the bolt and nut and 2 screws and following a 9.8 N.m torque requirement (100 kgf.cm, 87 in.lbf). After placing the filter cover begin by adding the bracket along with two screws and reconnect the connector before finally clamping it in place. The ECM should receive its installation with 2 nuts secured using a torque force of 5.5 N.m (56 kgf.cm, 49 in.lbf).
