×
ToyotaParts- Hello
- Login or Register
- Quick Links
- Live Chat
- Track Order
- Parts Availability
- RMA
- Help Center
- Contact Us
- Shop for
- Toyota Parts
- Scion Parts
My Garage
My Account
Cart
OEM Toyota Crown Signia Overload Relay
Overcurrent Relay- Select Vehicle by Model
- Select Vehicle by VIN
Select Vehicle by Model
orMake
Model
Year
Select Vehicle by VIN
For the most accurate results, select vehicle by your VIN (Vehicle Identification Number).
1 Overload Relay found
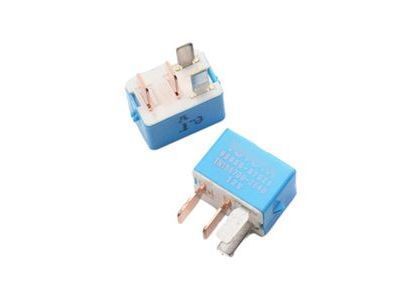

Toyota Crown Signia Horn Relay Part Number: 90080-87026
$23.53 MSRP: $32.75You Save: $9.22 (29%)
Toyota Crown Signia Overload Relay
Choose genuine Overload Relay that pass strict quality control tests. You can trust the top quality and lasting durability. Shopping for OEM Overload Relay for your Toyota Crown Signia? Our website is your one-stop destination. We stock an extensive selection of genuine Toyota Crown Signia parts. The price is affordable so you can save more. It only takes minutes to browse and find the exact fit. Easily add to cart and check out fast. Our hassle-free return policy will keep you stress-free. We process orders quickly for swift delivery. Your parts will arrive faster, so you can get back on the road sooner.
The advanced electrical heart of the Toyota Crown Signia Overload Relay is safeguarded; however, the broader appeal begins with the Toyota Crown Signia driven. The hybrid incorporates a 2.5 liter engine, dual electric motors, eCVT and standard all wheel drive. It delivers brisk acceleration, quiet cruising, impressive fuel savings and confident journeys through the sun and snow. The Toyota Crown Signia offers spacious seating and curtains made from driver materials. The suspension is tuned smoothly and has the poise of premium sedan. It also offers cargo flexibility that buyers are expecting from a modern-day utility vehicle. Also, its intuitive infotainment and comprehensive safety suite make it easy to drive. The Crown Signia Overload Relay, housed within this polished casing, is a thermal device that tracks starter circuit current. If it overheats or draws too much amperage, it will open the circuit. It protects the motor and wiring from expensive damage. You will still start every morning even after a cold night or frequent stop and go trips. Vibration in the engine bay, presence of moisture and frequent demand for high current mean the Overload Relay needs to endure harsh conditions. Hence, strong contacts and a plug in body that permit quick inspection or swapping when wear shows, keeps a Toyota electrical system reliable. To install the Overload Relay, first cut the power to the circuit breaker. Mount it. After that, wire the terminals. Finally, set the trip current and test it.
Related Toyota Crown Signia Parts
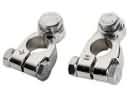 Toyota Crown Signia Battery Terminal
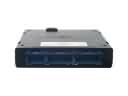 Toyota Crown Signia Body Control Module
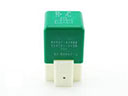 Toyota Crown Signia Cooling Fan Relay
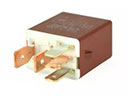 Toyota Crown Signia Fuel Pump Relay
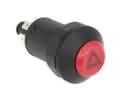 Toyota Crown Signia Hazard Warning Switch
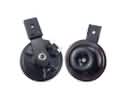 Toyota Crown Signia Horn
 Toyota Crown Signia Horn Relay
 Toyota Crown Signia Oxygen Sensor
 Toyota Crown Signia Parking Assist Sensor
 Toyota Crown Signia Radiator Fan Relay
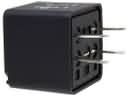 Toyota Crown Signia Relay
 Toyota Crown Signia Ride Height Sensor